I’m messing about with Morpholio trace. I signed up for the Henry Gao Morpholio online class. I need the structure of a class to get myself to do this, otherwise I will keep putting it off.
My current workflow for doing perspective drawings is cumbersome compared to what I am imaging it could be with Morpholio.
I don’t do a ton of modeling in Vectorworks. I do a very basic house model and a deck and stairs or a pergola, raised beds, etc. So in that case I rotate around, find a good view, export that as a PDF and print it out and then switch to analog sketching. I have a nice desktop light table in the Huion 23.5”. This was a game changer for me and I highly recommend getting one. I wont need one if I am using Morpholio but I use it for other things and I love it!
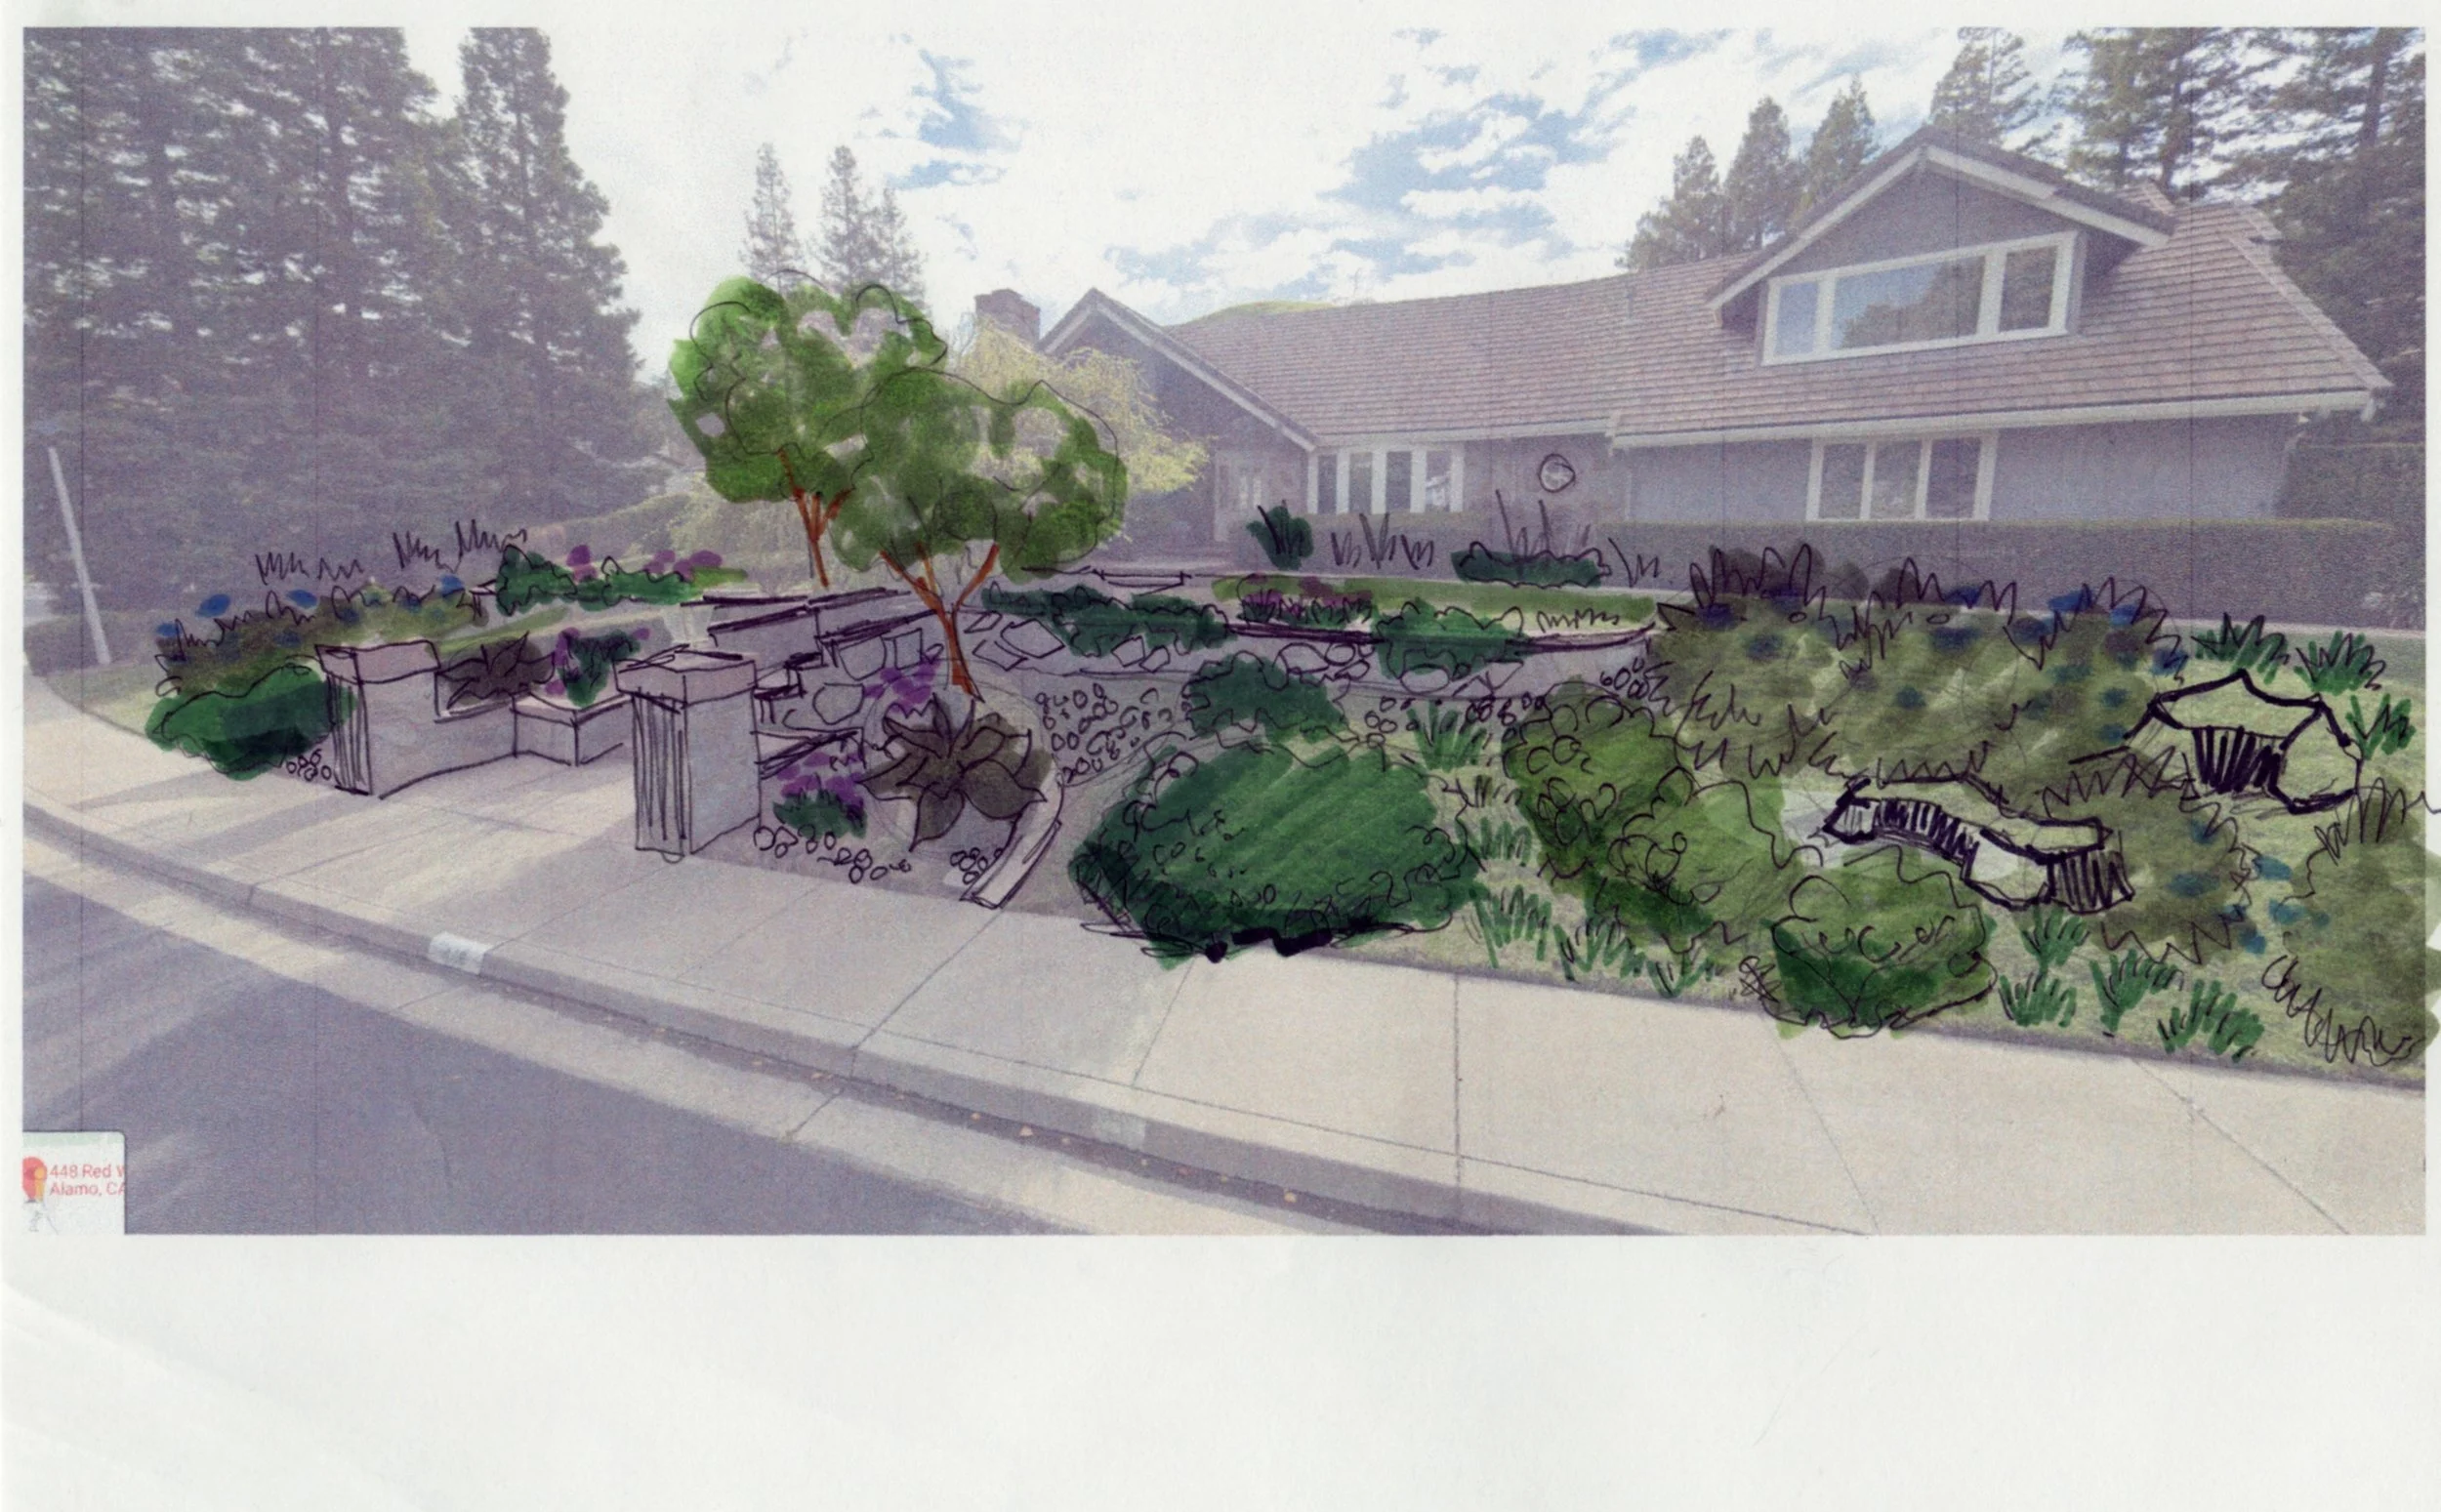
If I have not created a model in Vectorworks I choose a photo from a site visit, use a google street view screenshot, OR even a photo from somewhere like realtor.com if the house has an old listing still active.
I change the opacity and then print it out.
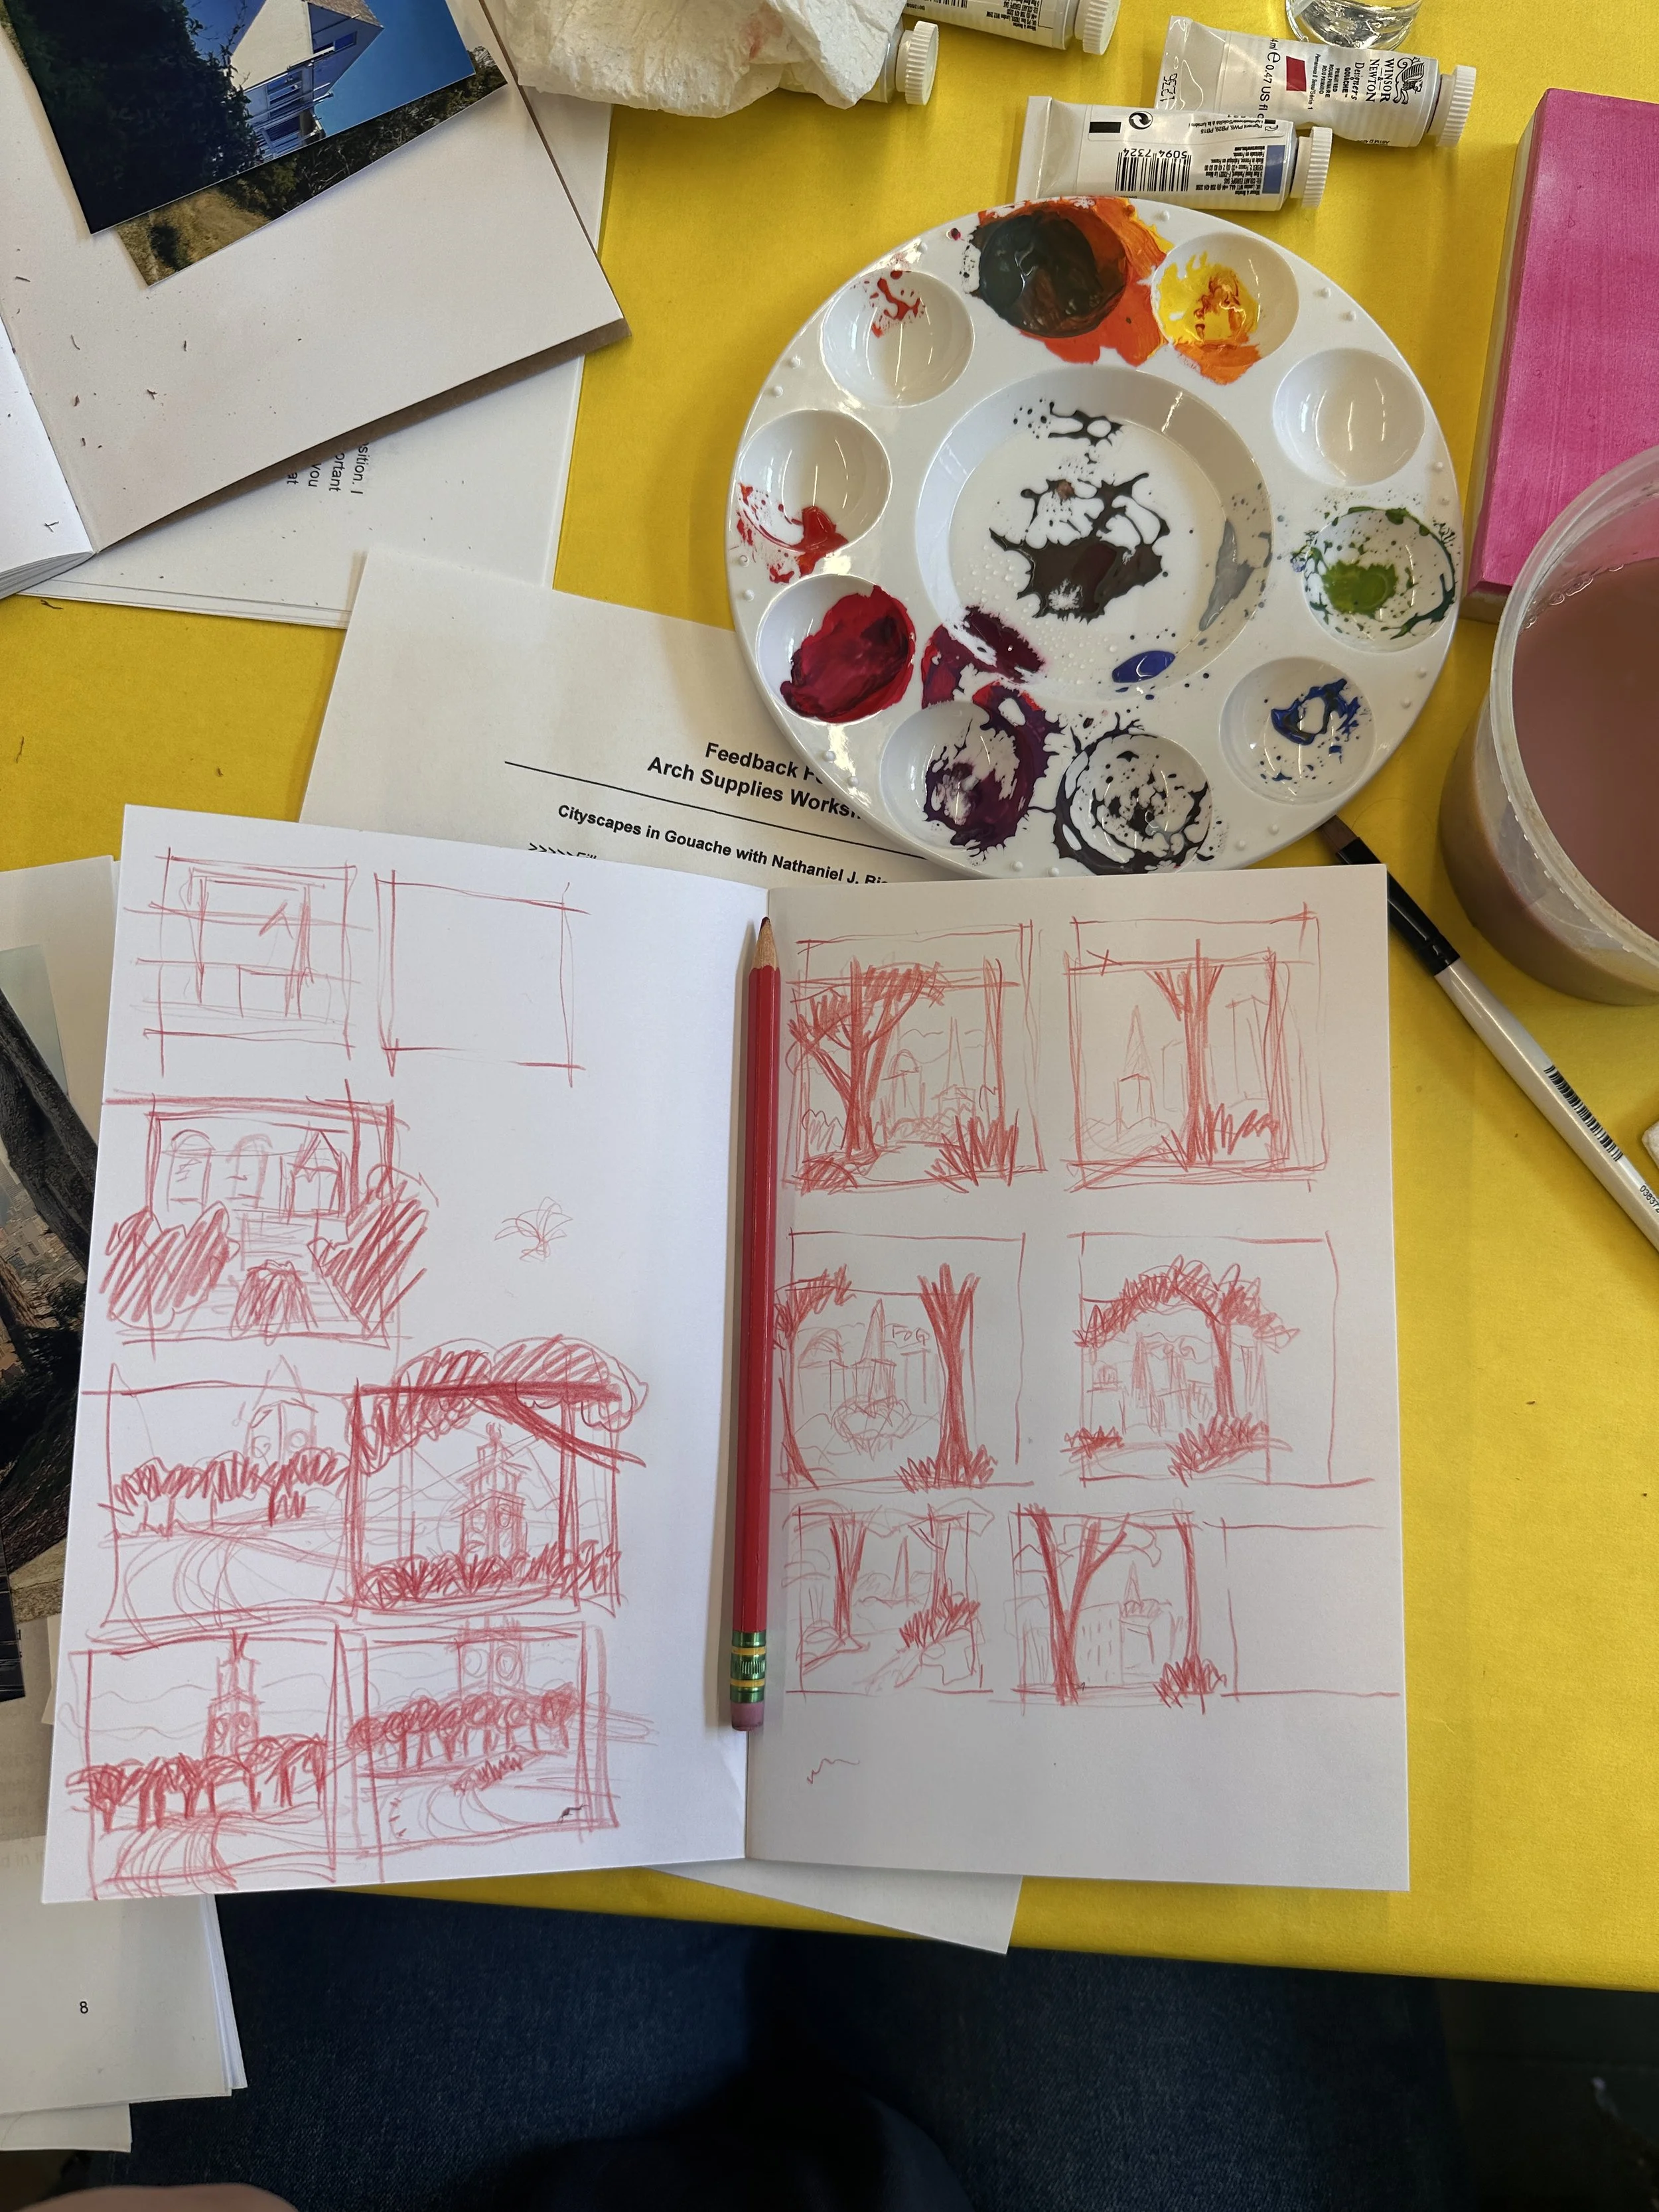
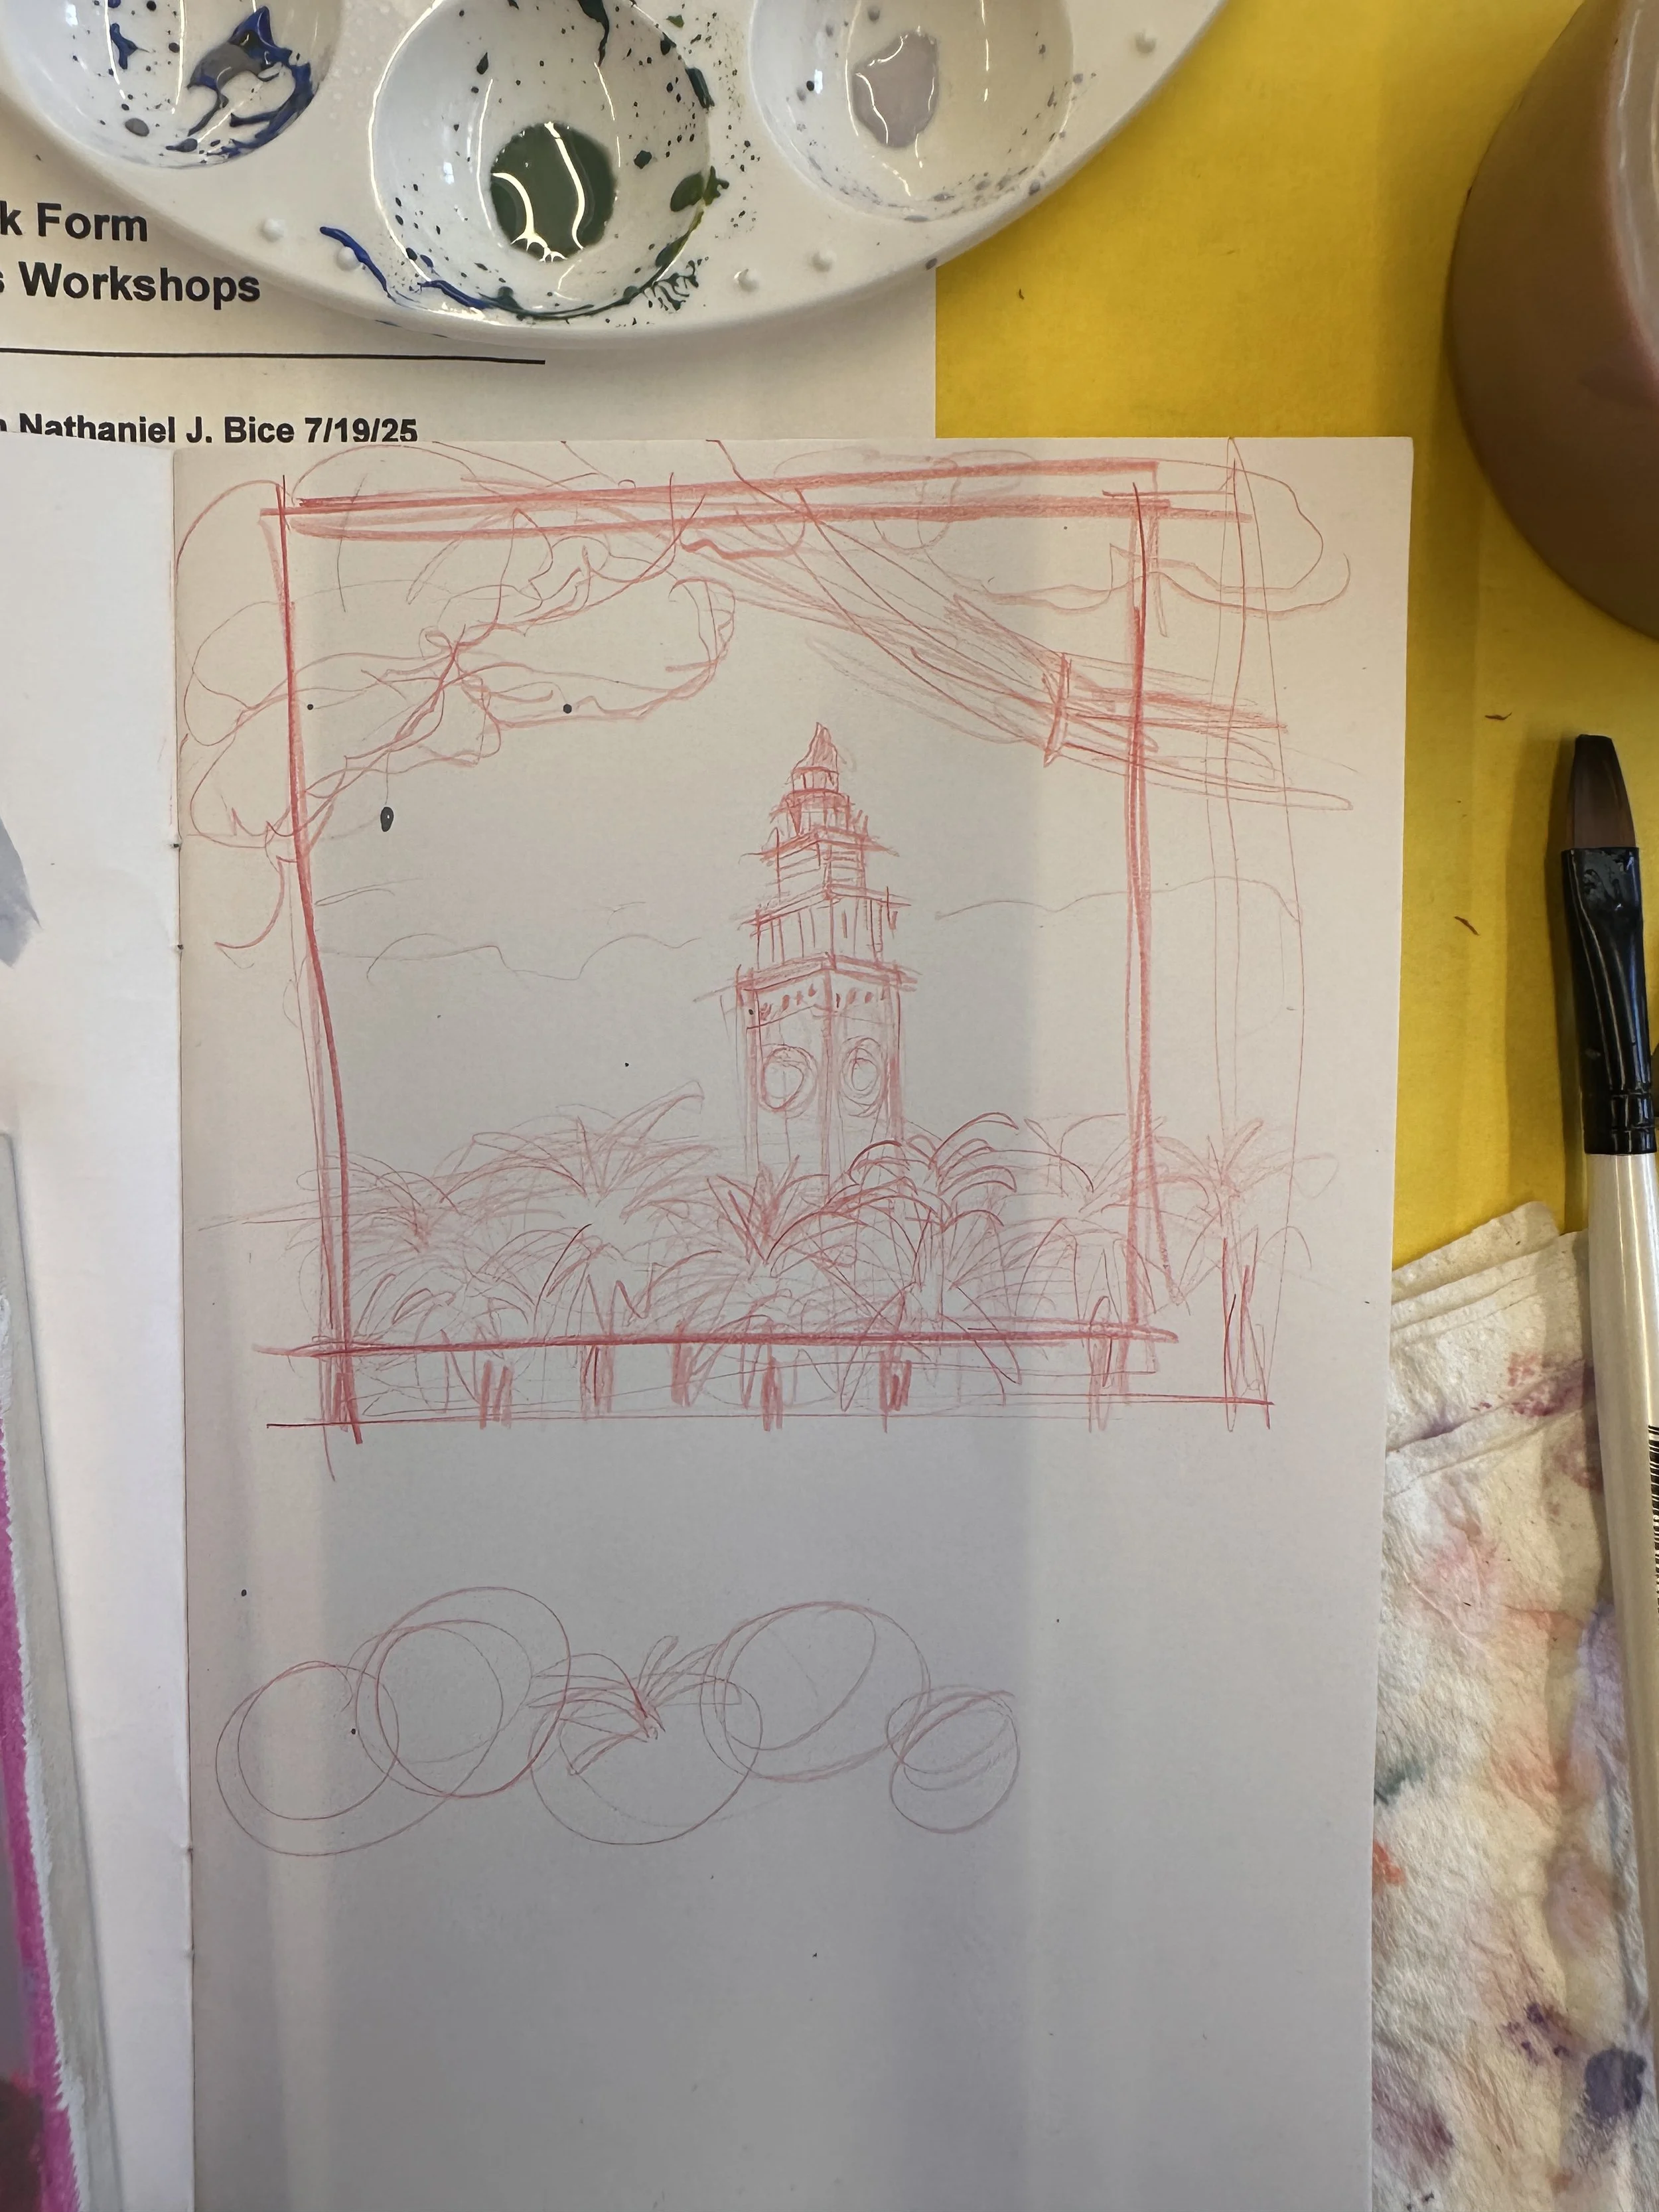
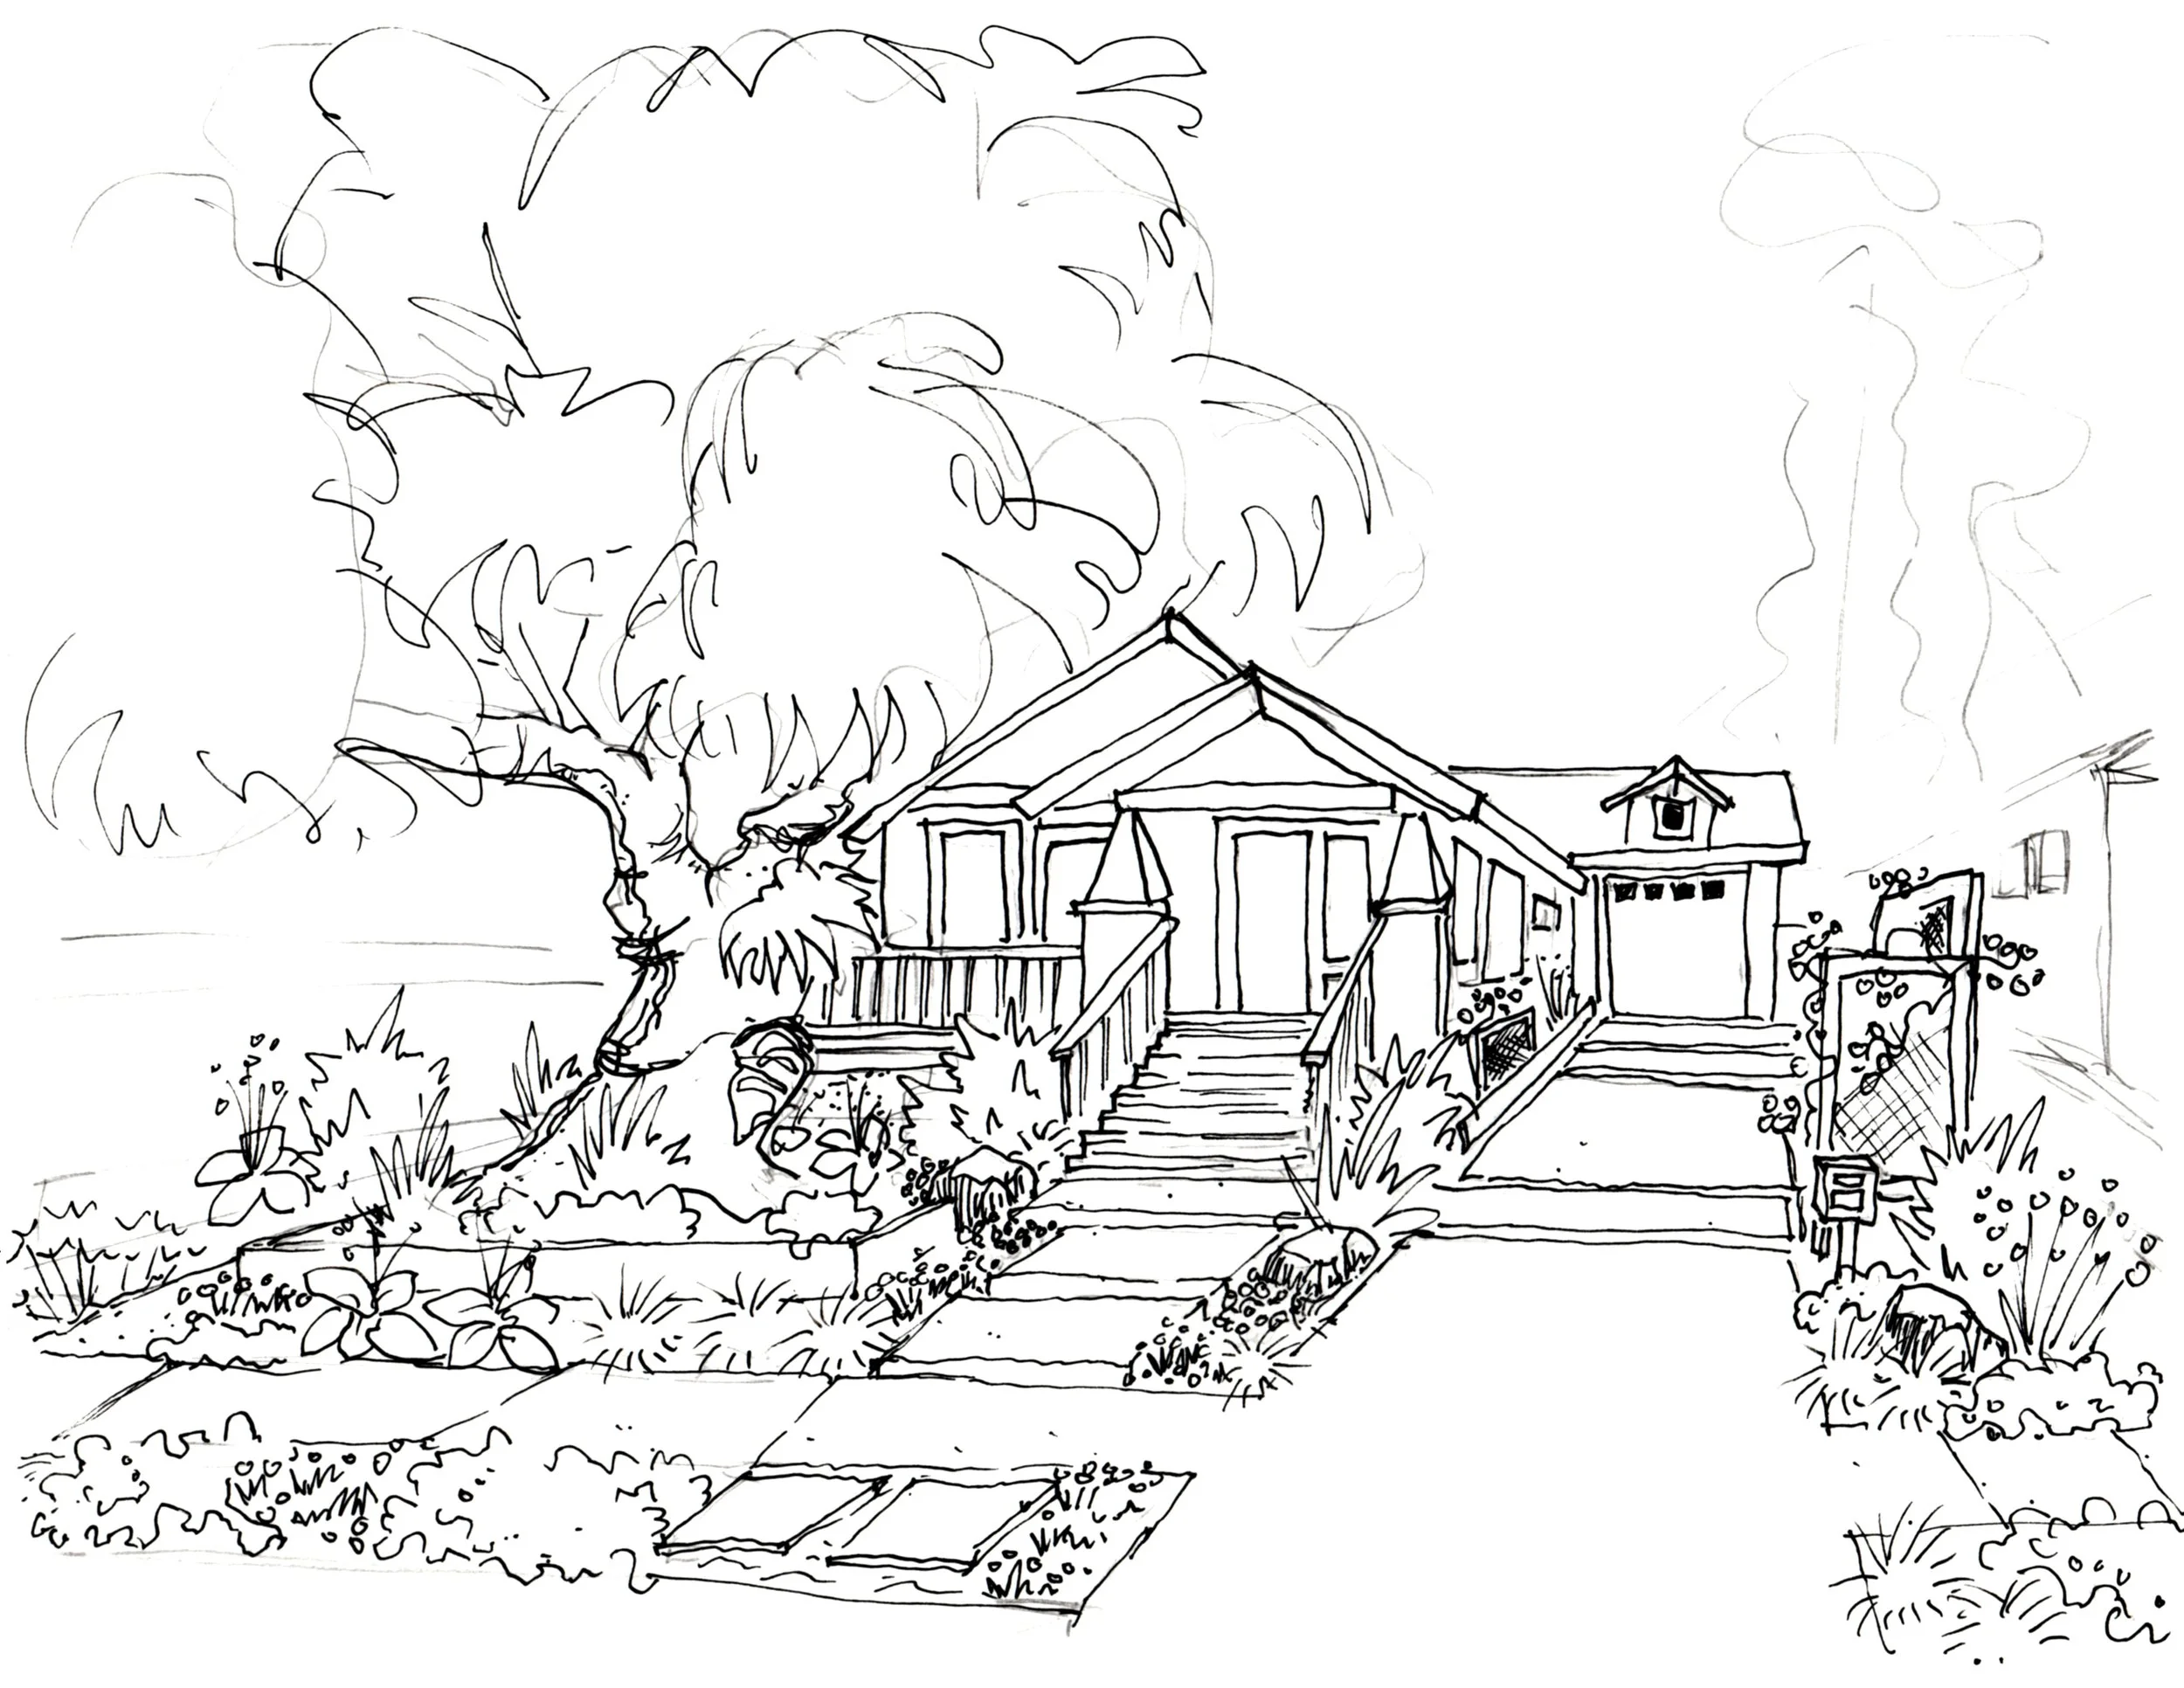
Using a piece of printer paper I then trace it in pencil using my light table.
Then I remove the print out, and trace the pencil drawing using a lightweight fineliner. I like the Derwent LINE MAKER pens. I usually use another piece of crappy printer paper for this. I often skip this step and go straight to step 5.
I trace it again in pen on a piece of marker paper.
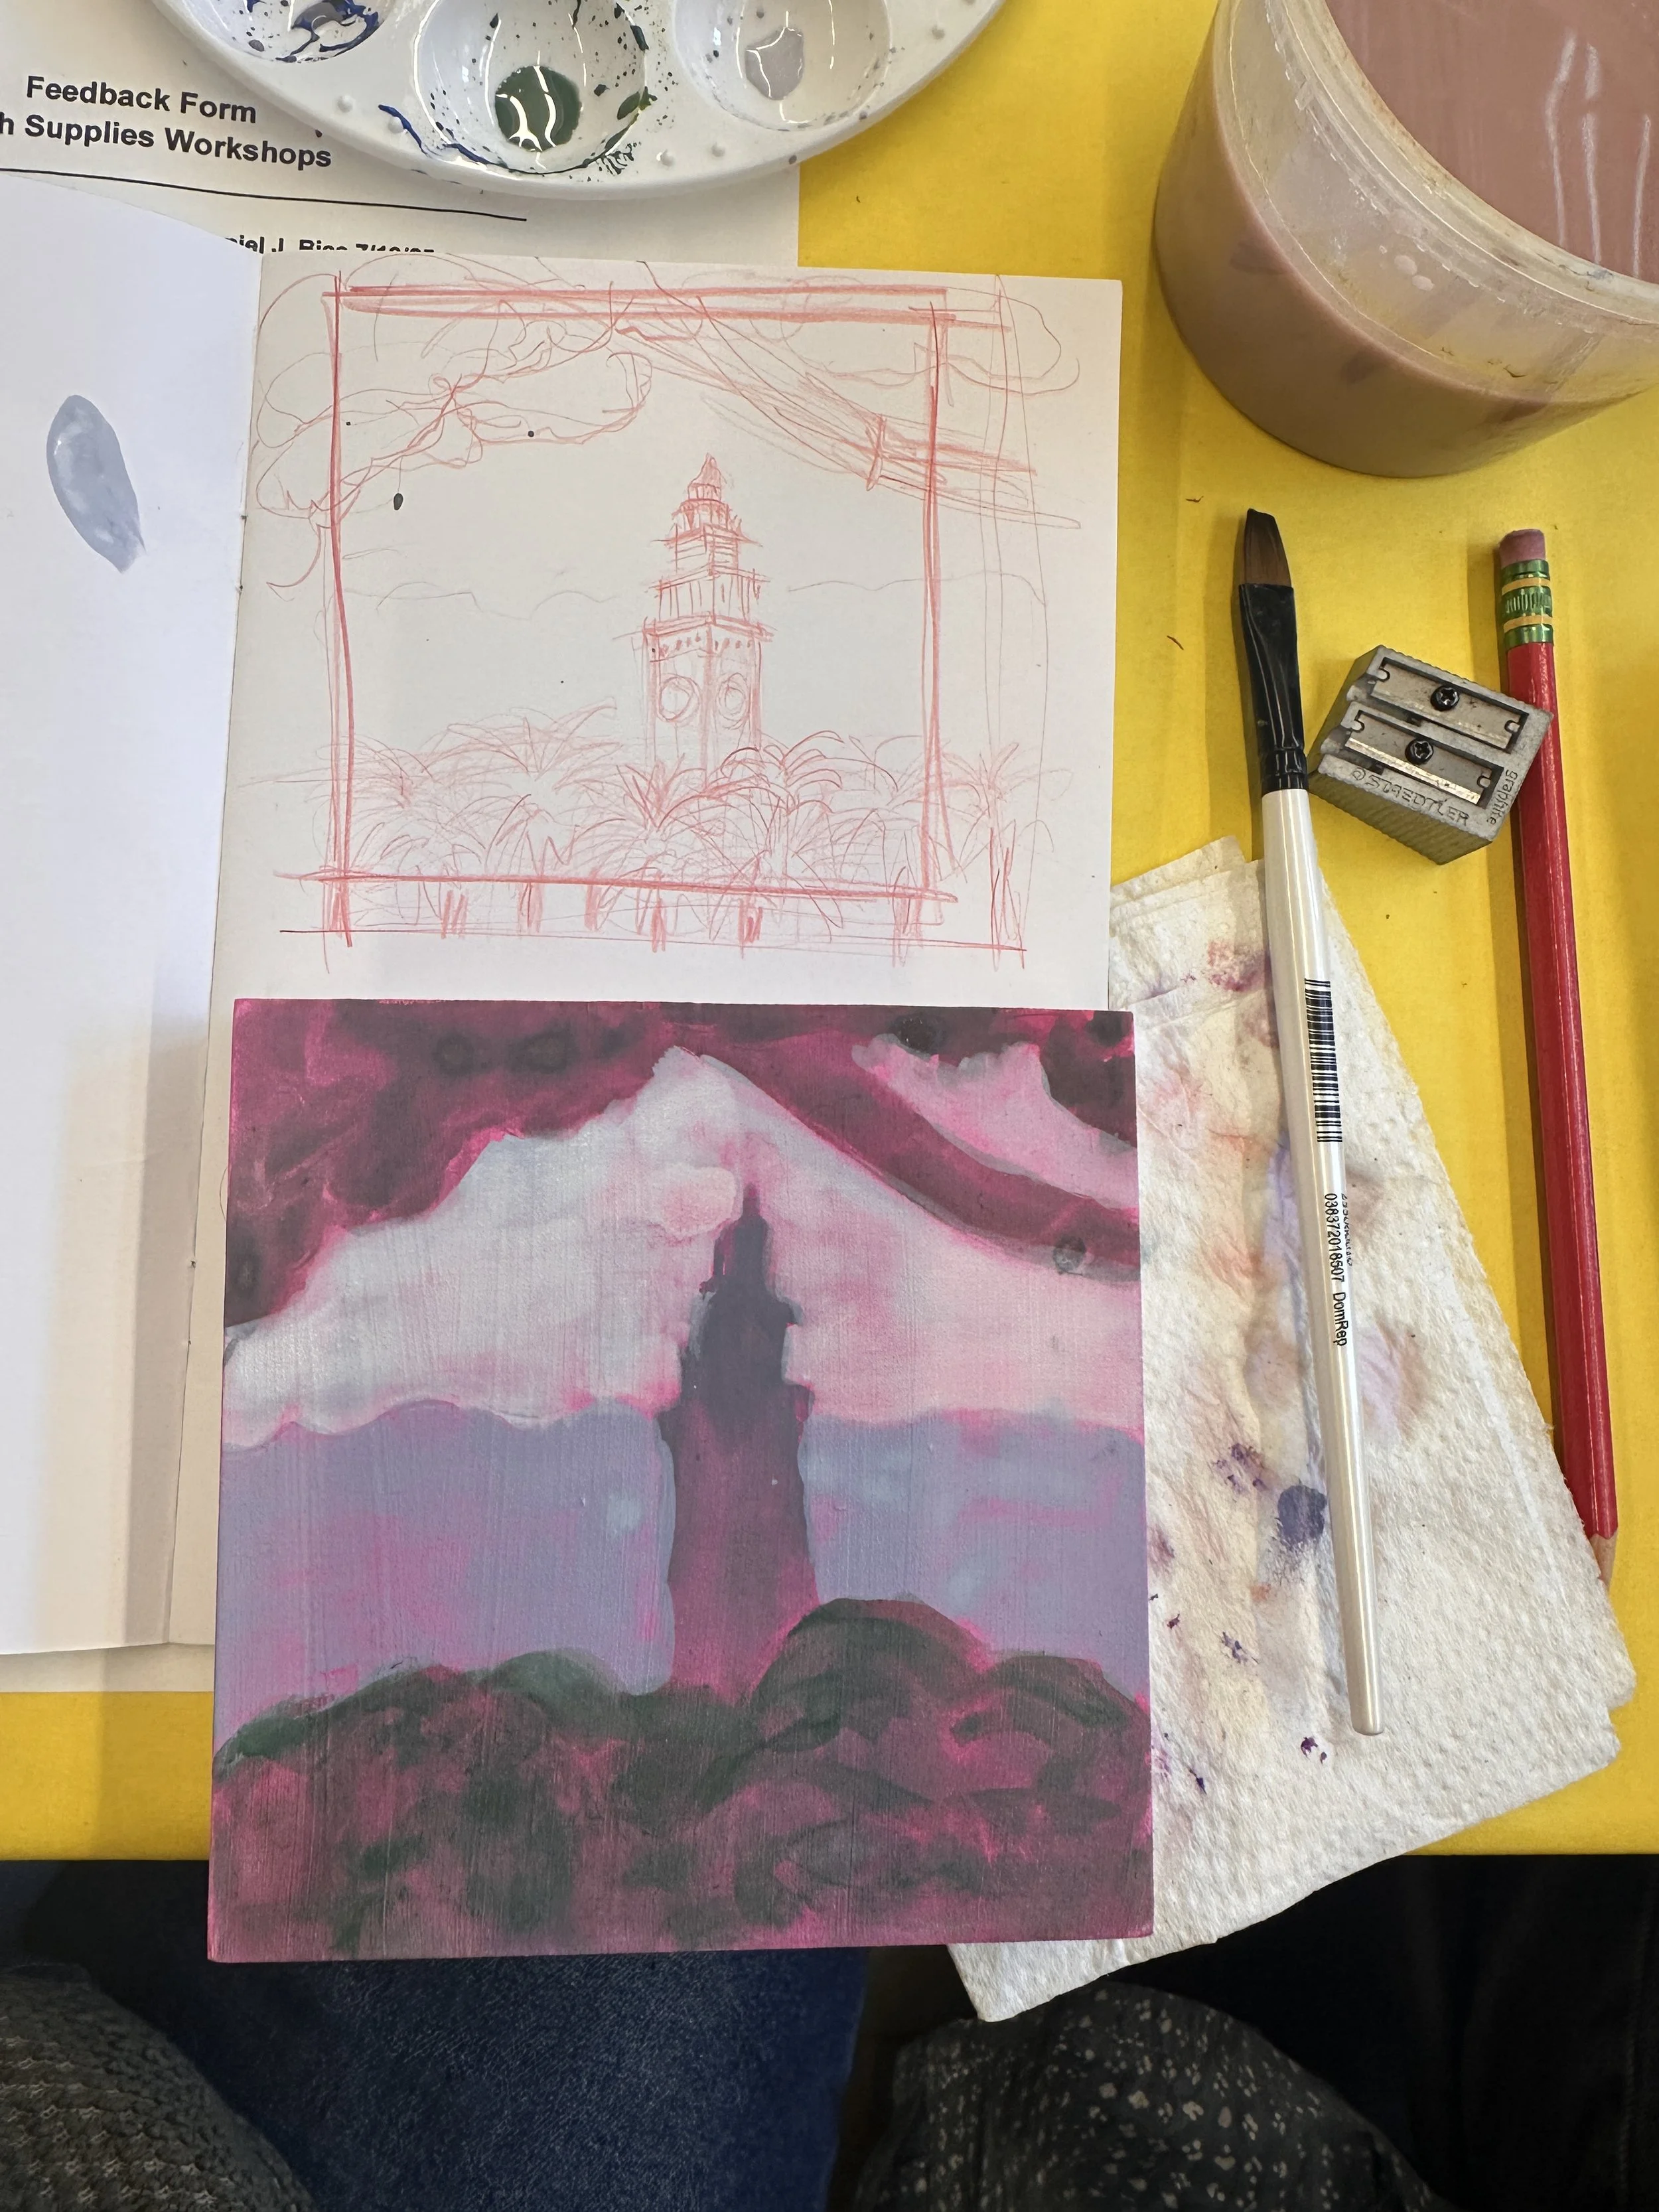
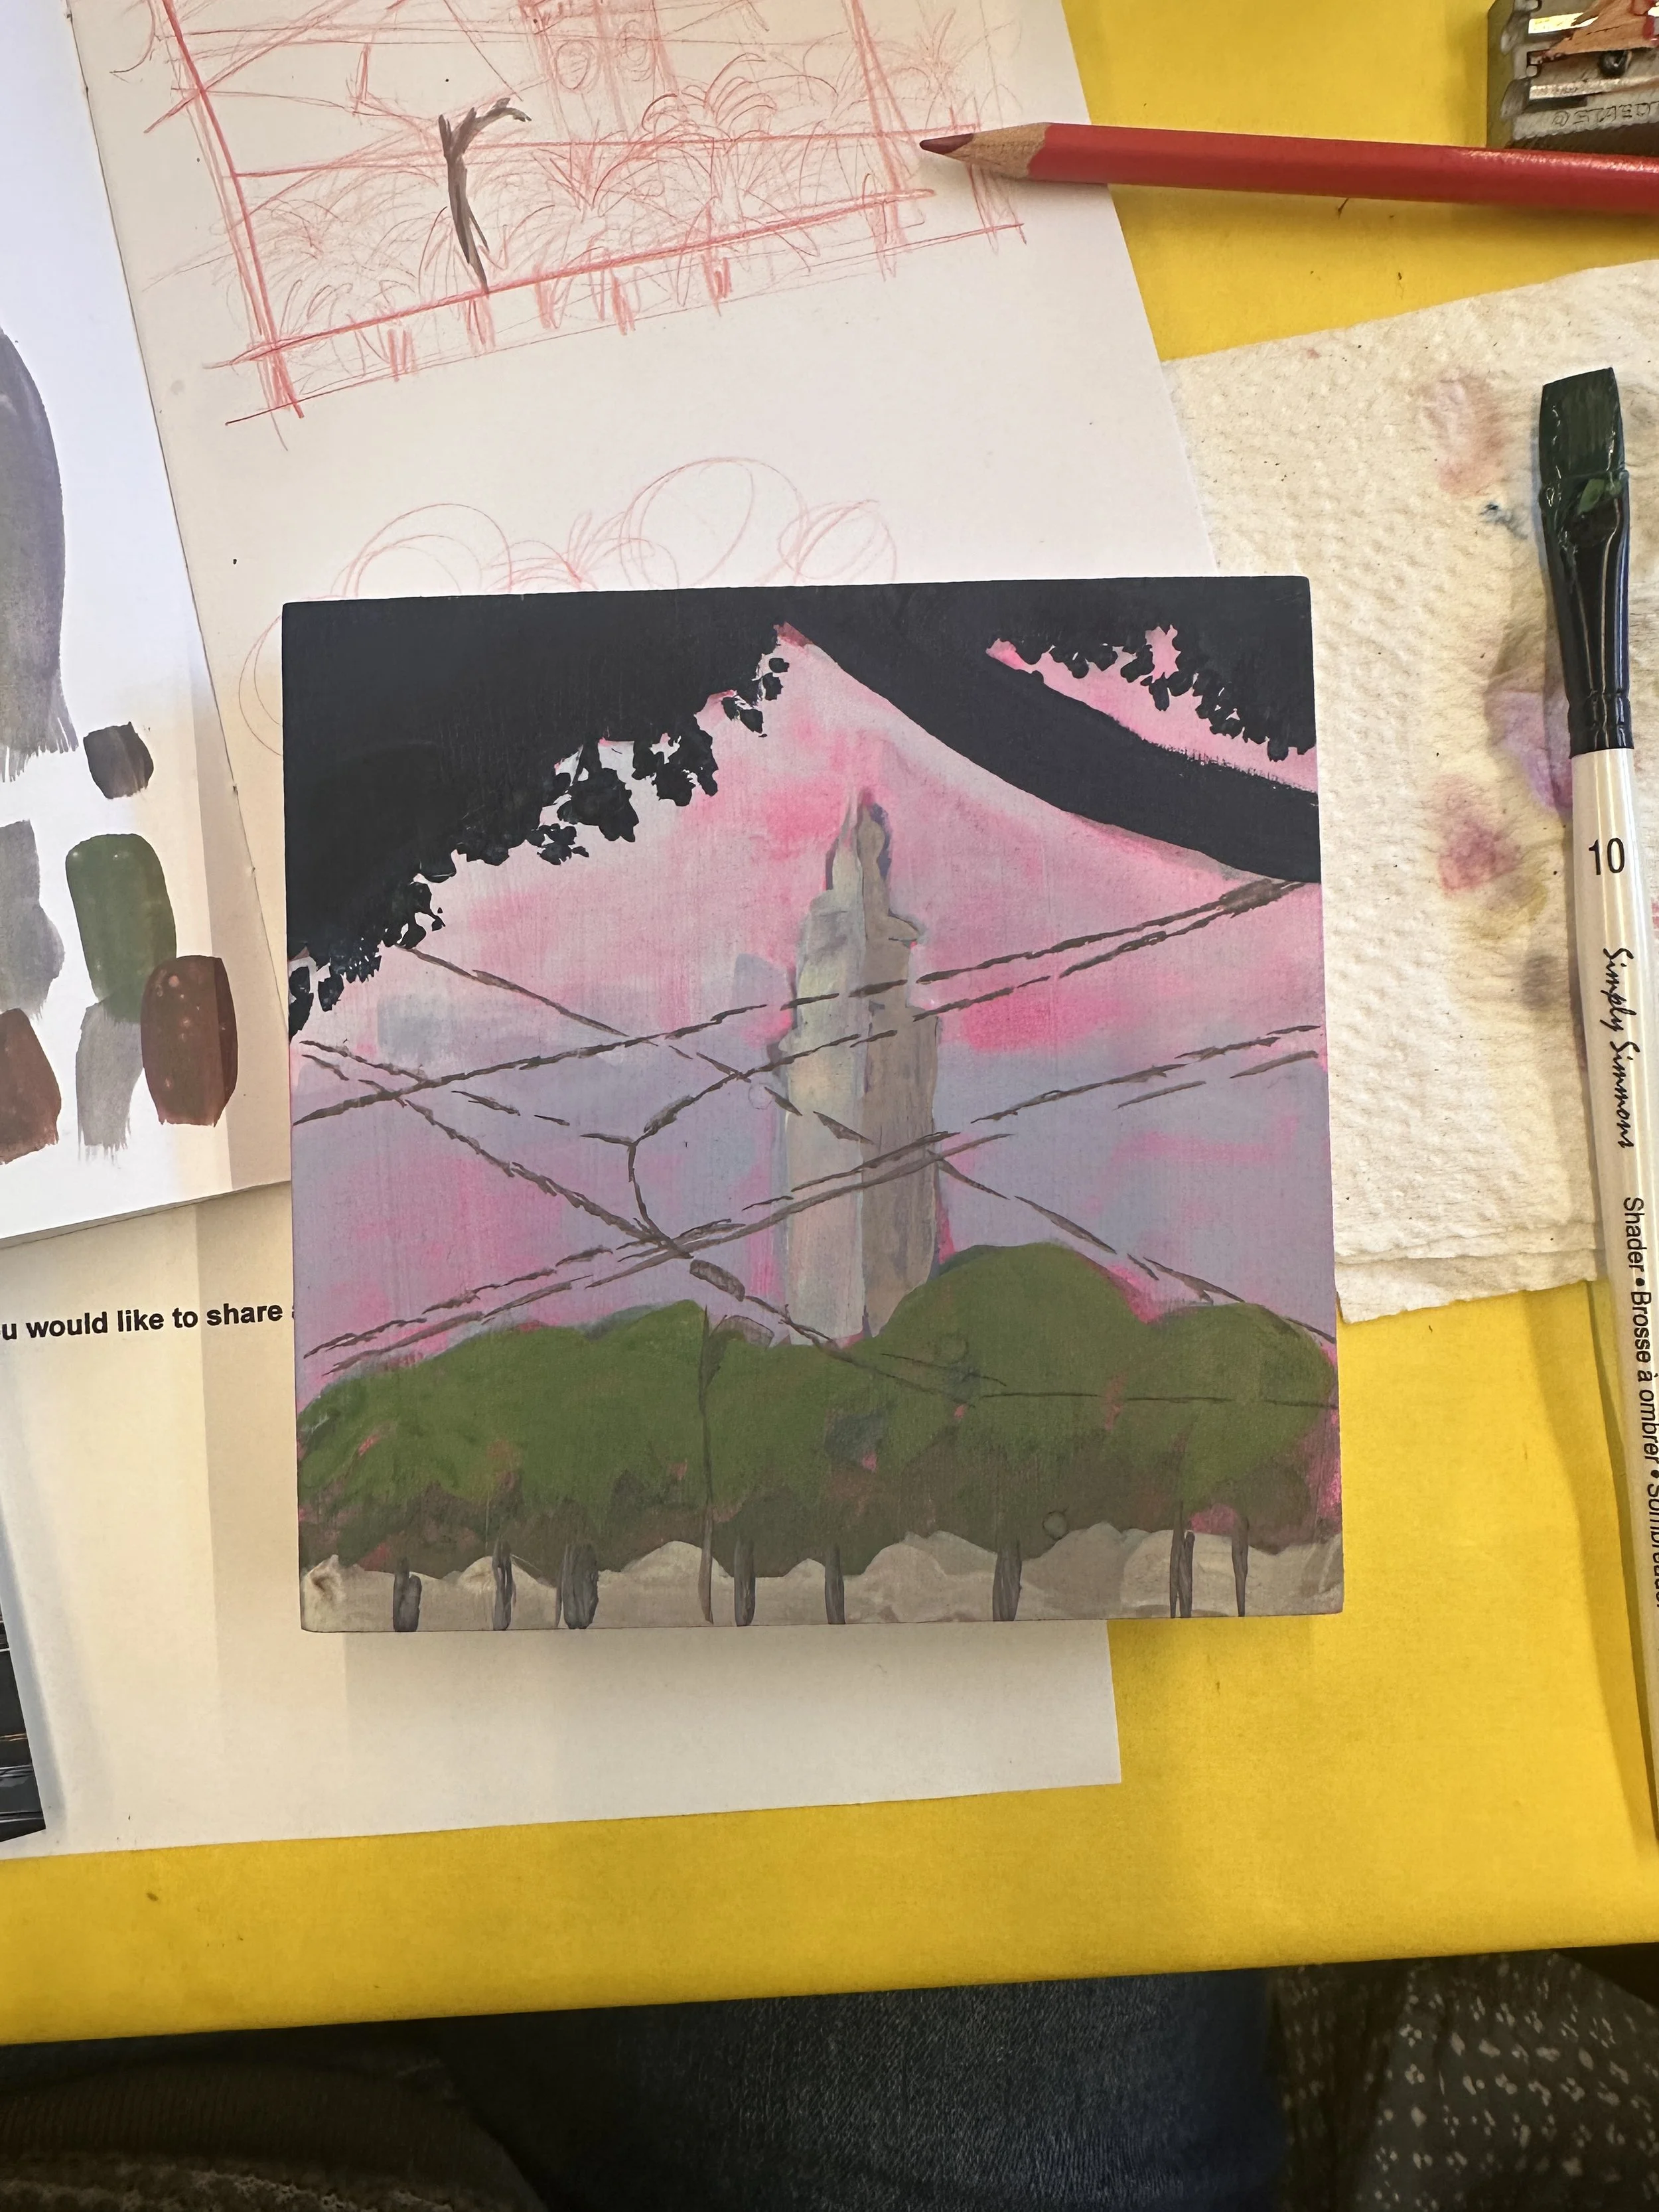
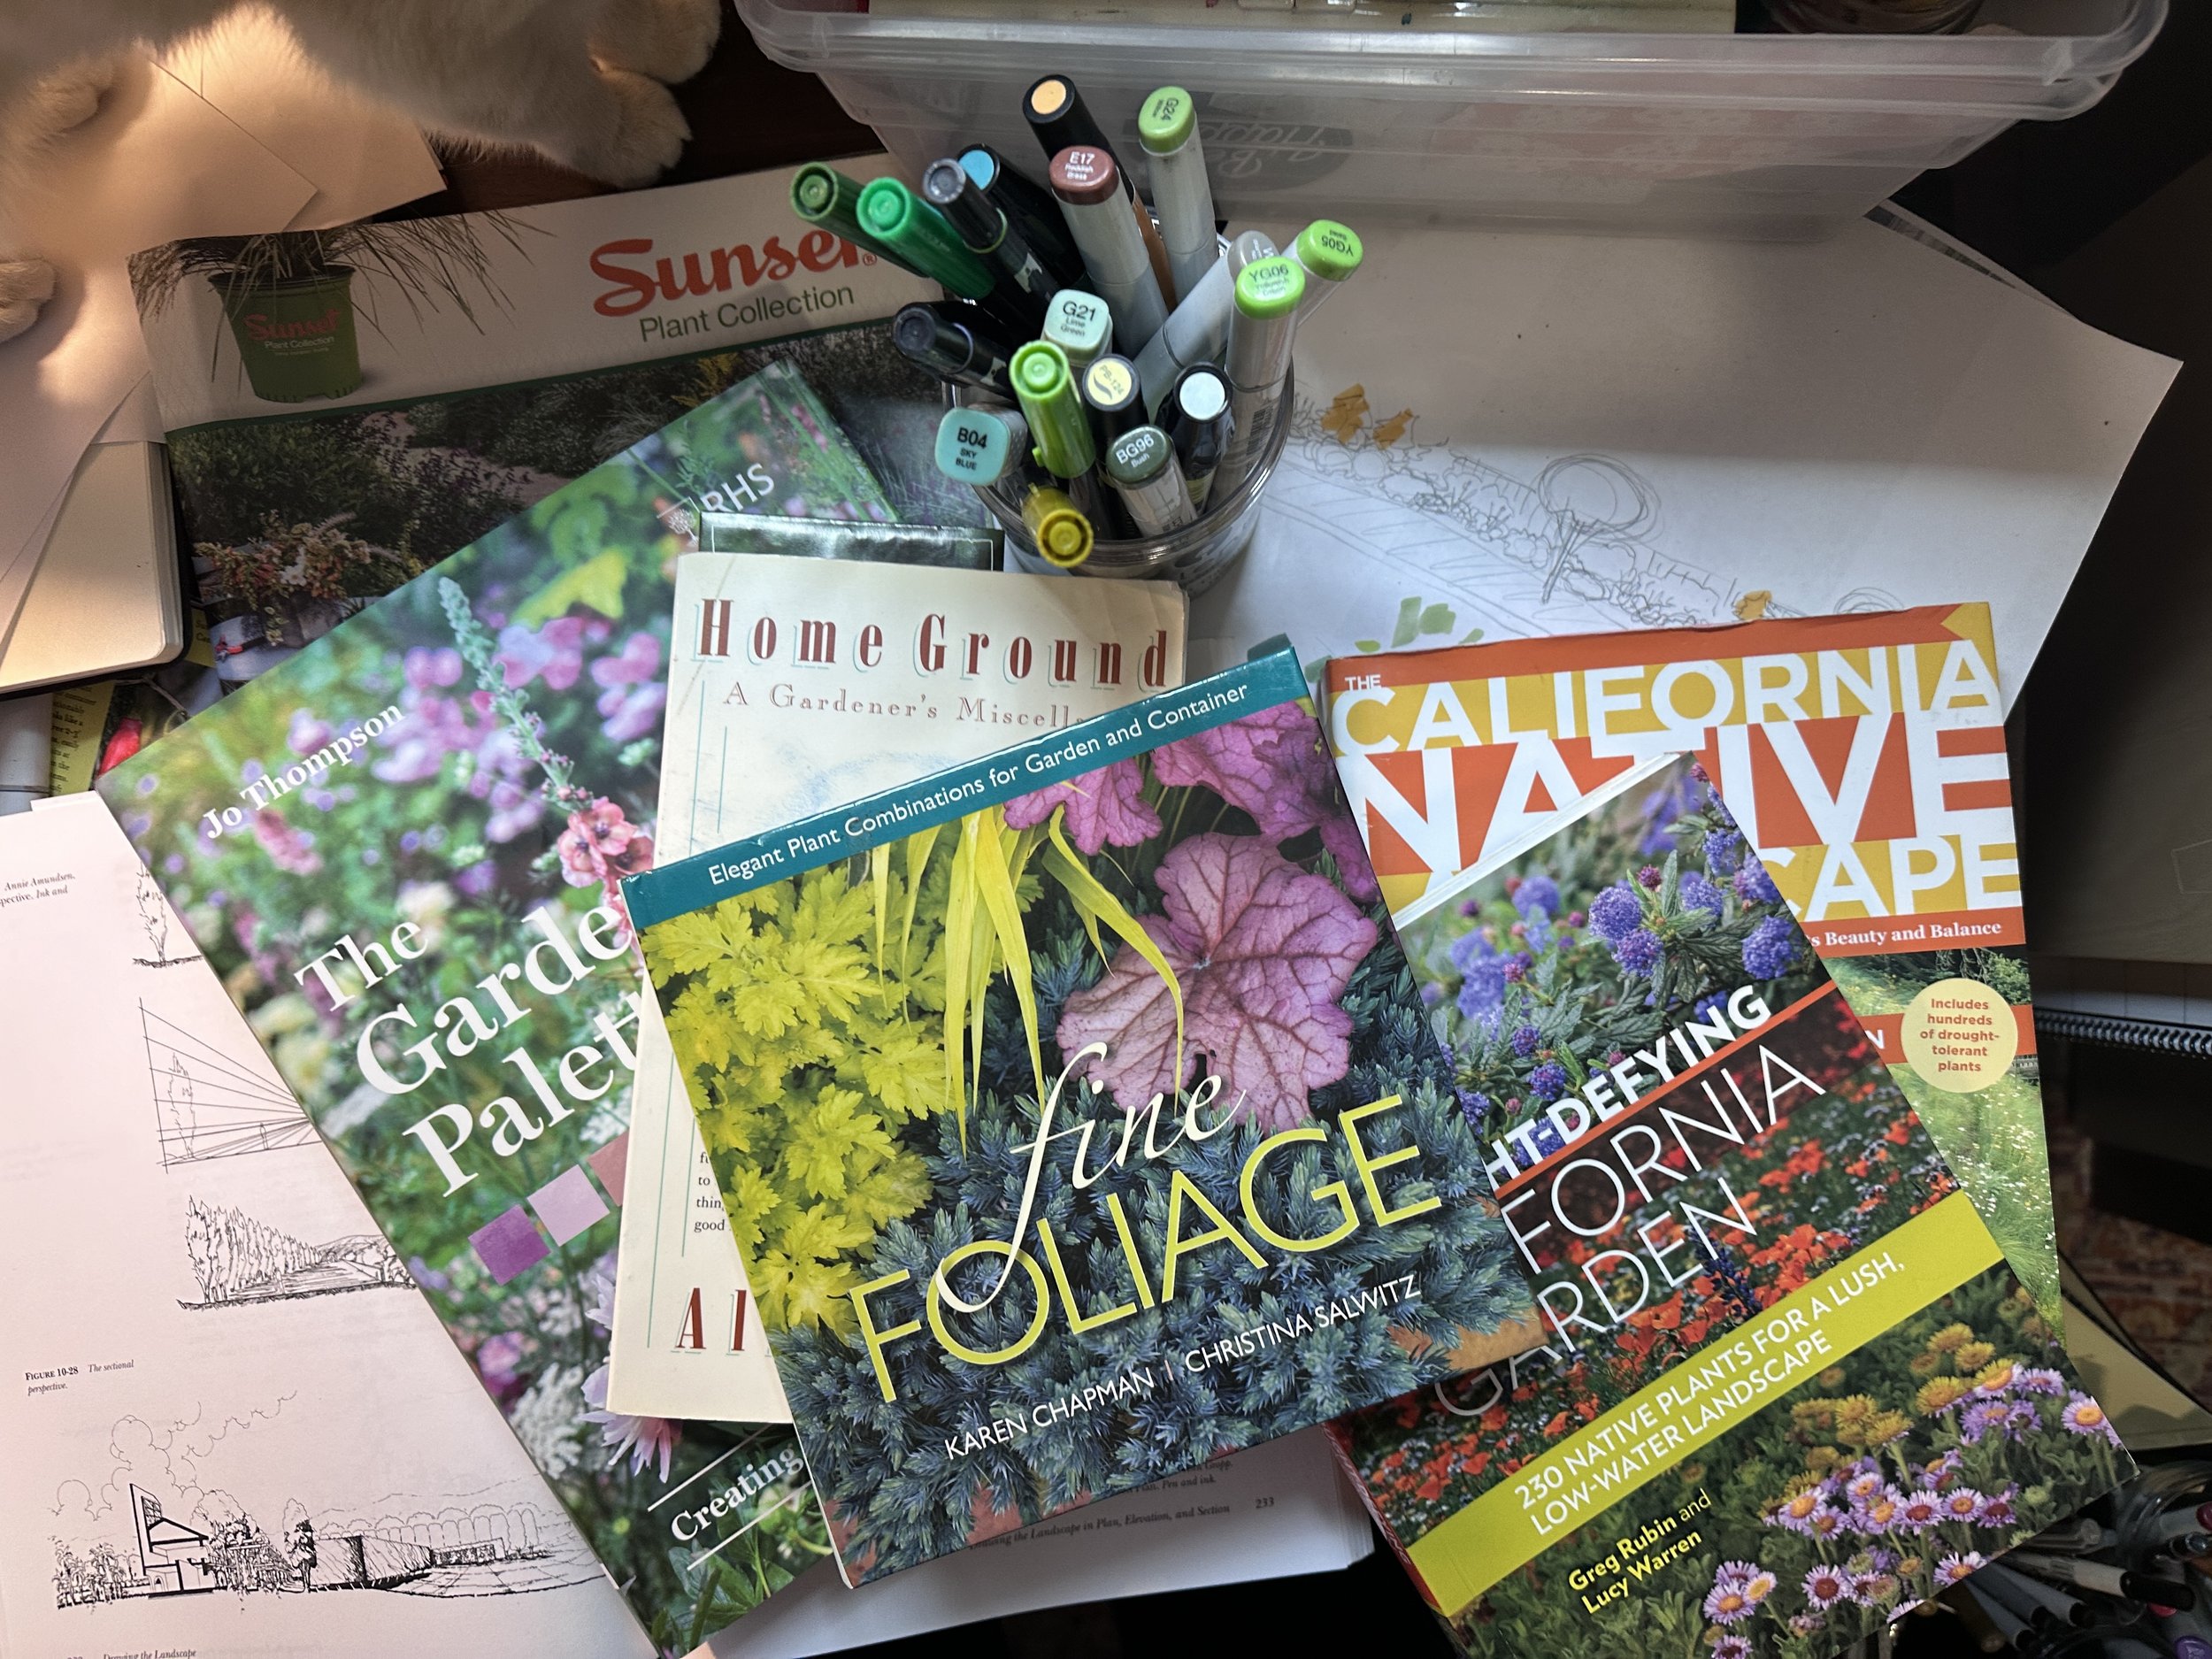
Then, I color using AD markers. I learned coloring with markers using Chartpak. At some point I switched to Copic but now I have mostly switched BACK to Chartpak. Copic are alcohol based and I really find that they do not blend well. Chartpak are some other solvent, I’m not sure what, but I love the smell and they bland much better. I do have a zillion markers so I use a combo of Copic, Chartpak, and Tombow.
PHEW! As you can see, this is def. cumbersome! Gosh, get with the times, Laura!

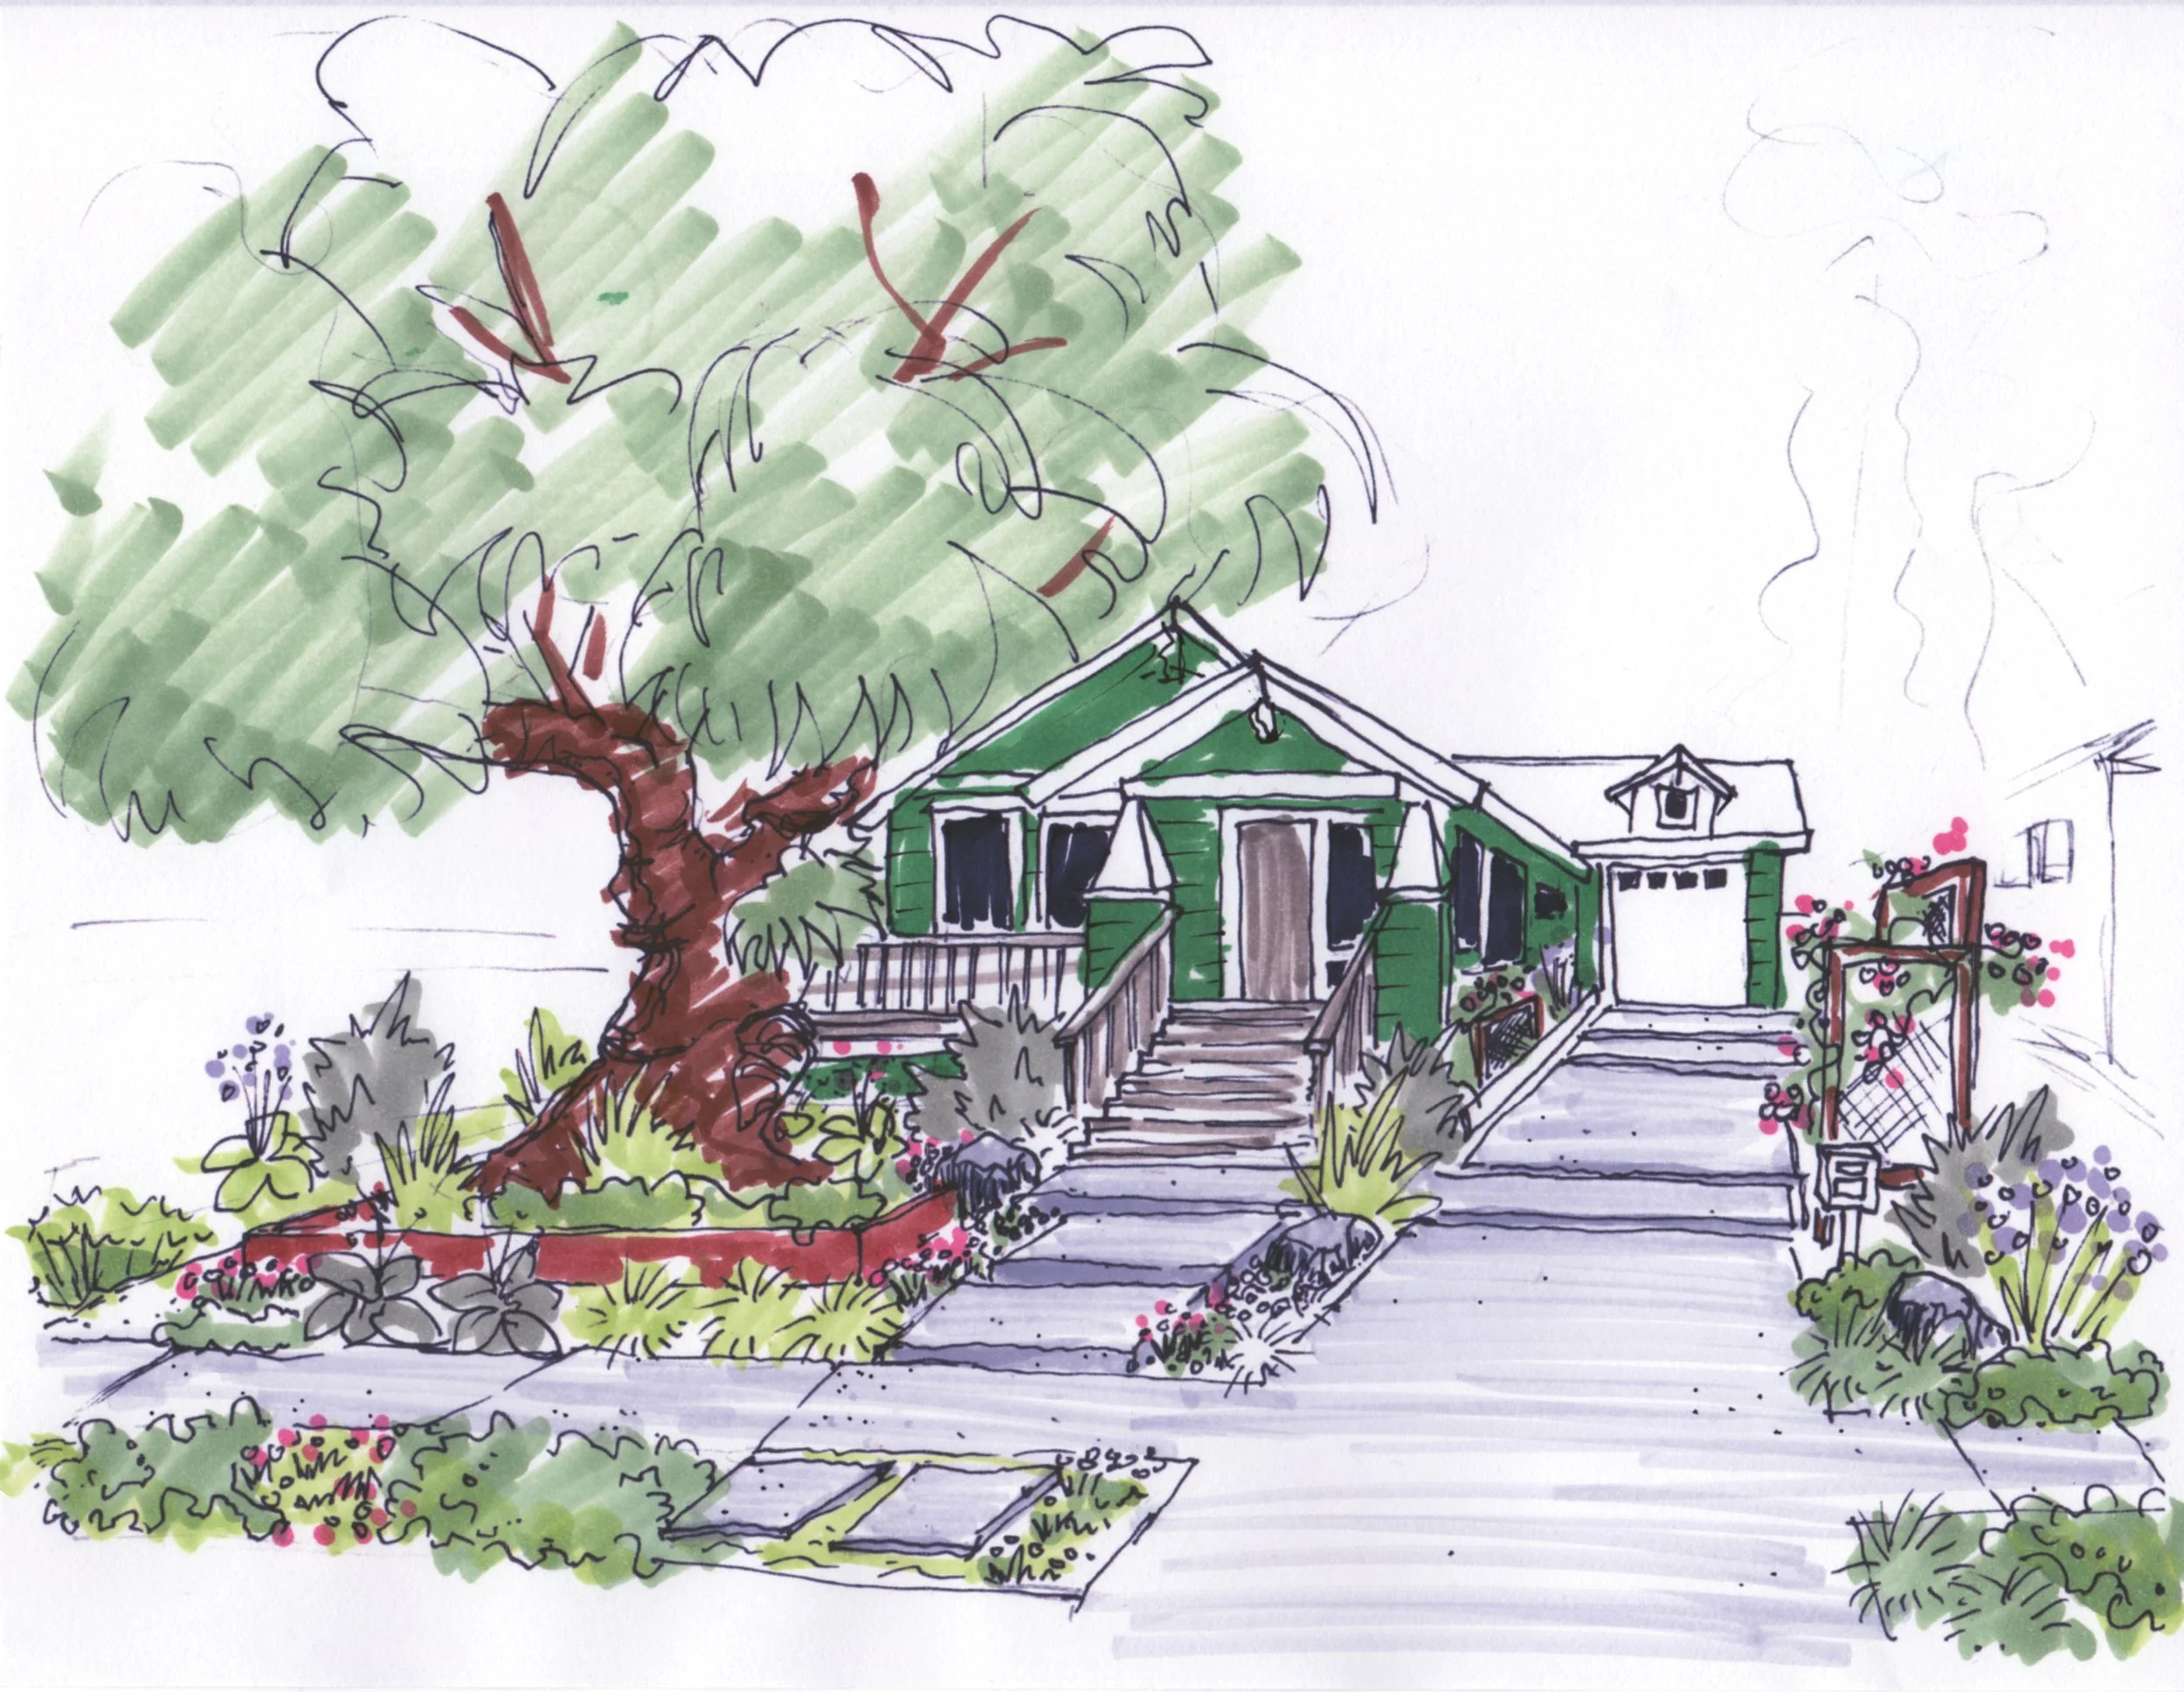
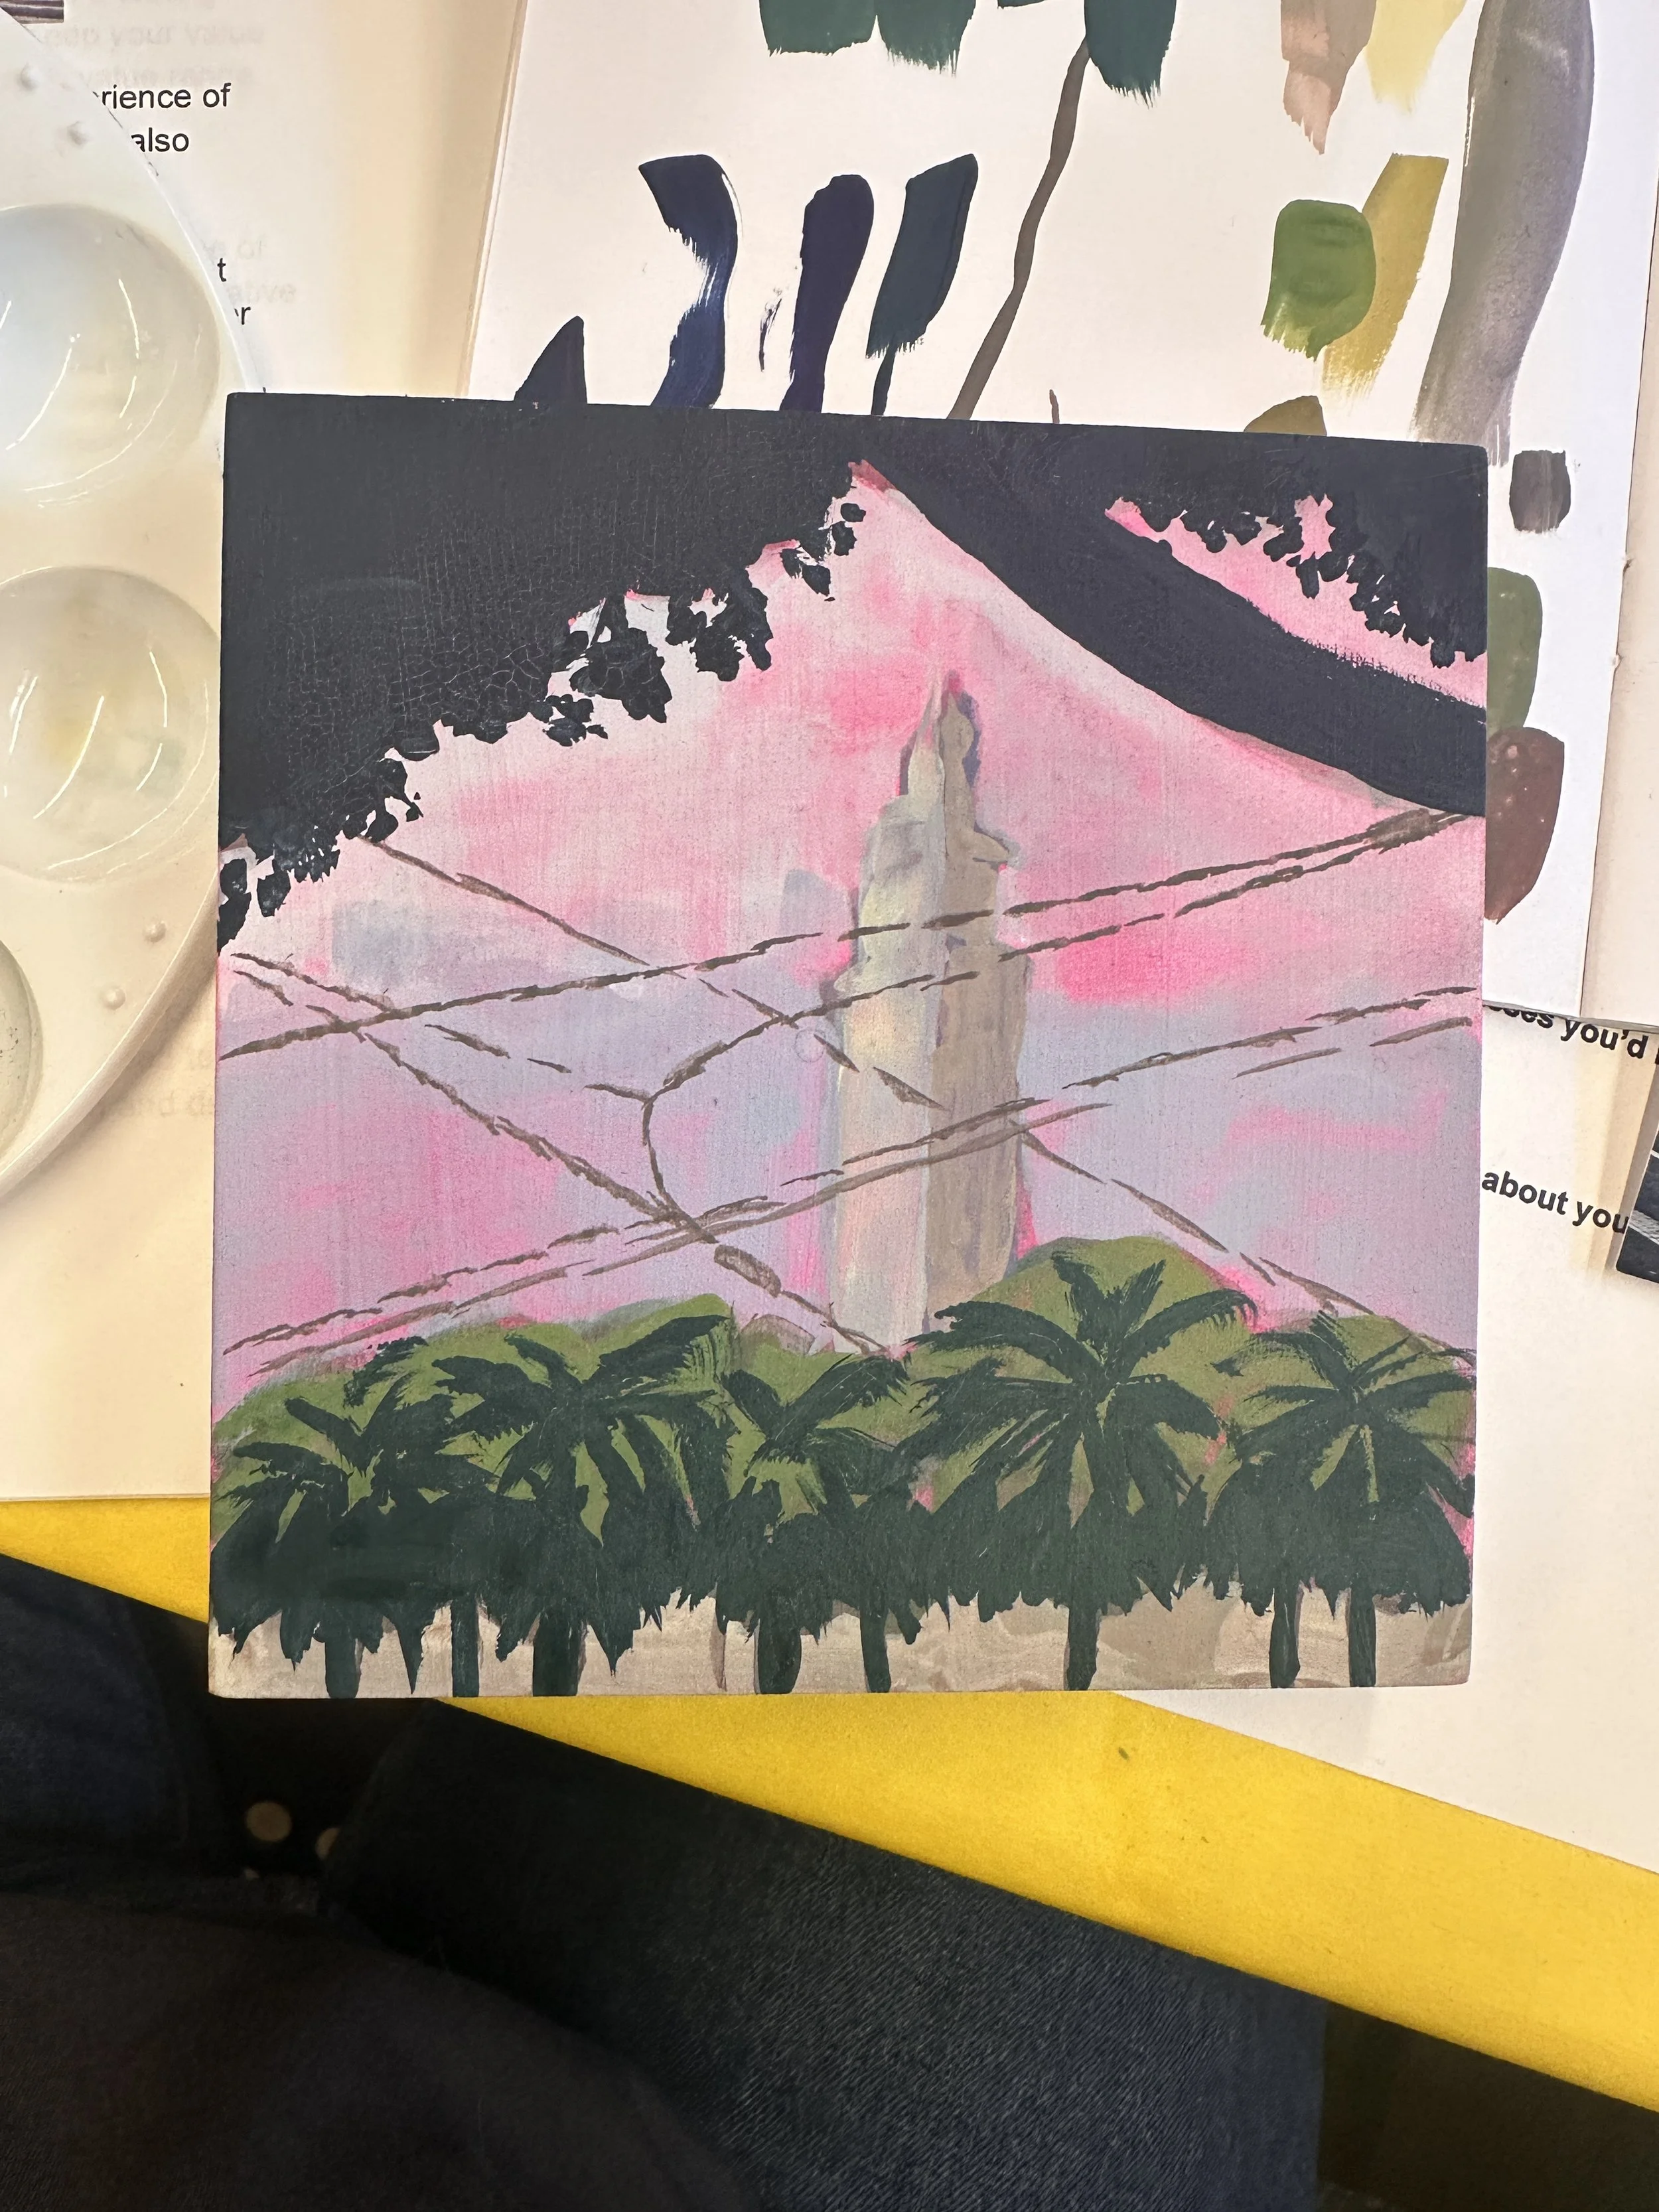
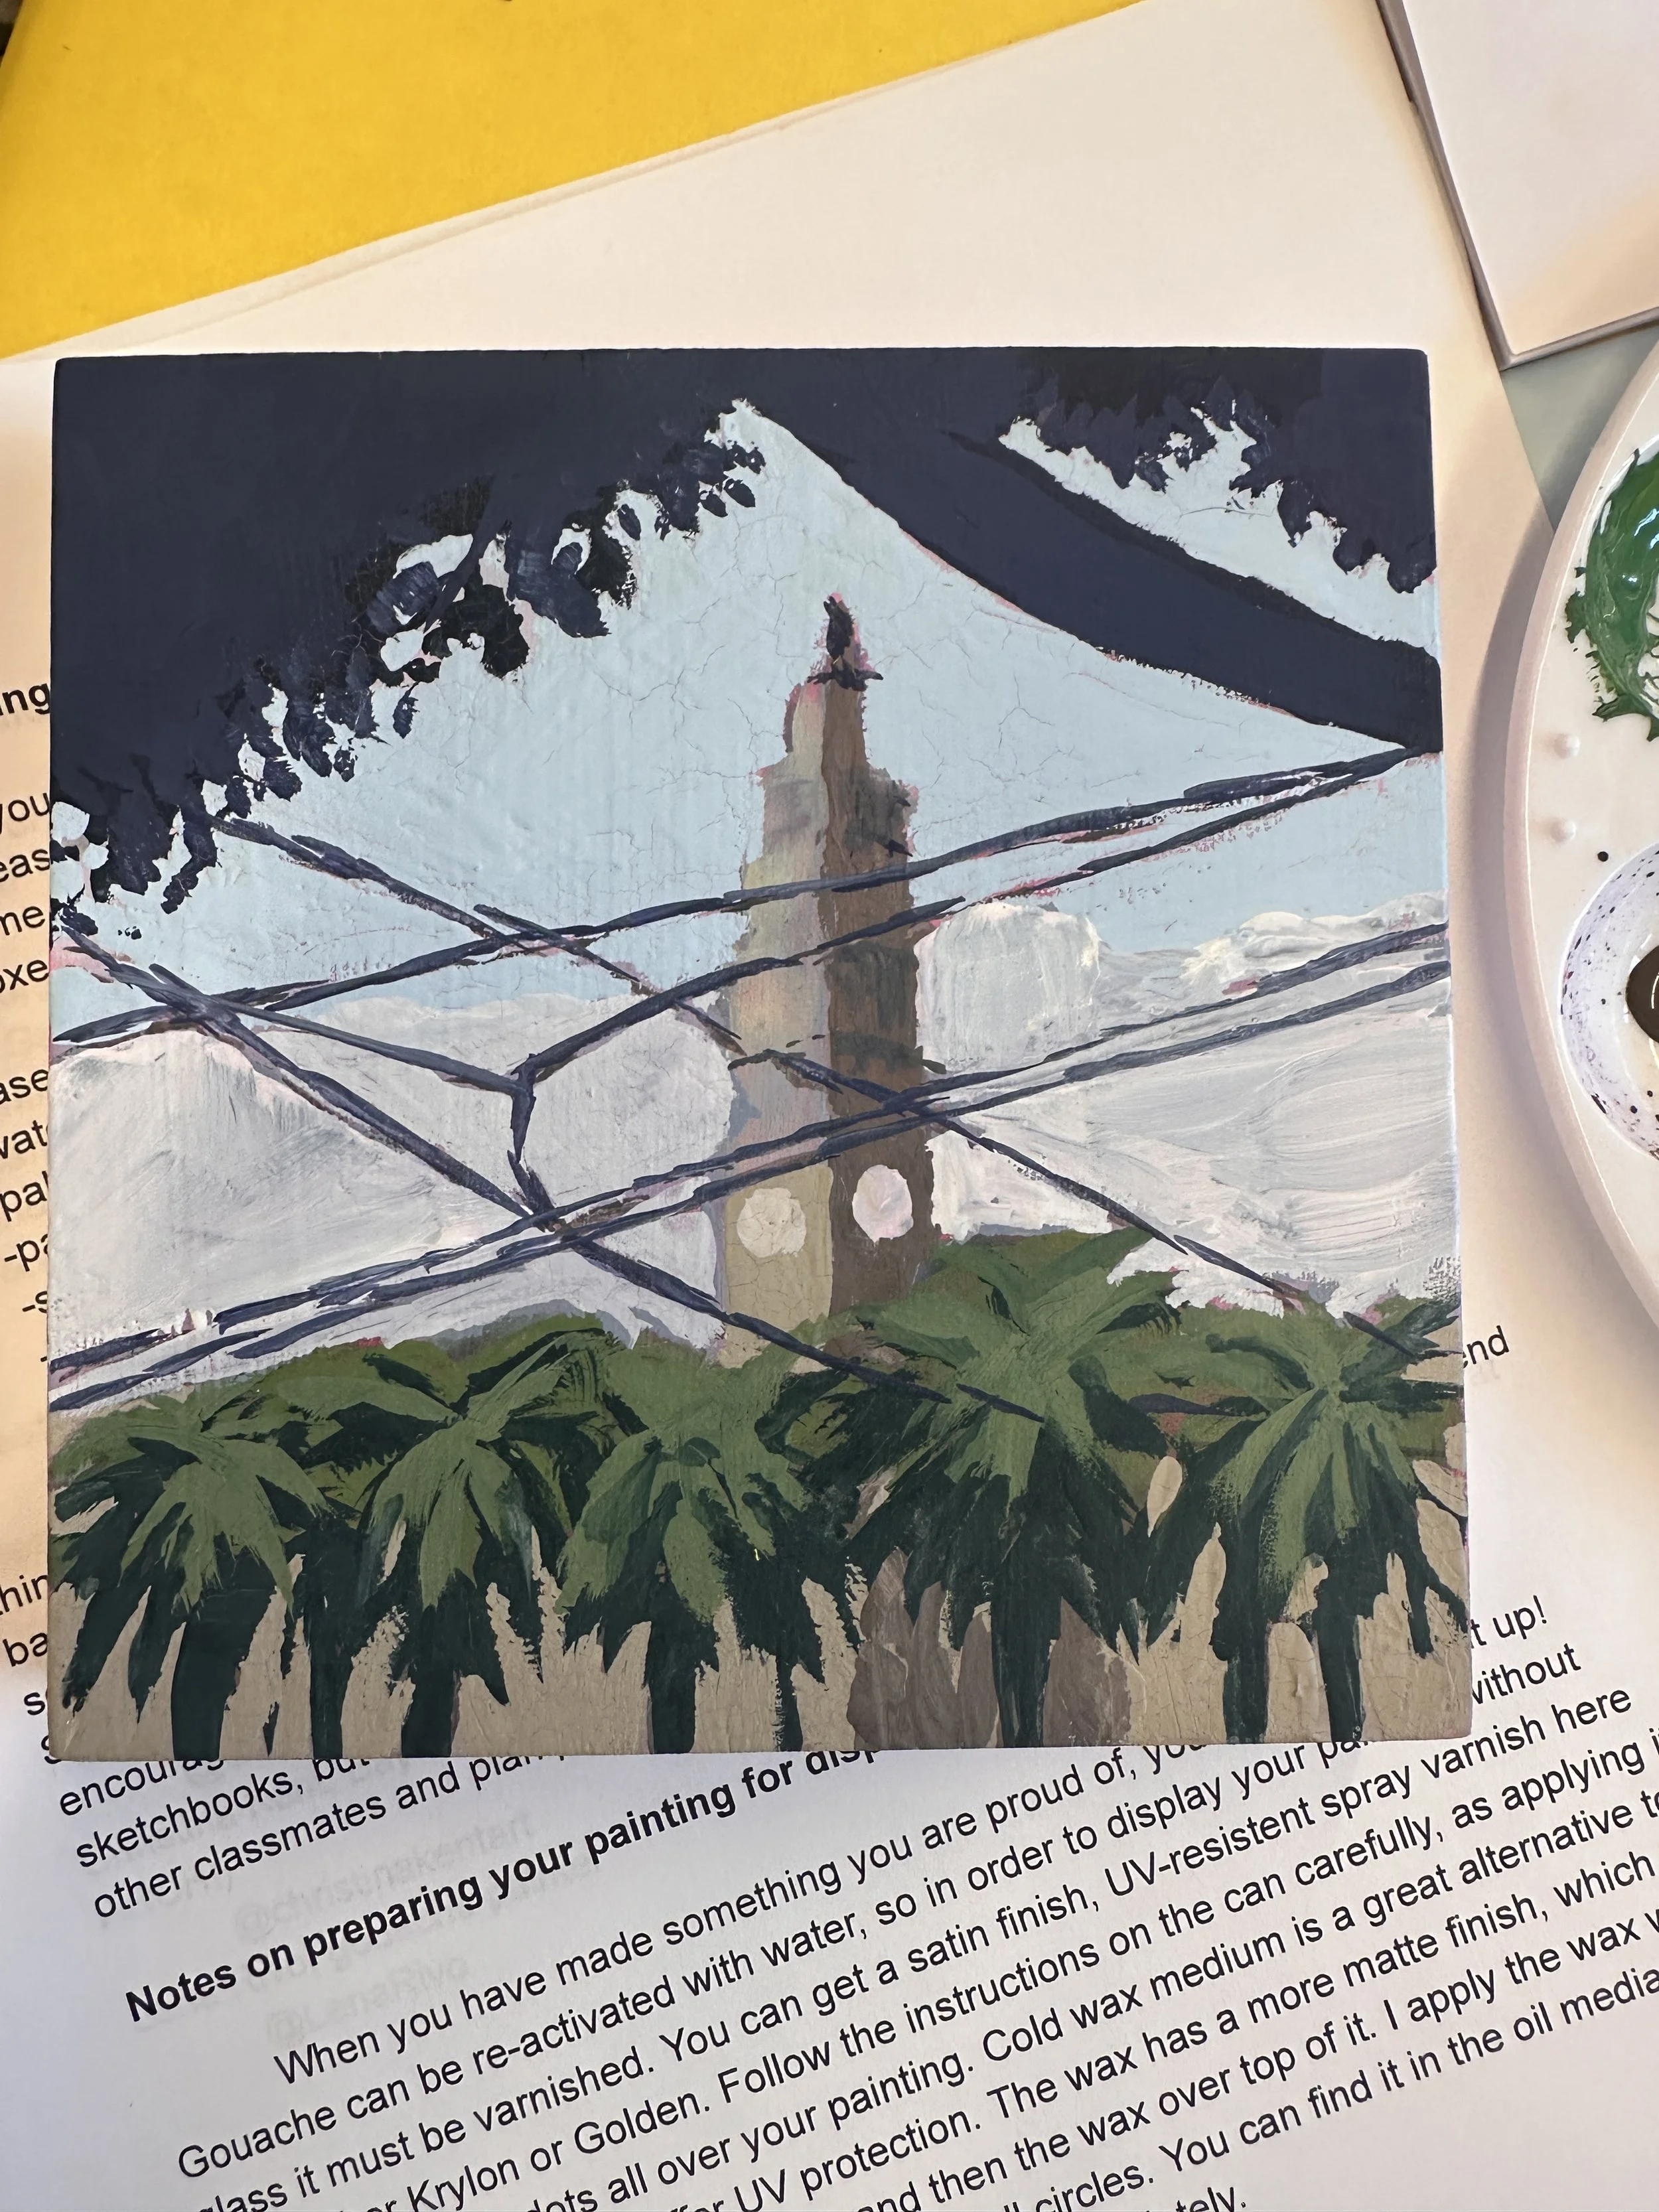
As you can see, this is pretty loose and looks like a coloring book. People do not necessarily want to pay me to spend a ton of time on this so I do it as quickly as I can and the result looks pretty amateurish. Many clients are not used to visualizing a perspective from a plan view drawing so even this is useful for them and this can really help sell your design! The coloring on this one is actually especially bad. I can tell I DID NOT use marker paper when I did the color layer. :O
This is an old project but I am going to use it for my 1st learning project in Morpholio.