Okay y'all. It's chicken time again.
How did we get here? I'm sad and embarrassed to report we are here because of predation, and it's my fault. Our chicken run is 16 years old and NOT critter proof. I believe during all this rain, a very smart raccoon decided to live under our covered porch and then realized it could get a nice chicken snack if it waited for the coop door to open when the sun came up. :( Ugh, there's nothing quite like finding my flagship chicken Sesame mangled and dead with a raccoon trying to drag it behind our neighbor's Airbnb. I hope I startled their guests while I was screaming and hitting a raccoon with a broom handle… :(
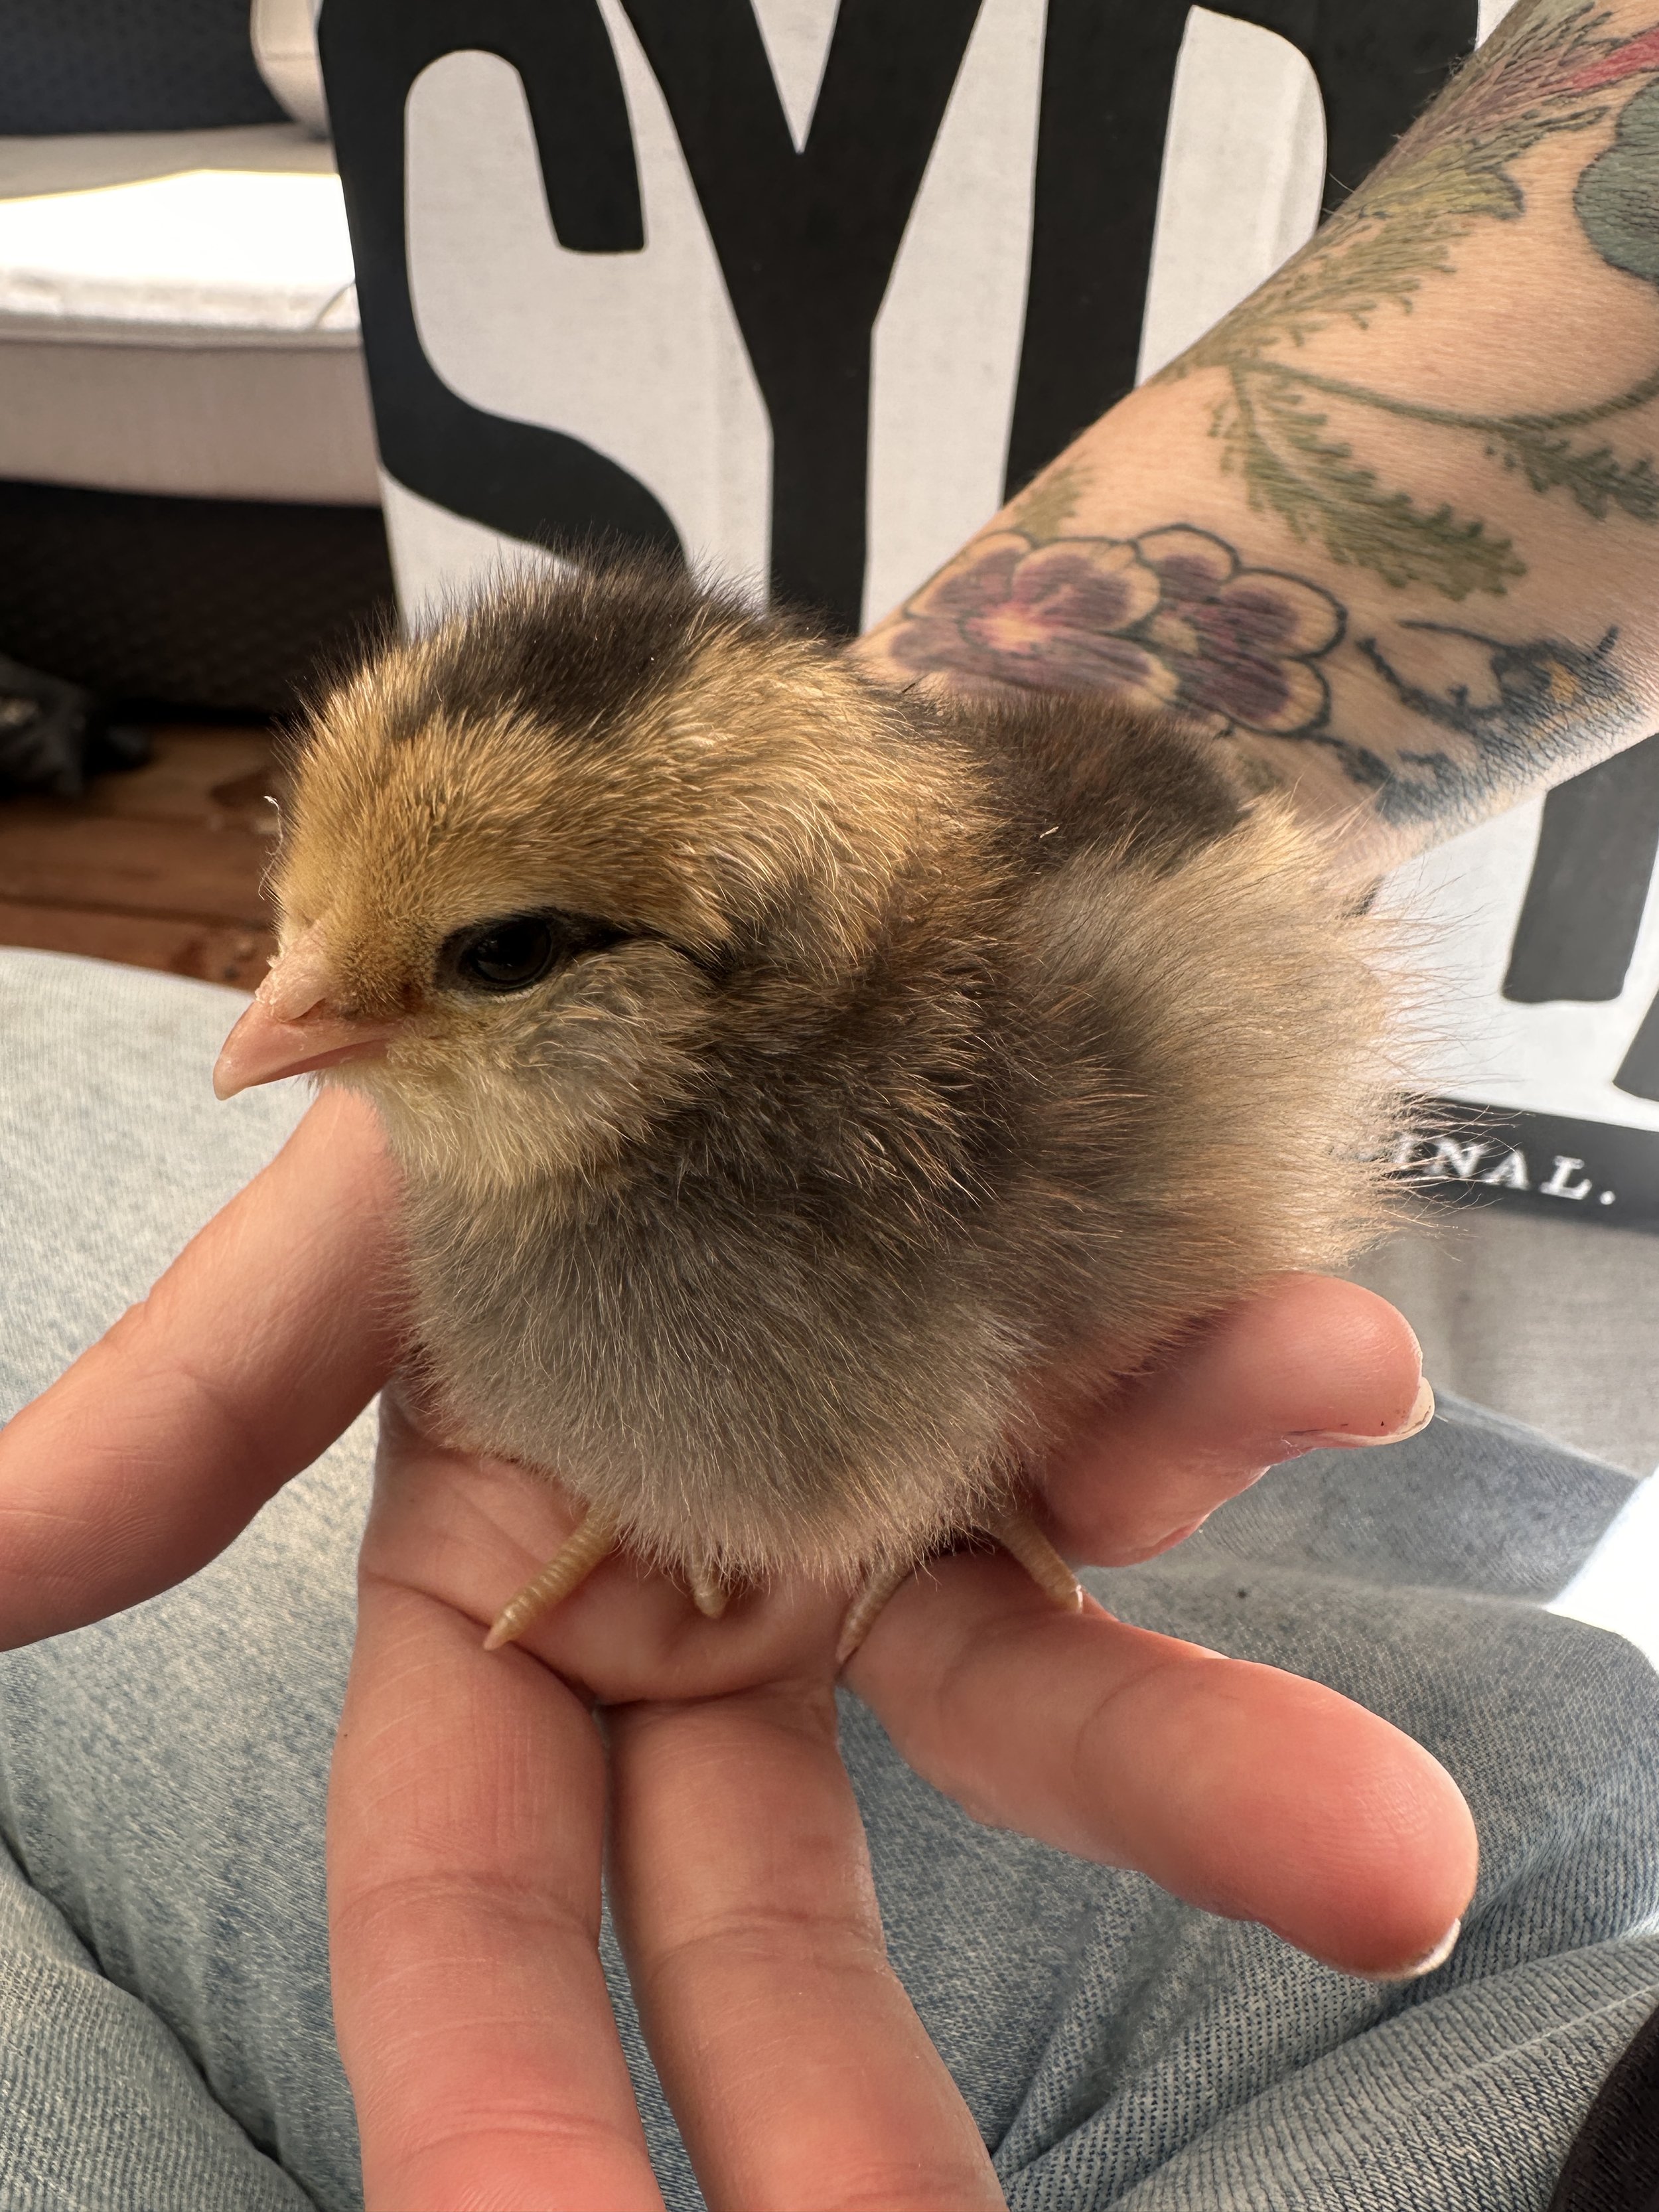
I did seriously consider not getting any more chickens and just waiting out the 2 remaining ladies. But have you seen baby chicks? They are too cute to ignore. I hopped on to the chick page for Urban Farm Oasis and ordered 6 chicks.
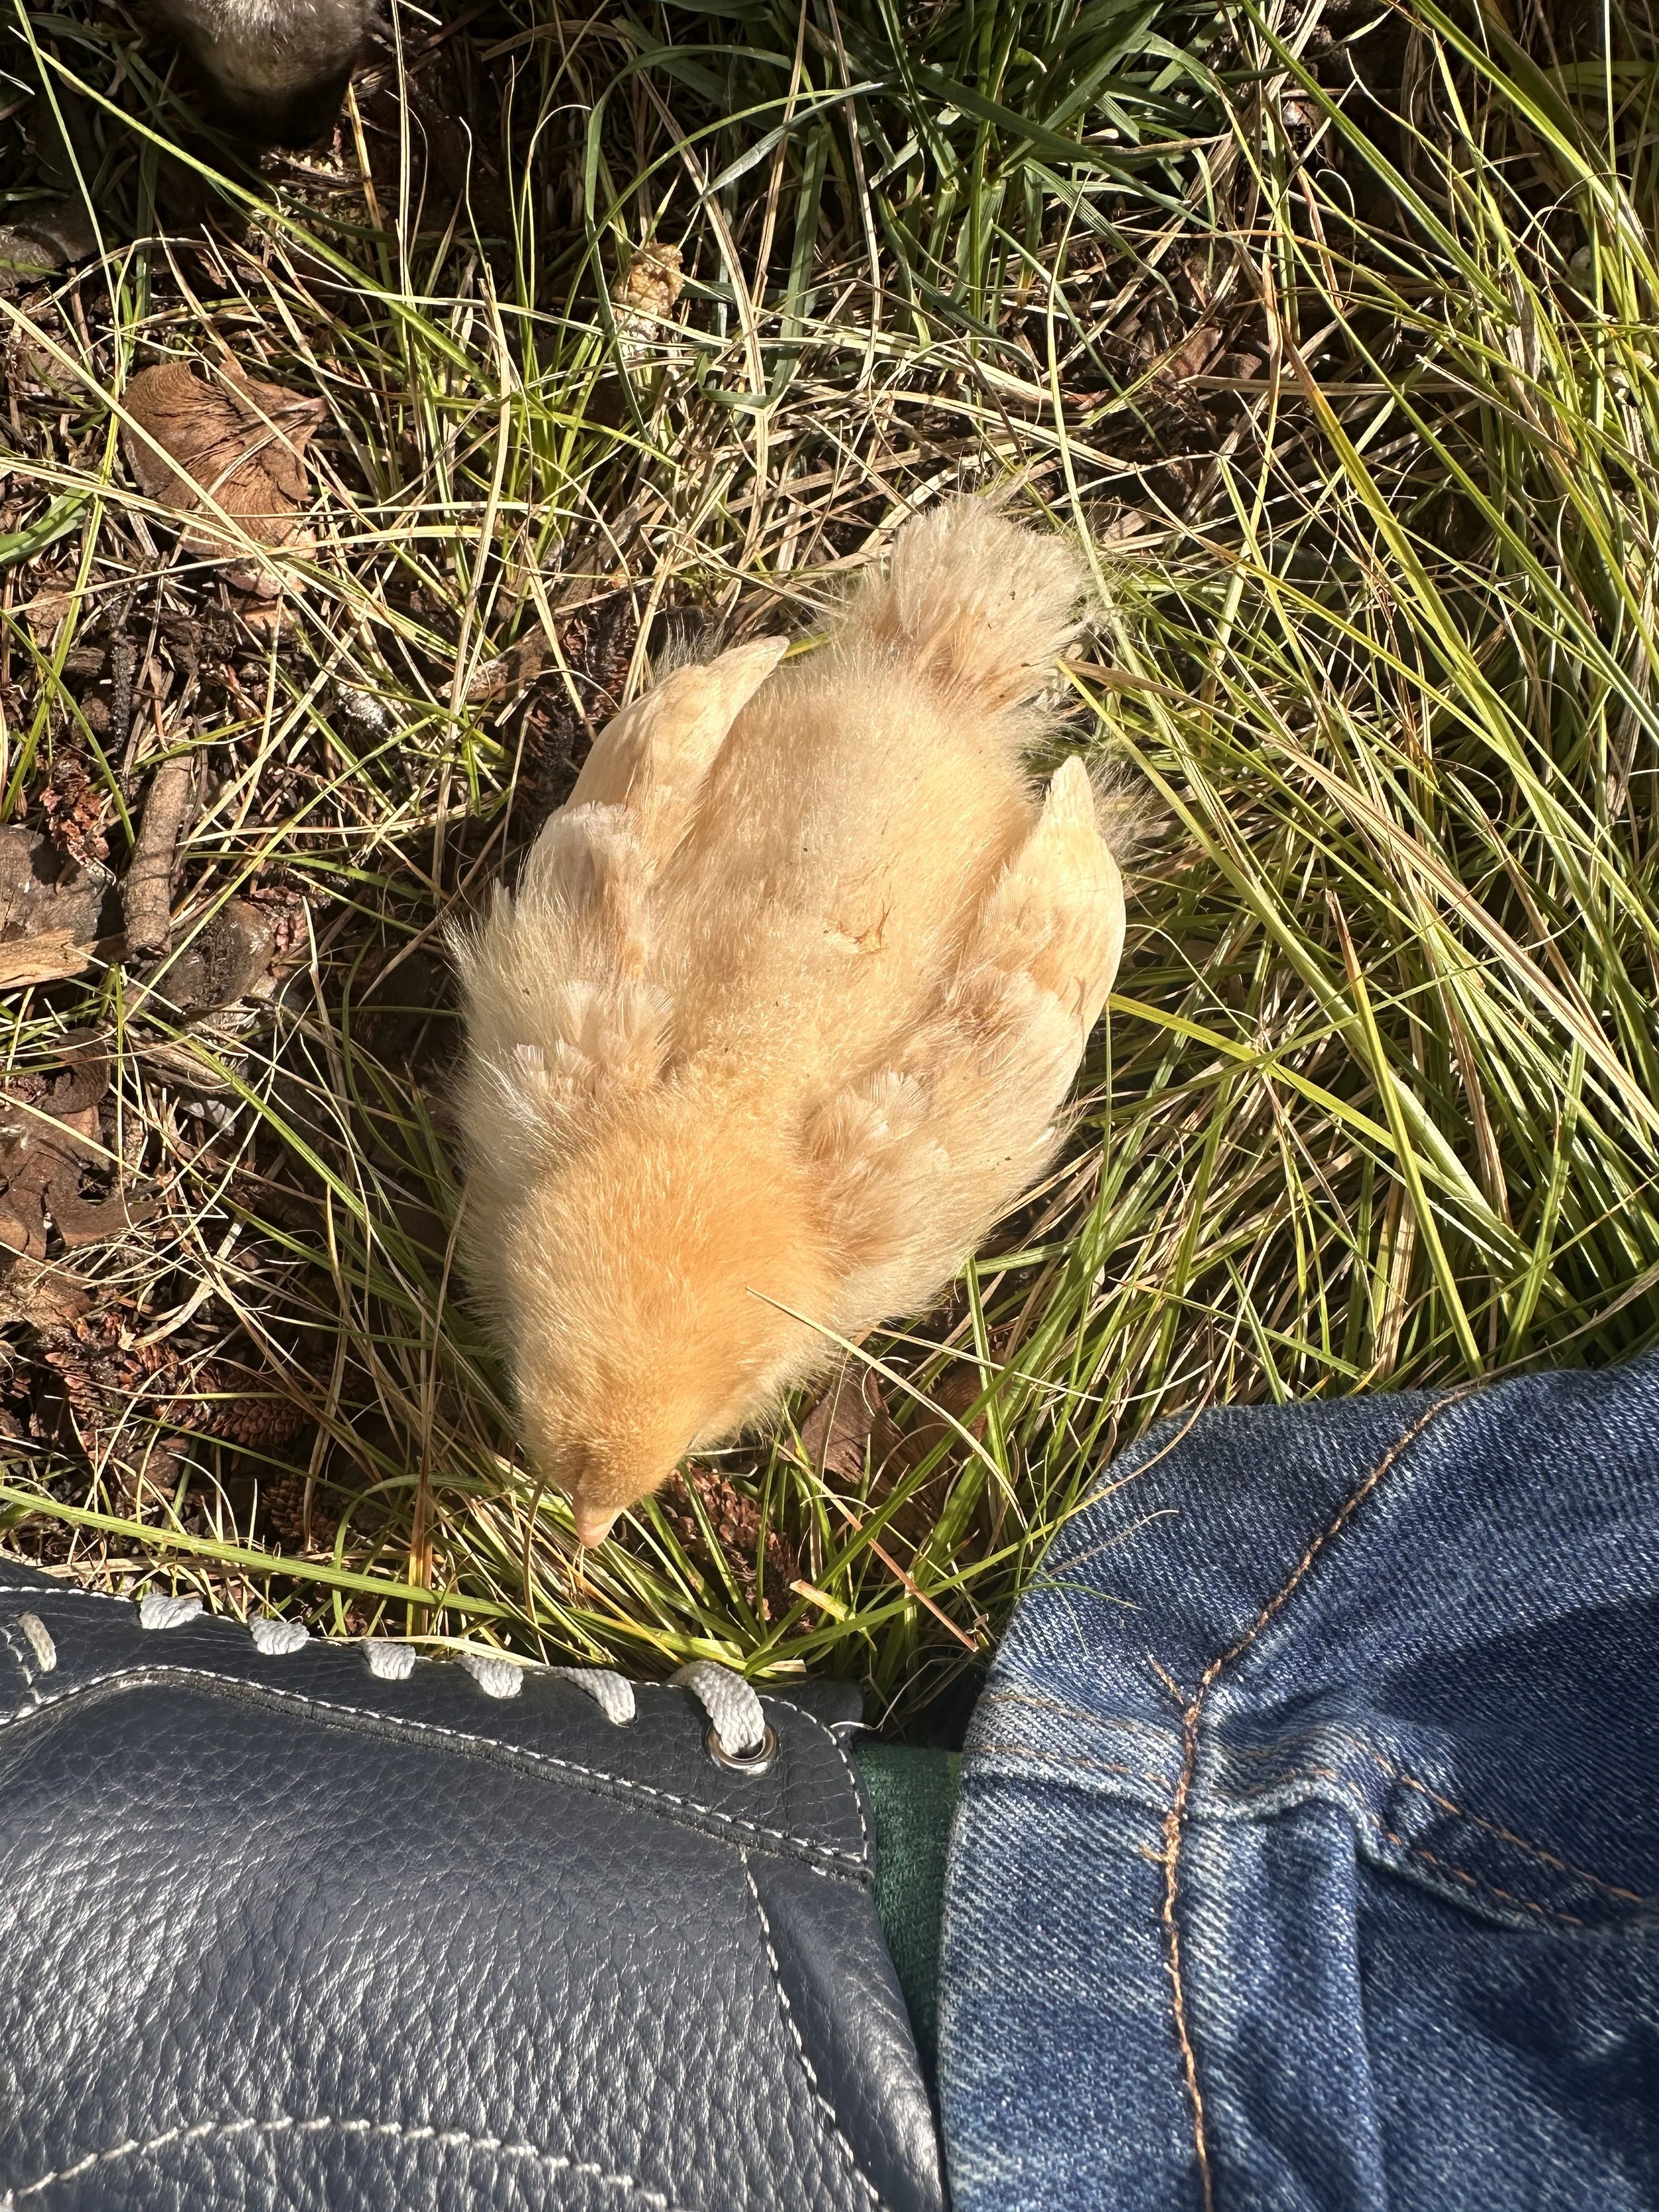
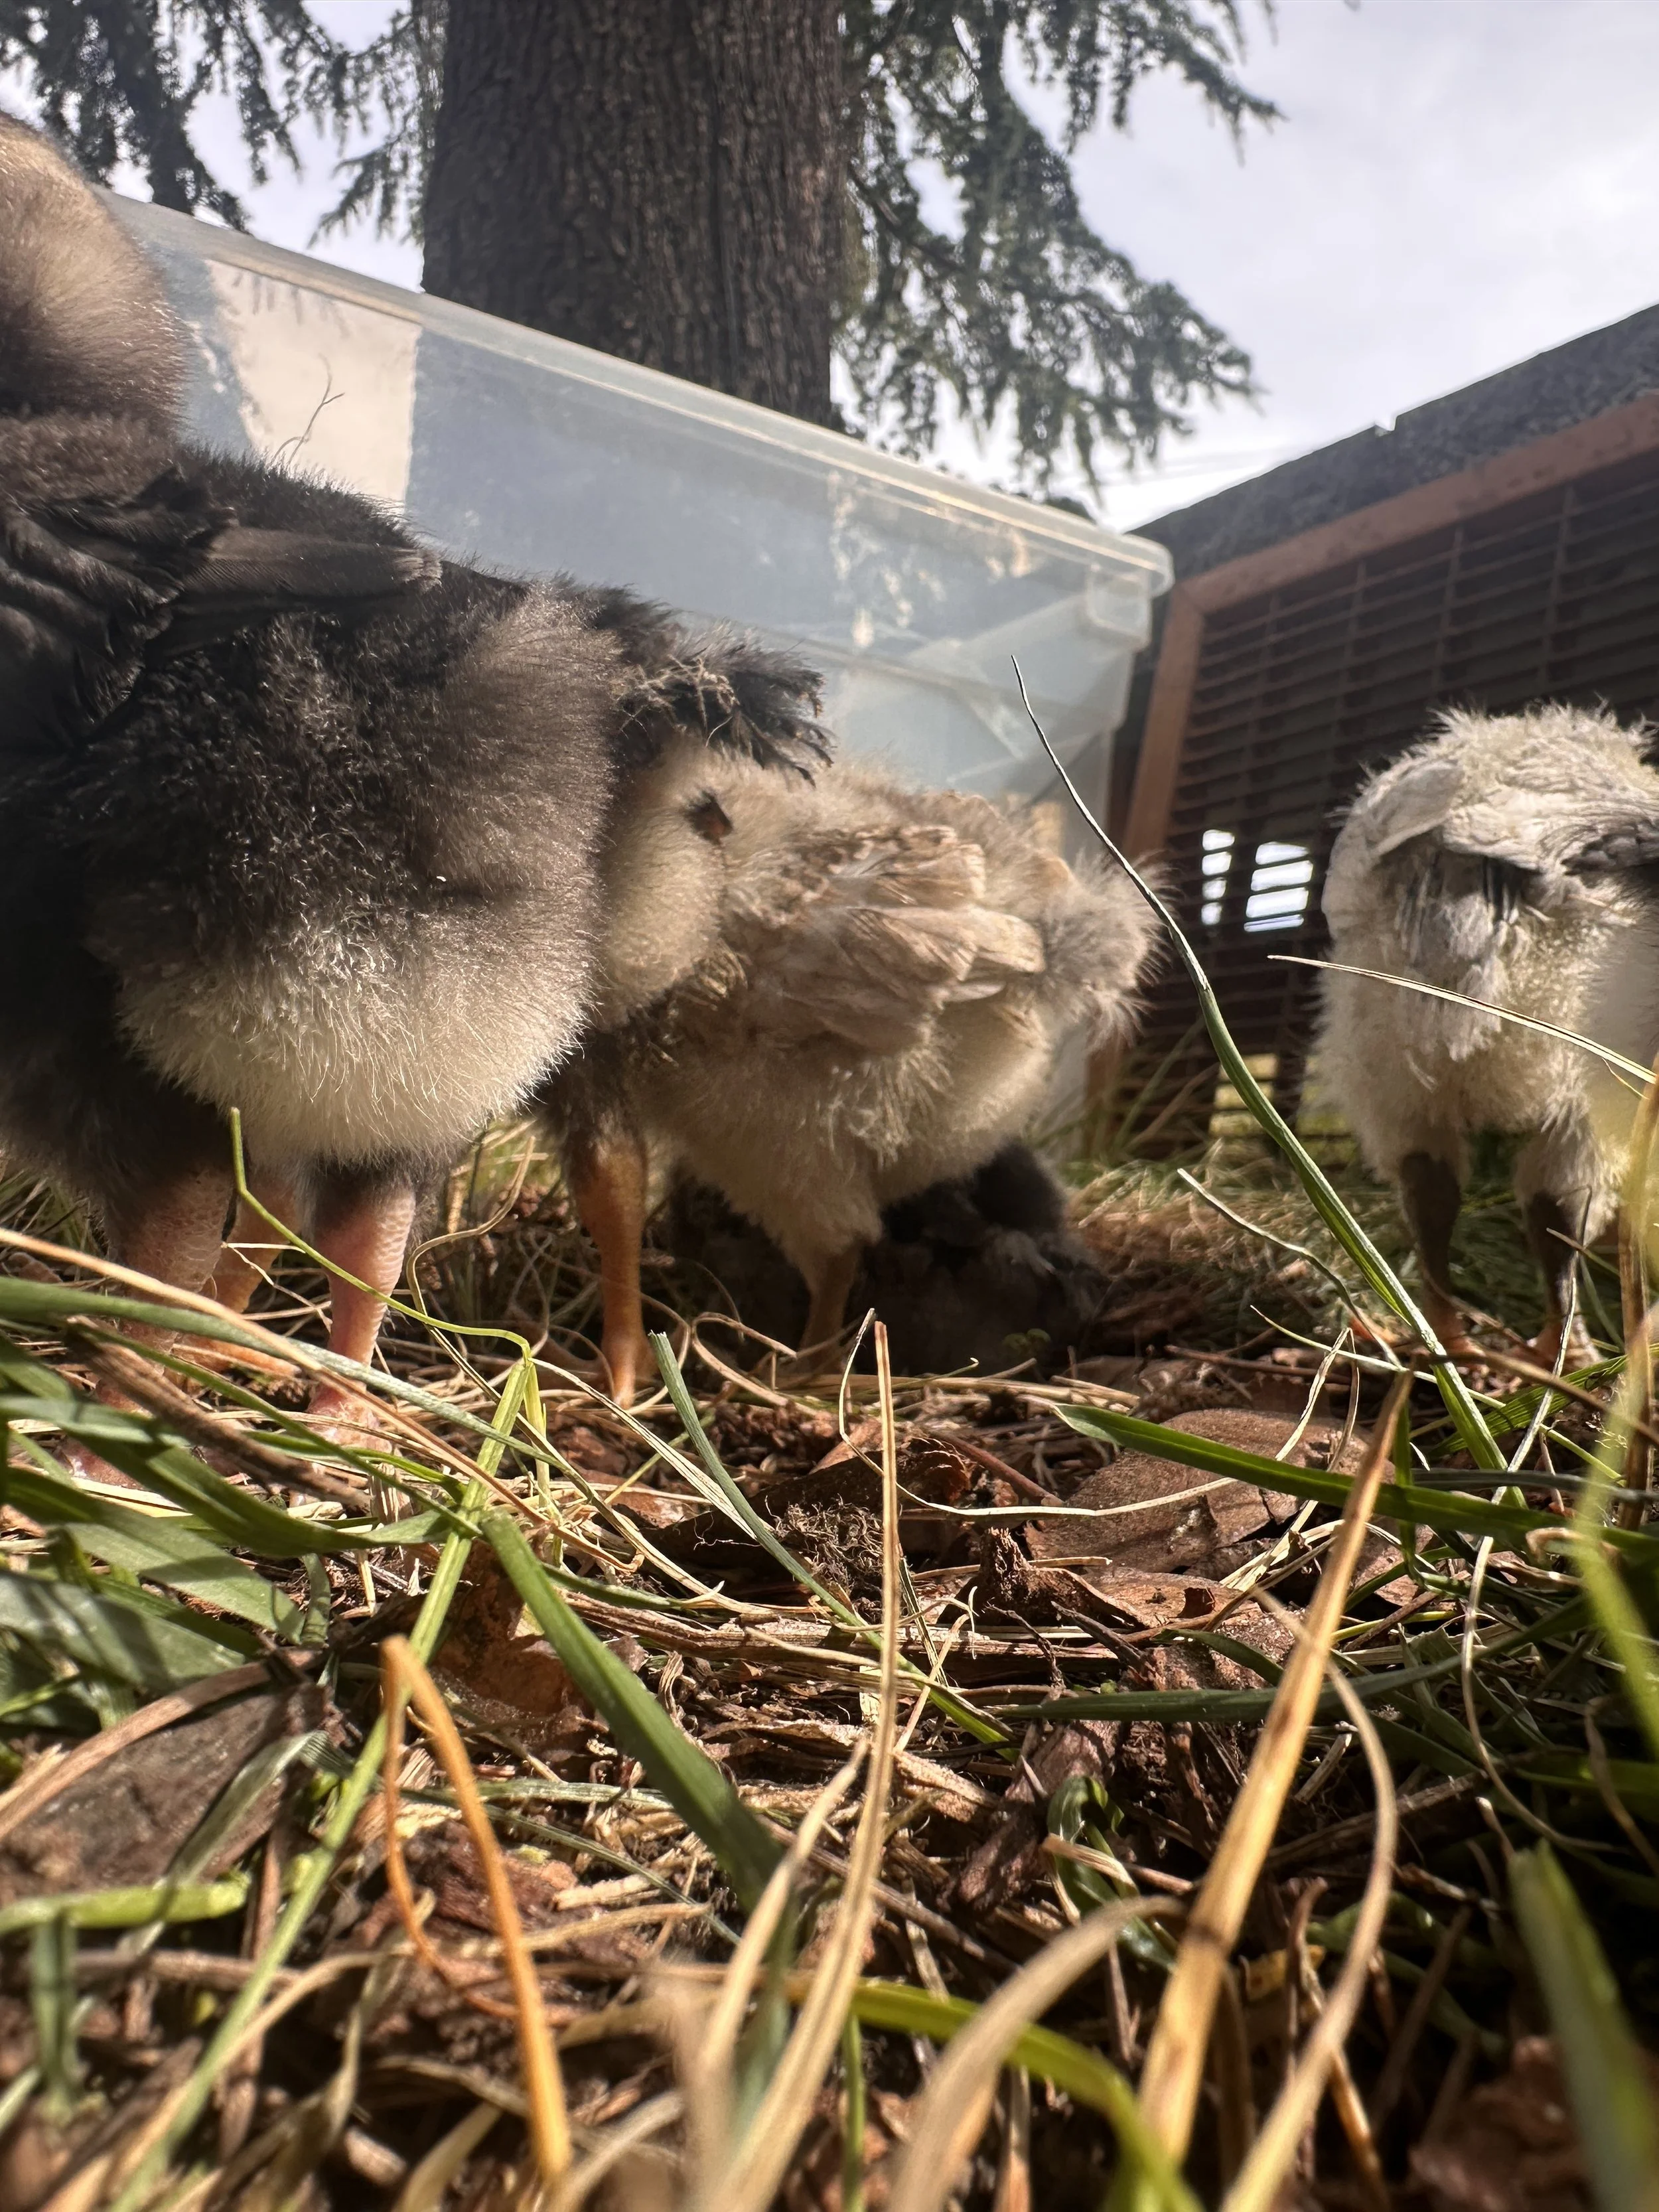
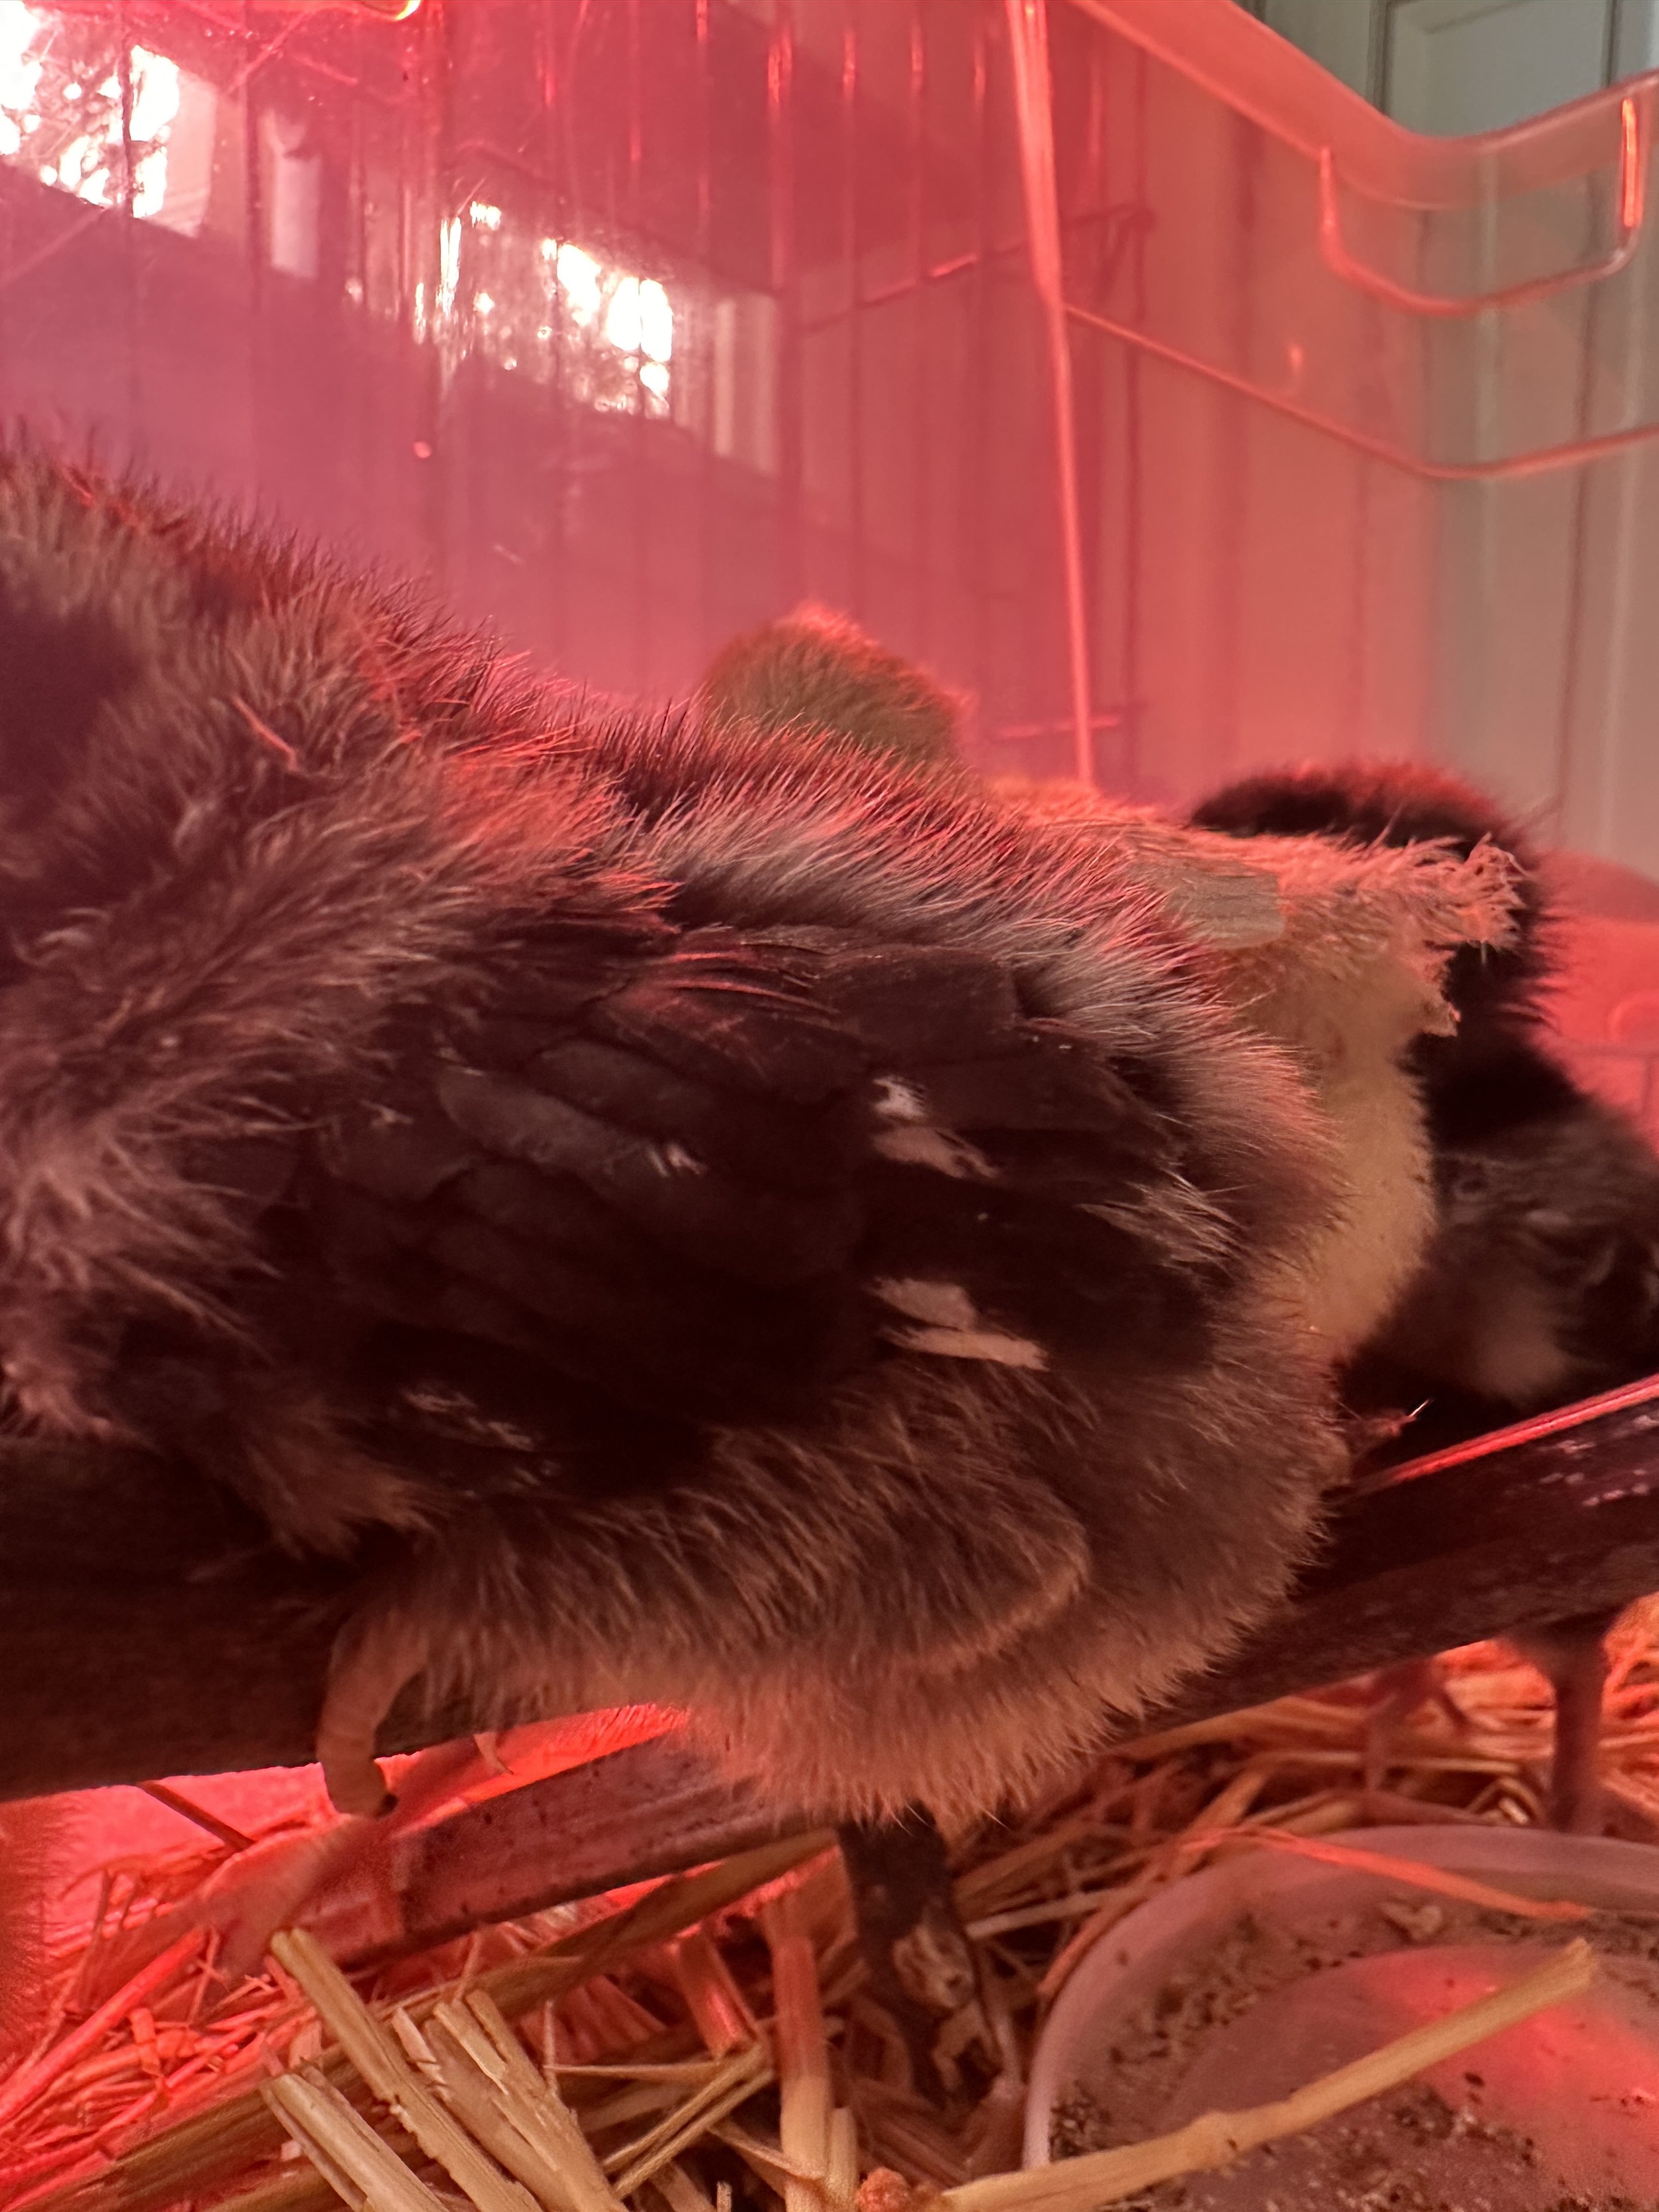
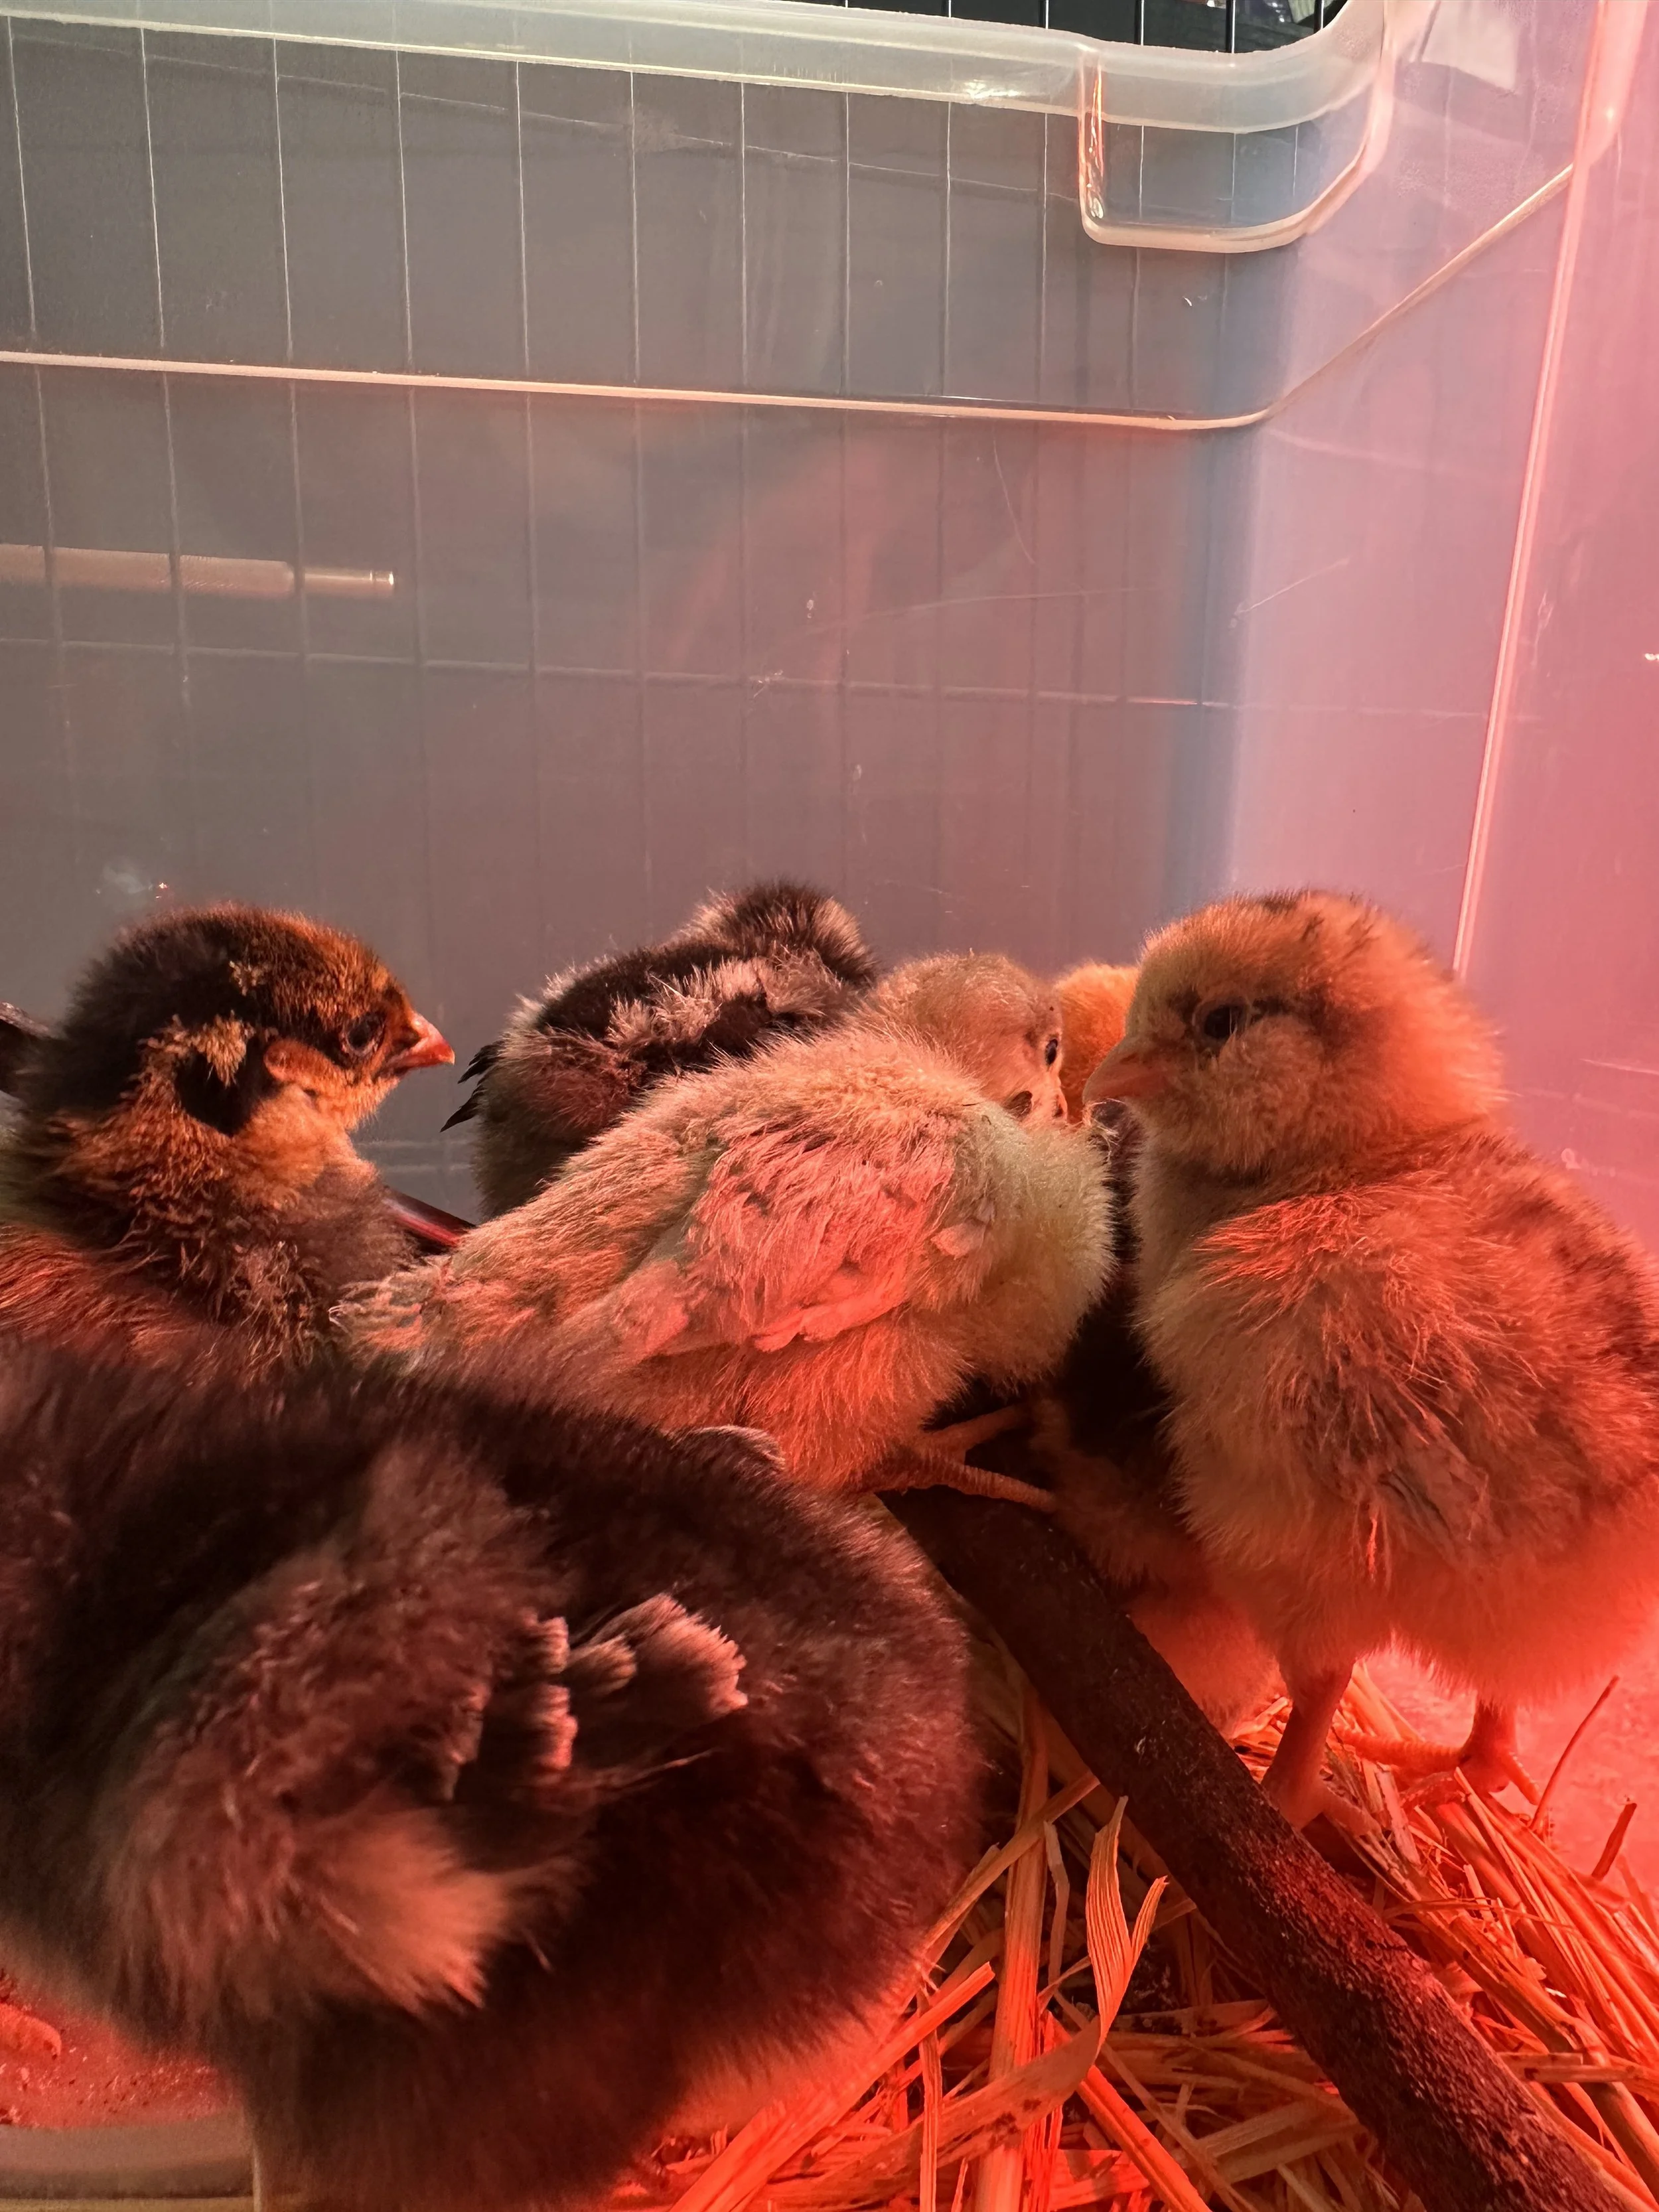
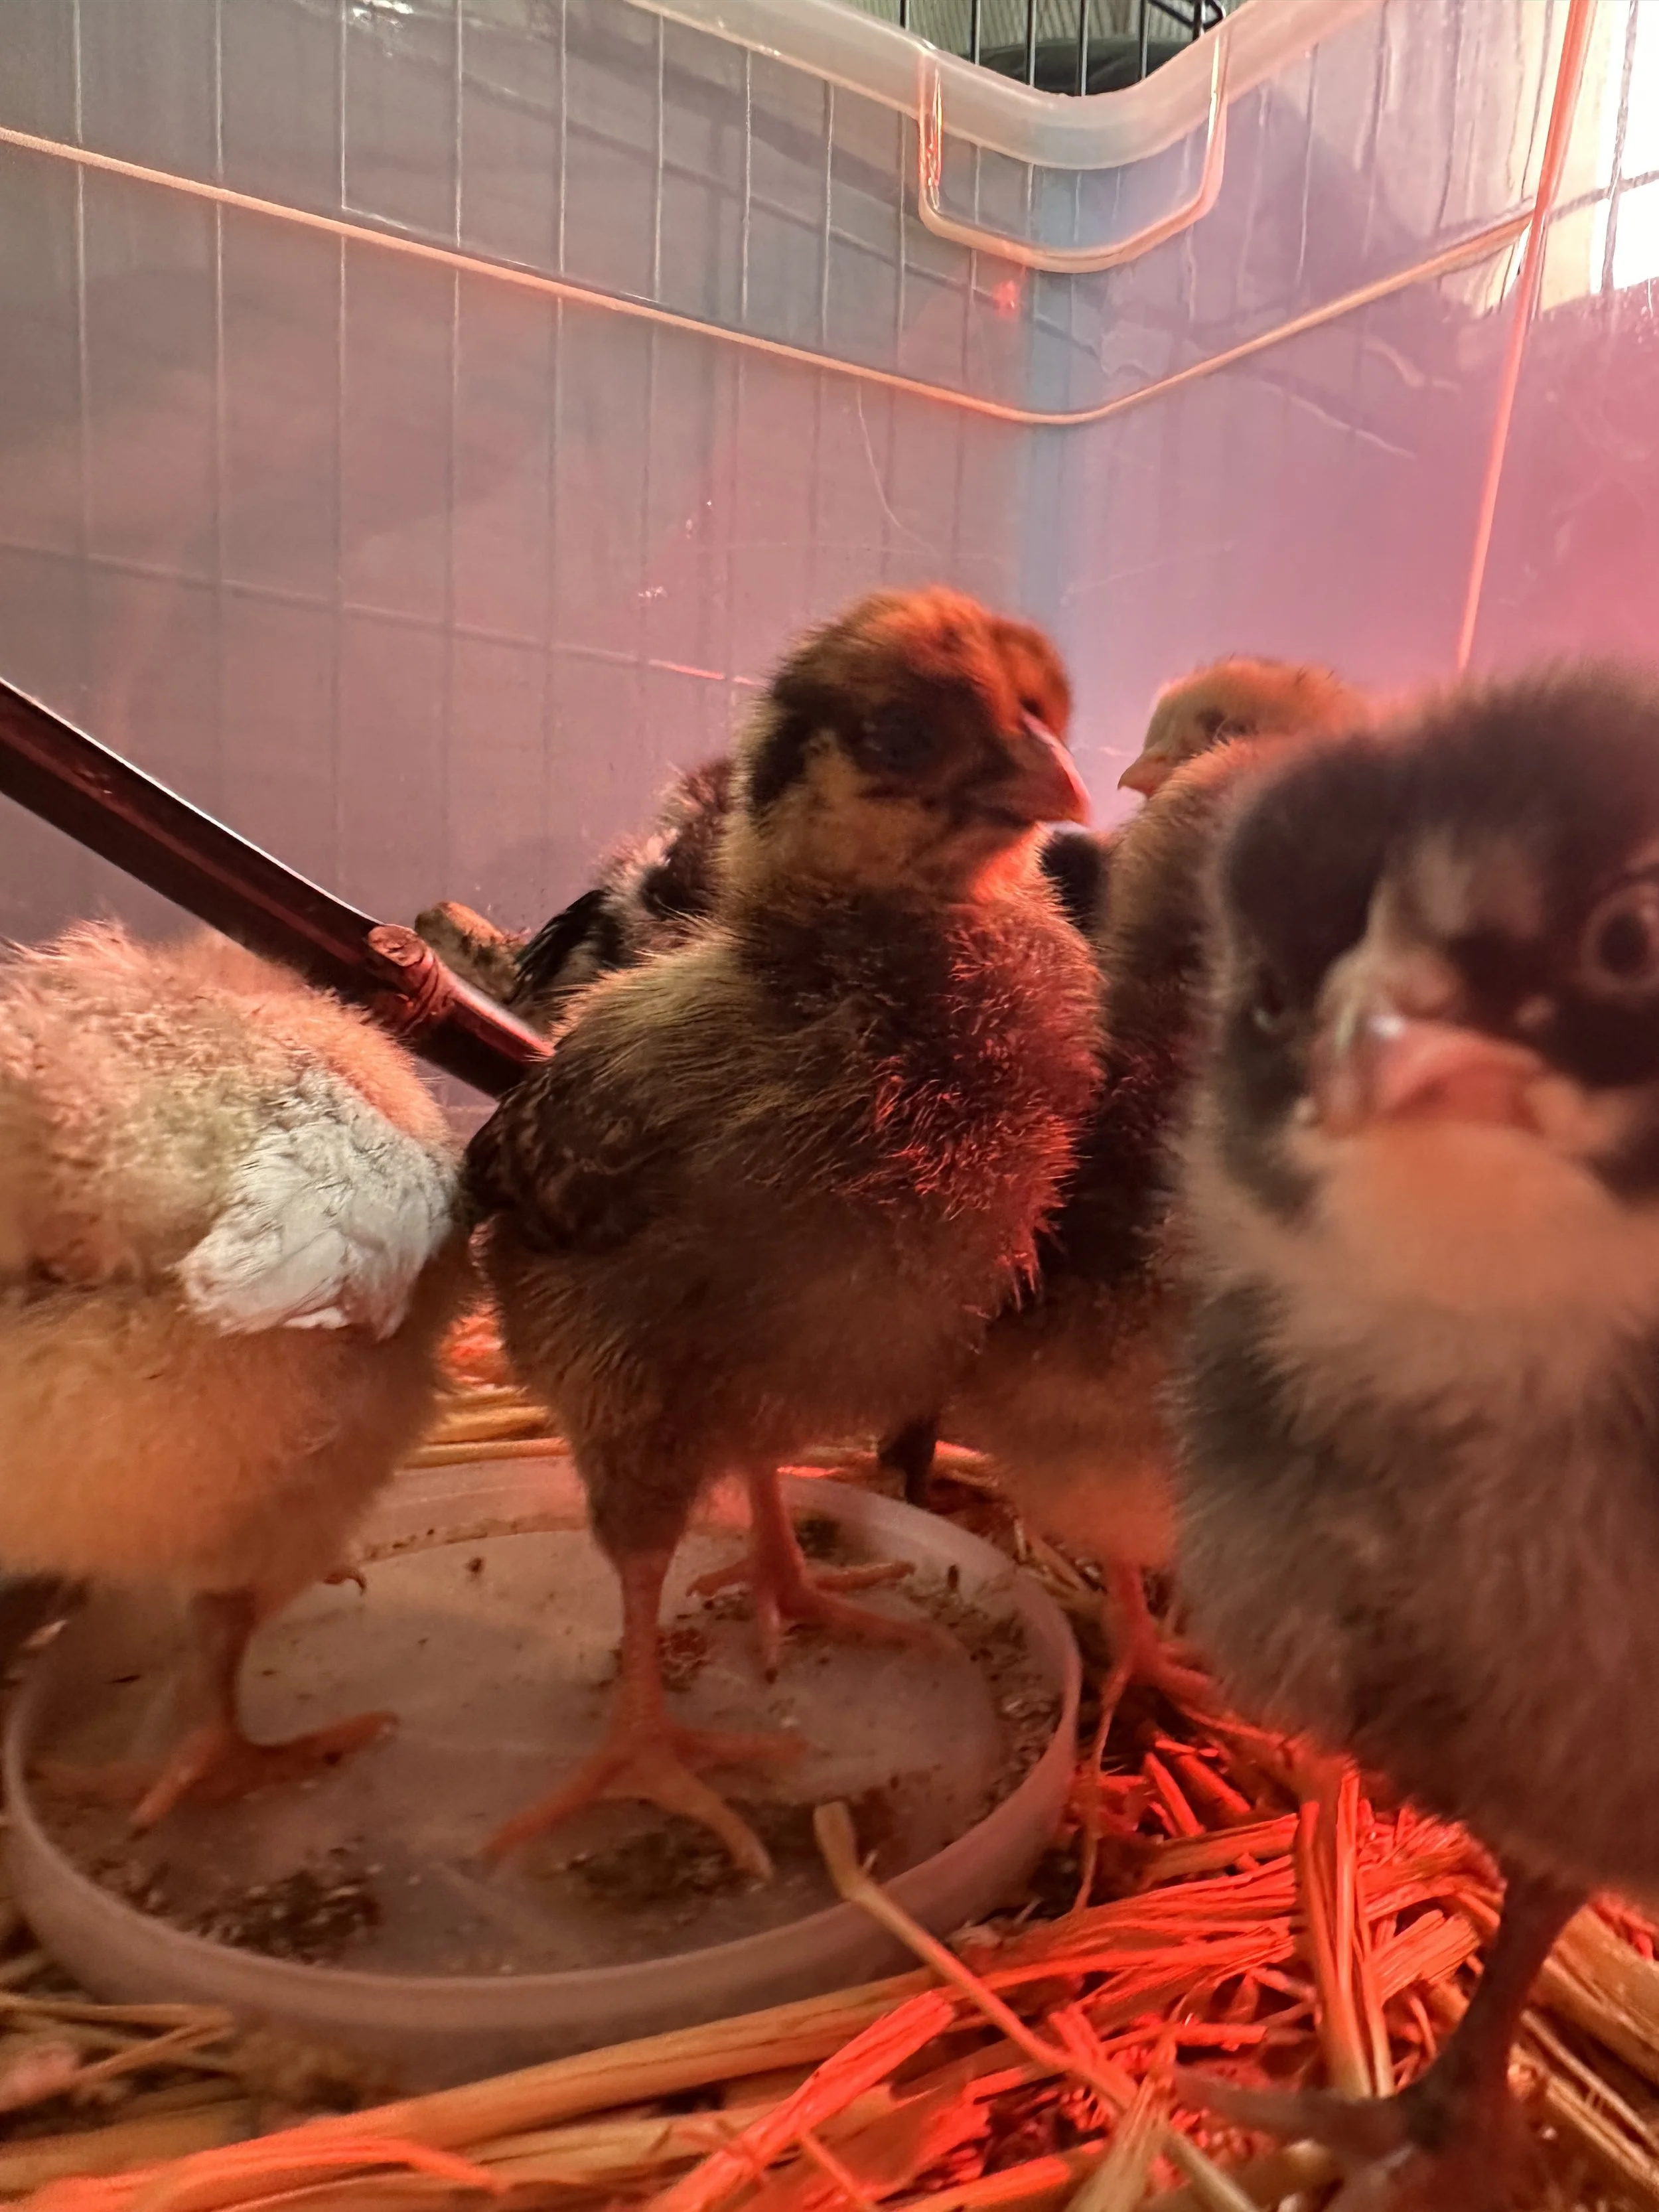
Behold.
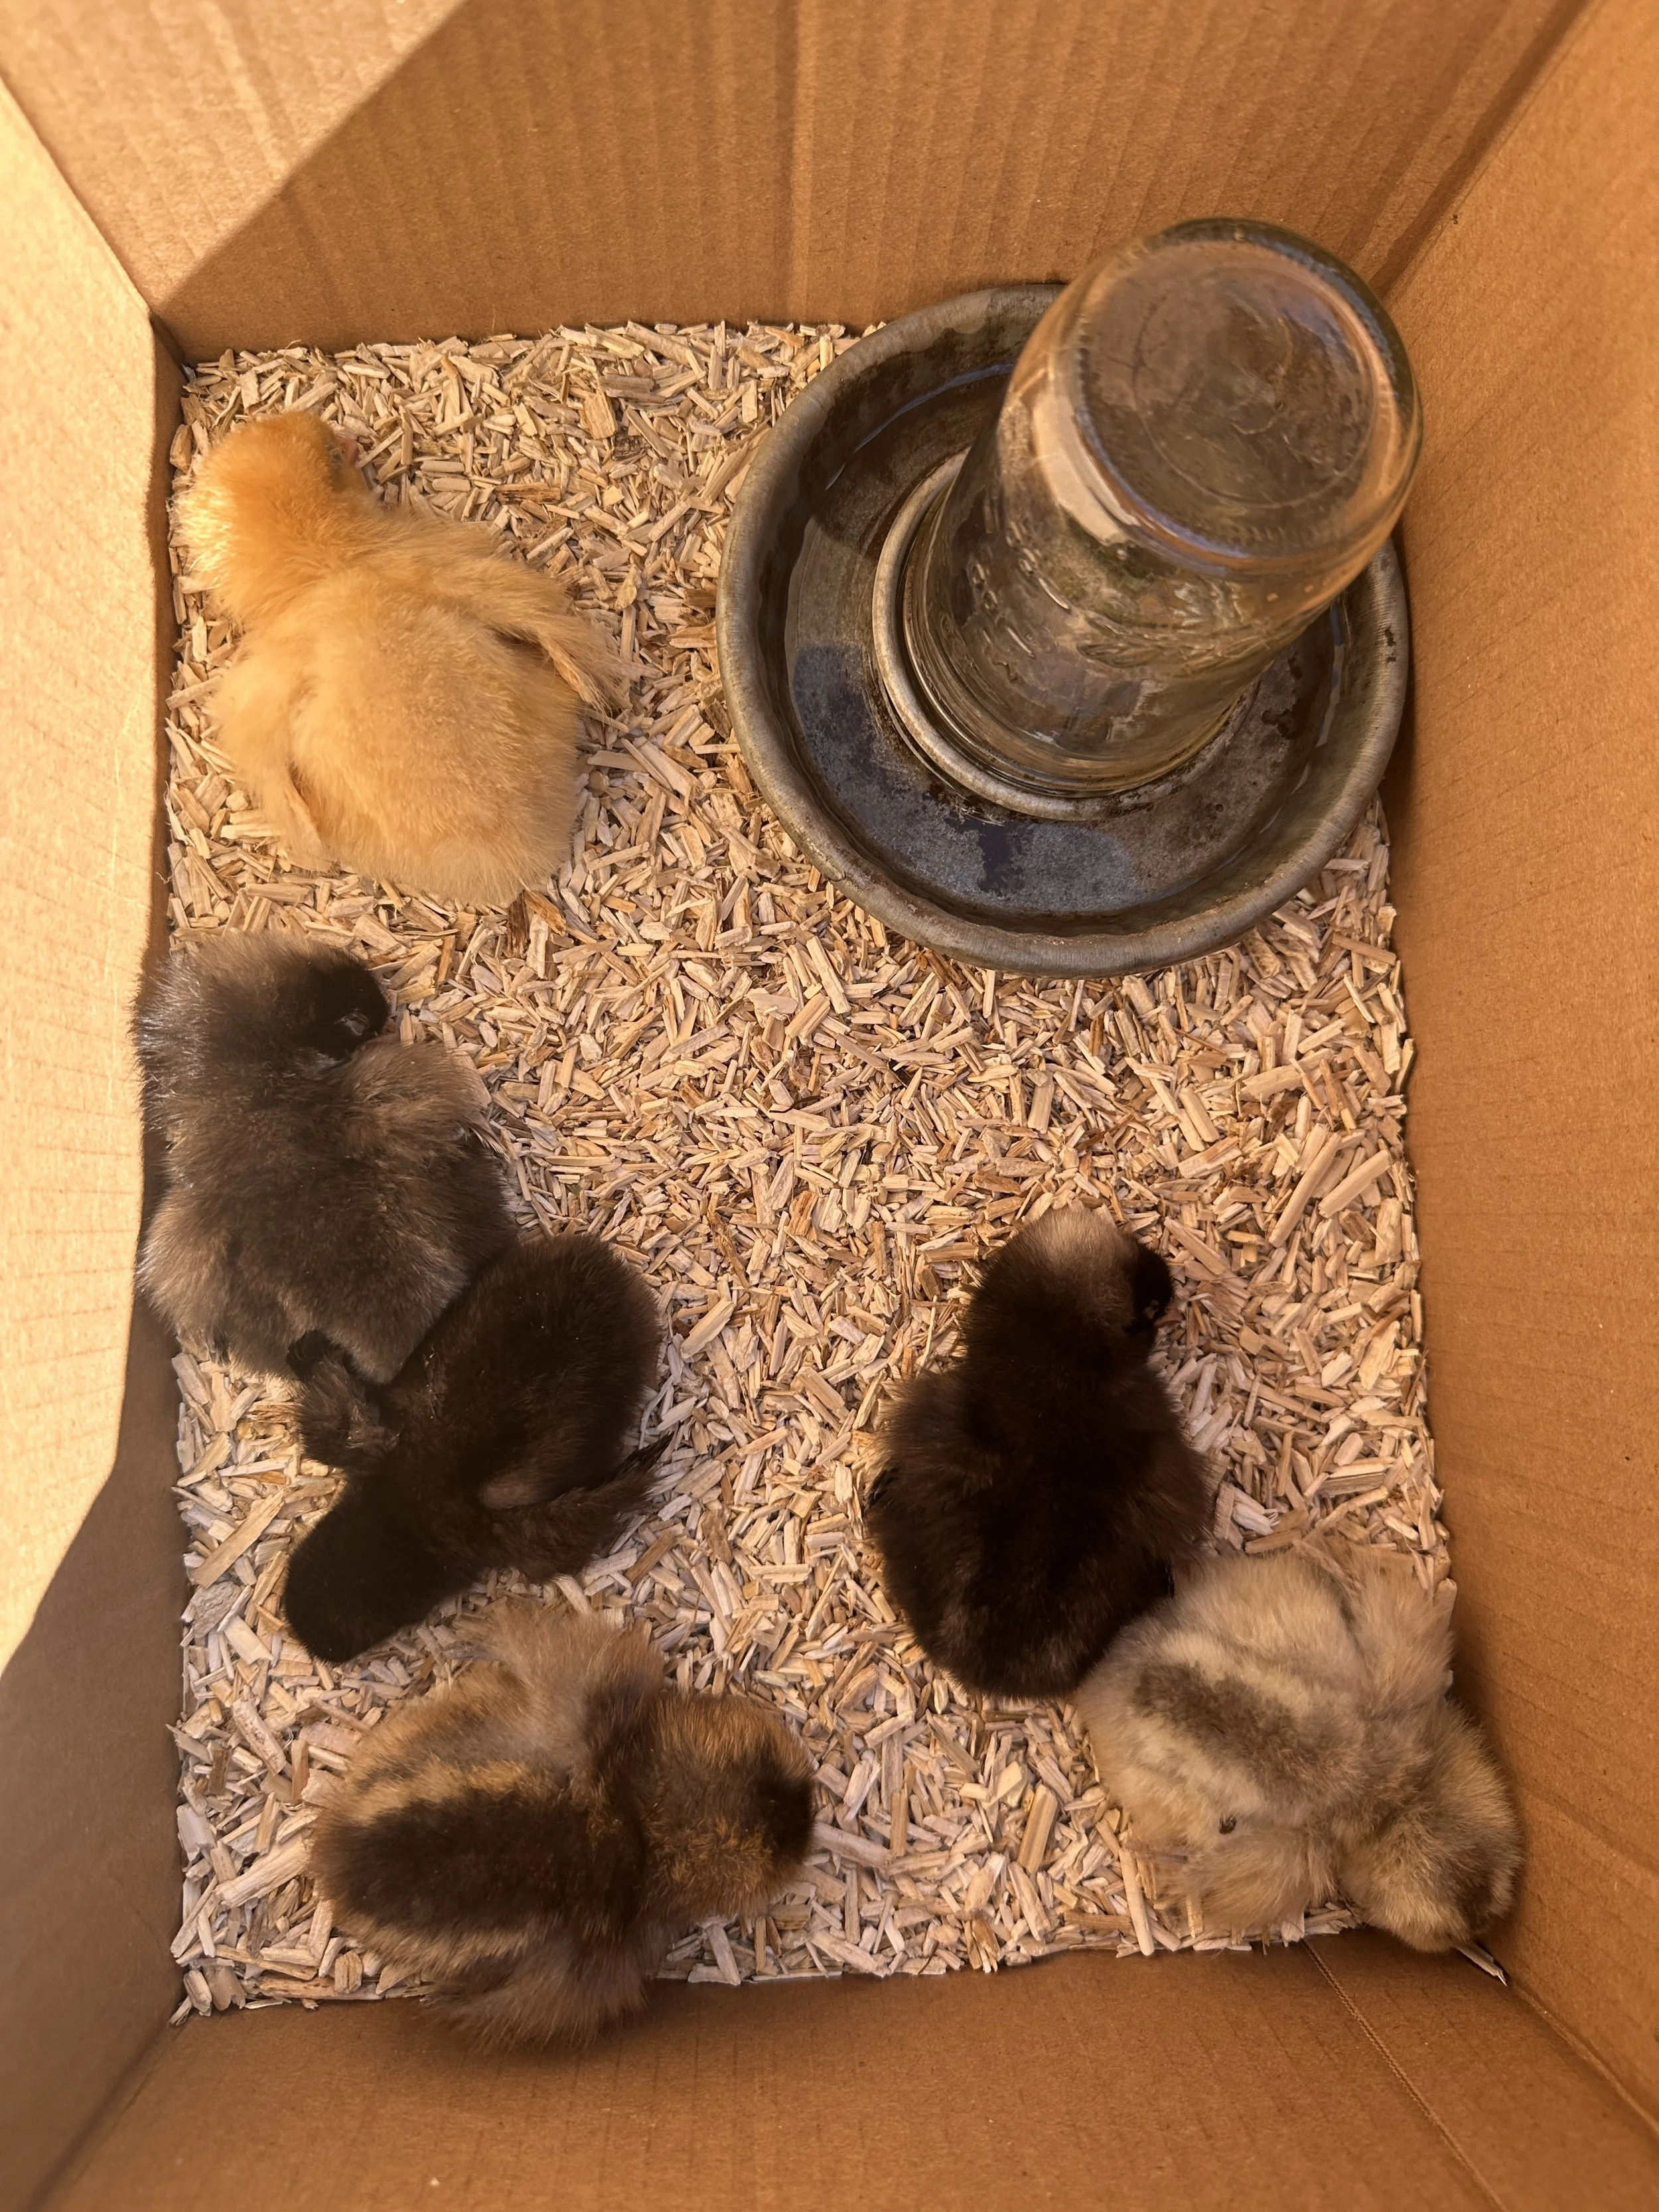
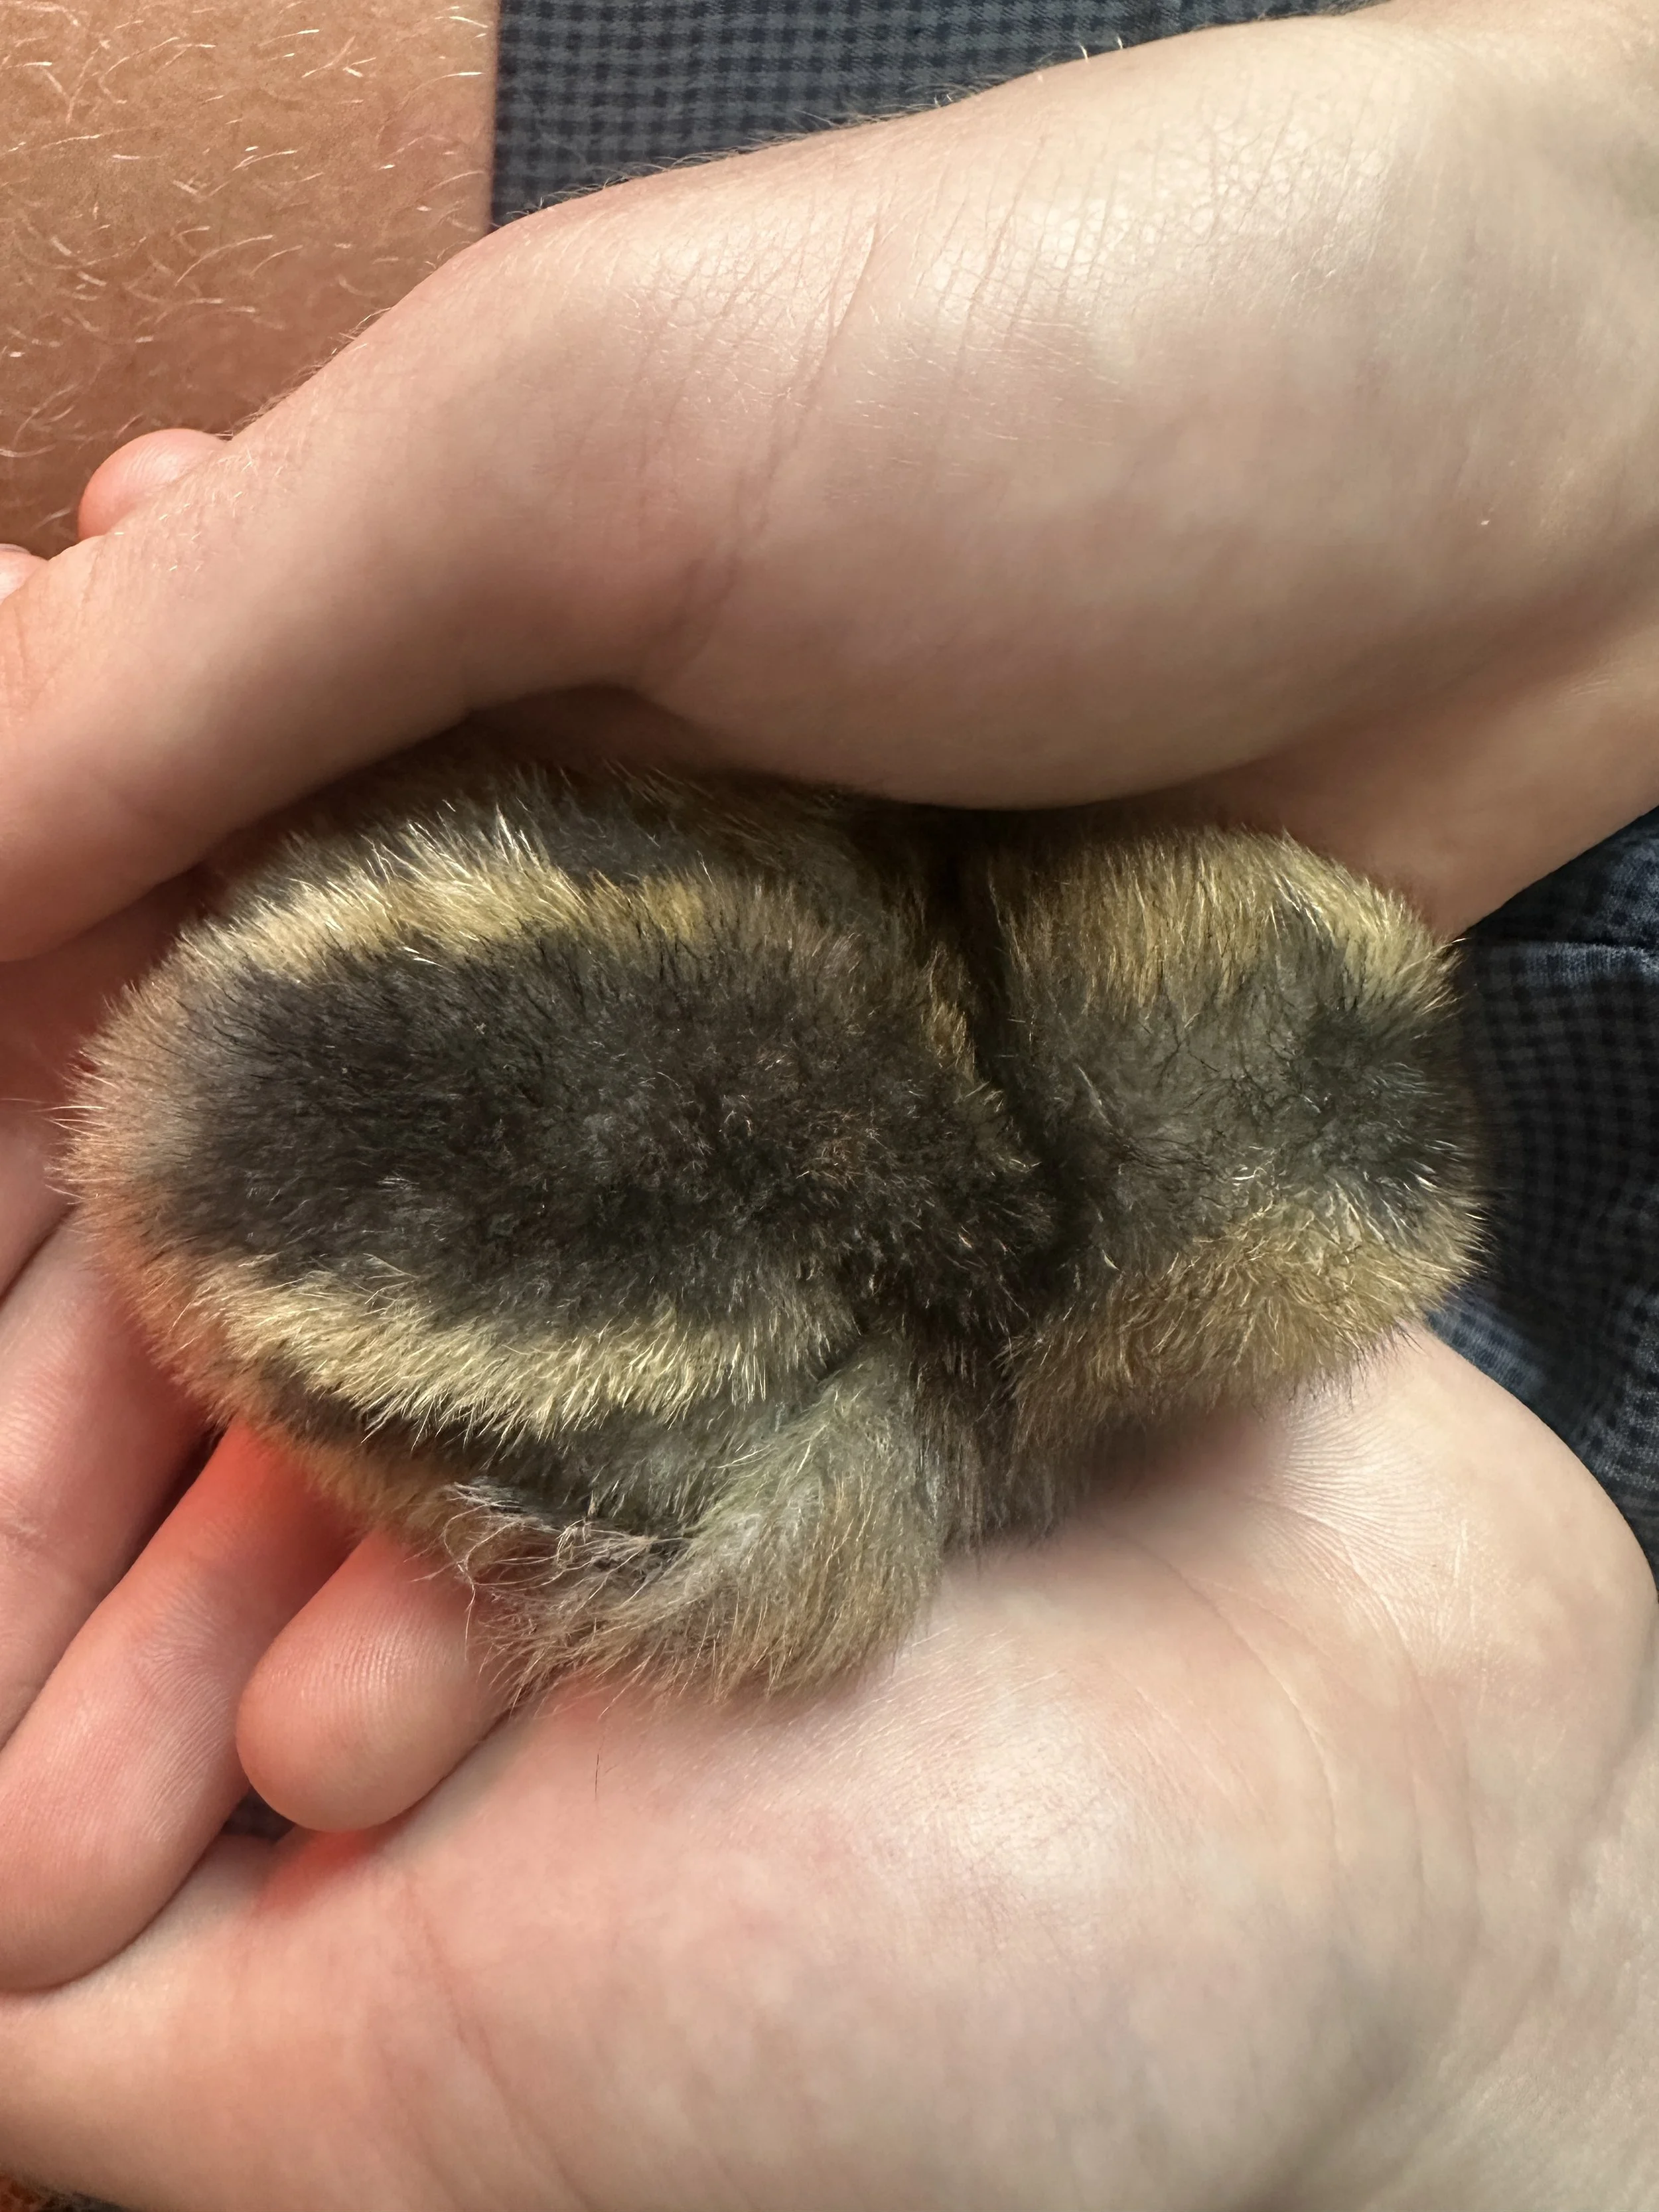
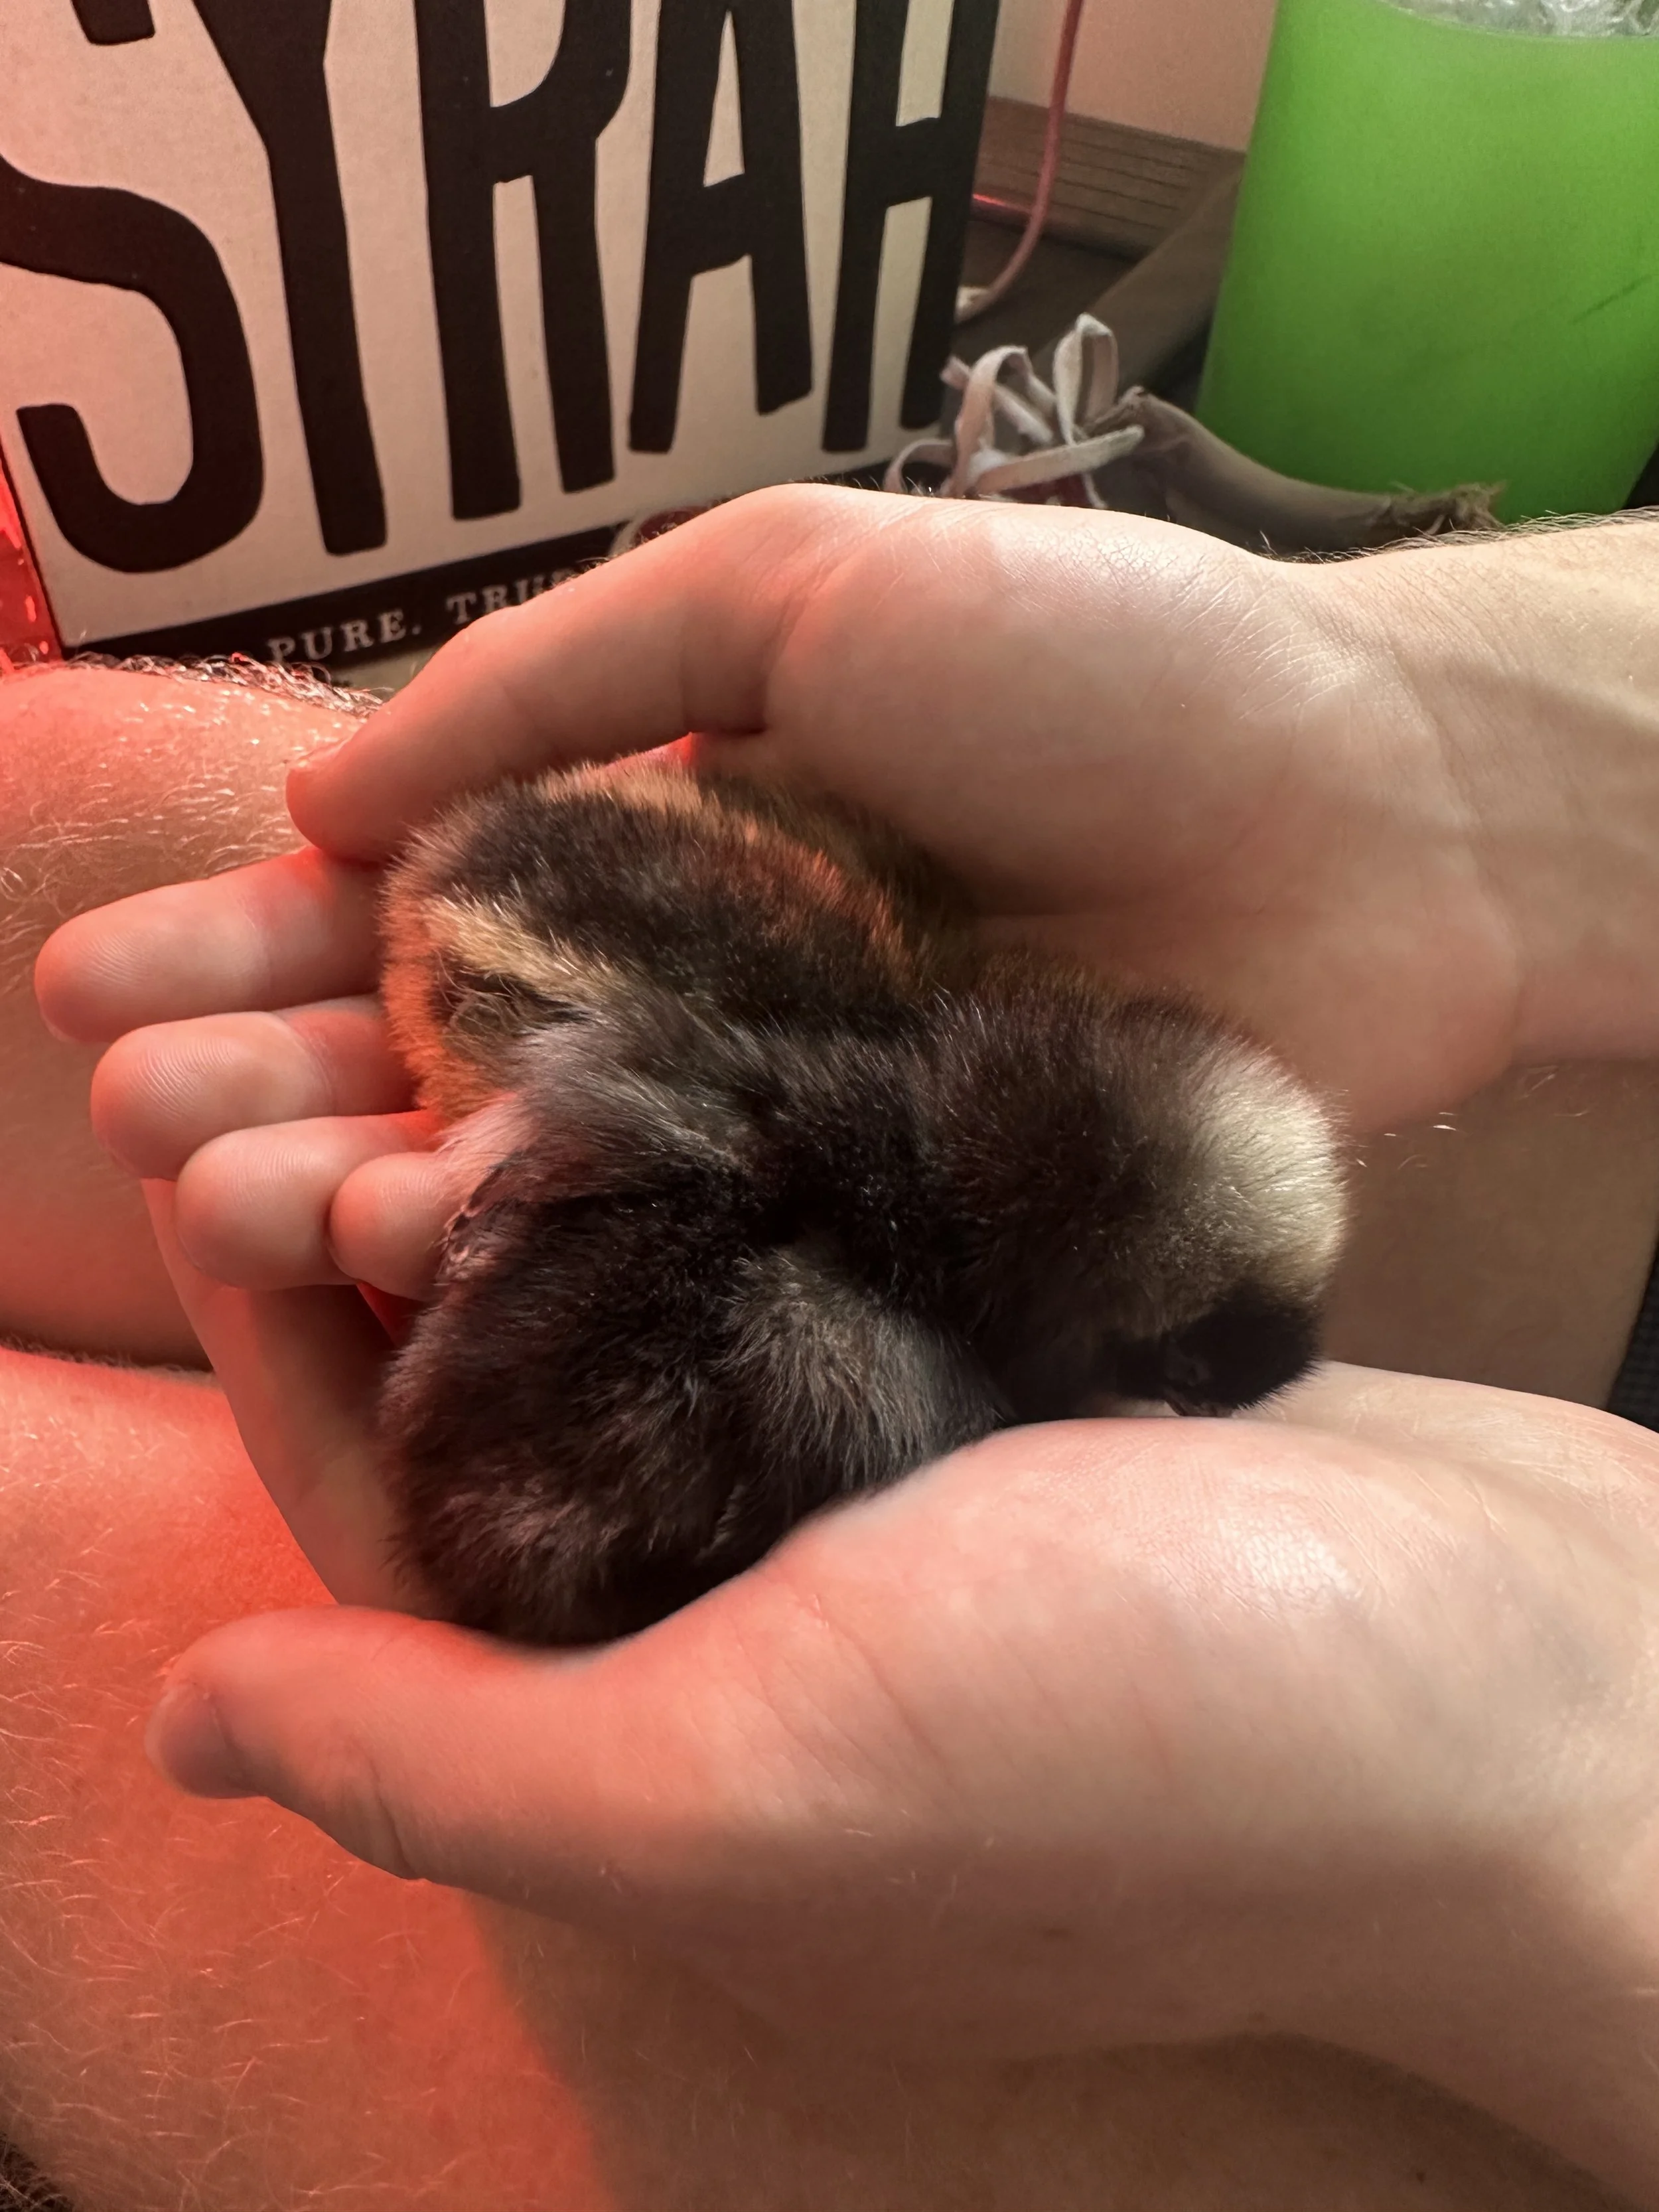
Here we have 2 Easter Eggers, 1 Buff Orpington, 1 Black Sex-Link, and 2 Copper Marans.
Like I said, the lust for chickens is real. A few days after getting these, I went to Concord Feed and picked out three more. I thought 3 little Wyandottes. They integrated with the 6 other chicks even though they were a bit bigger.
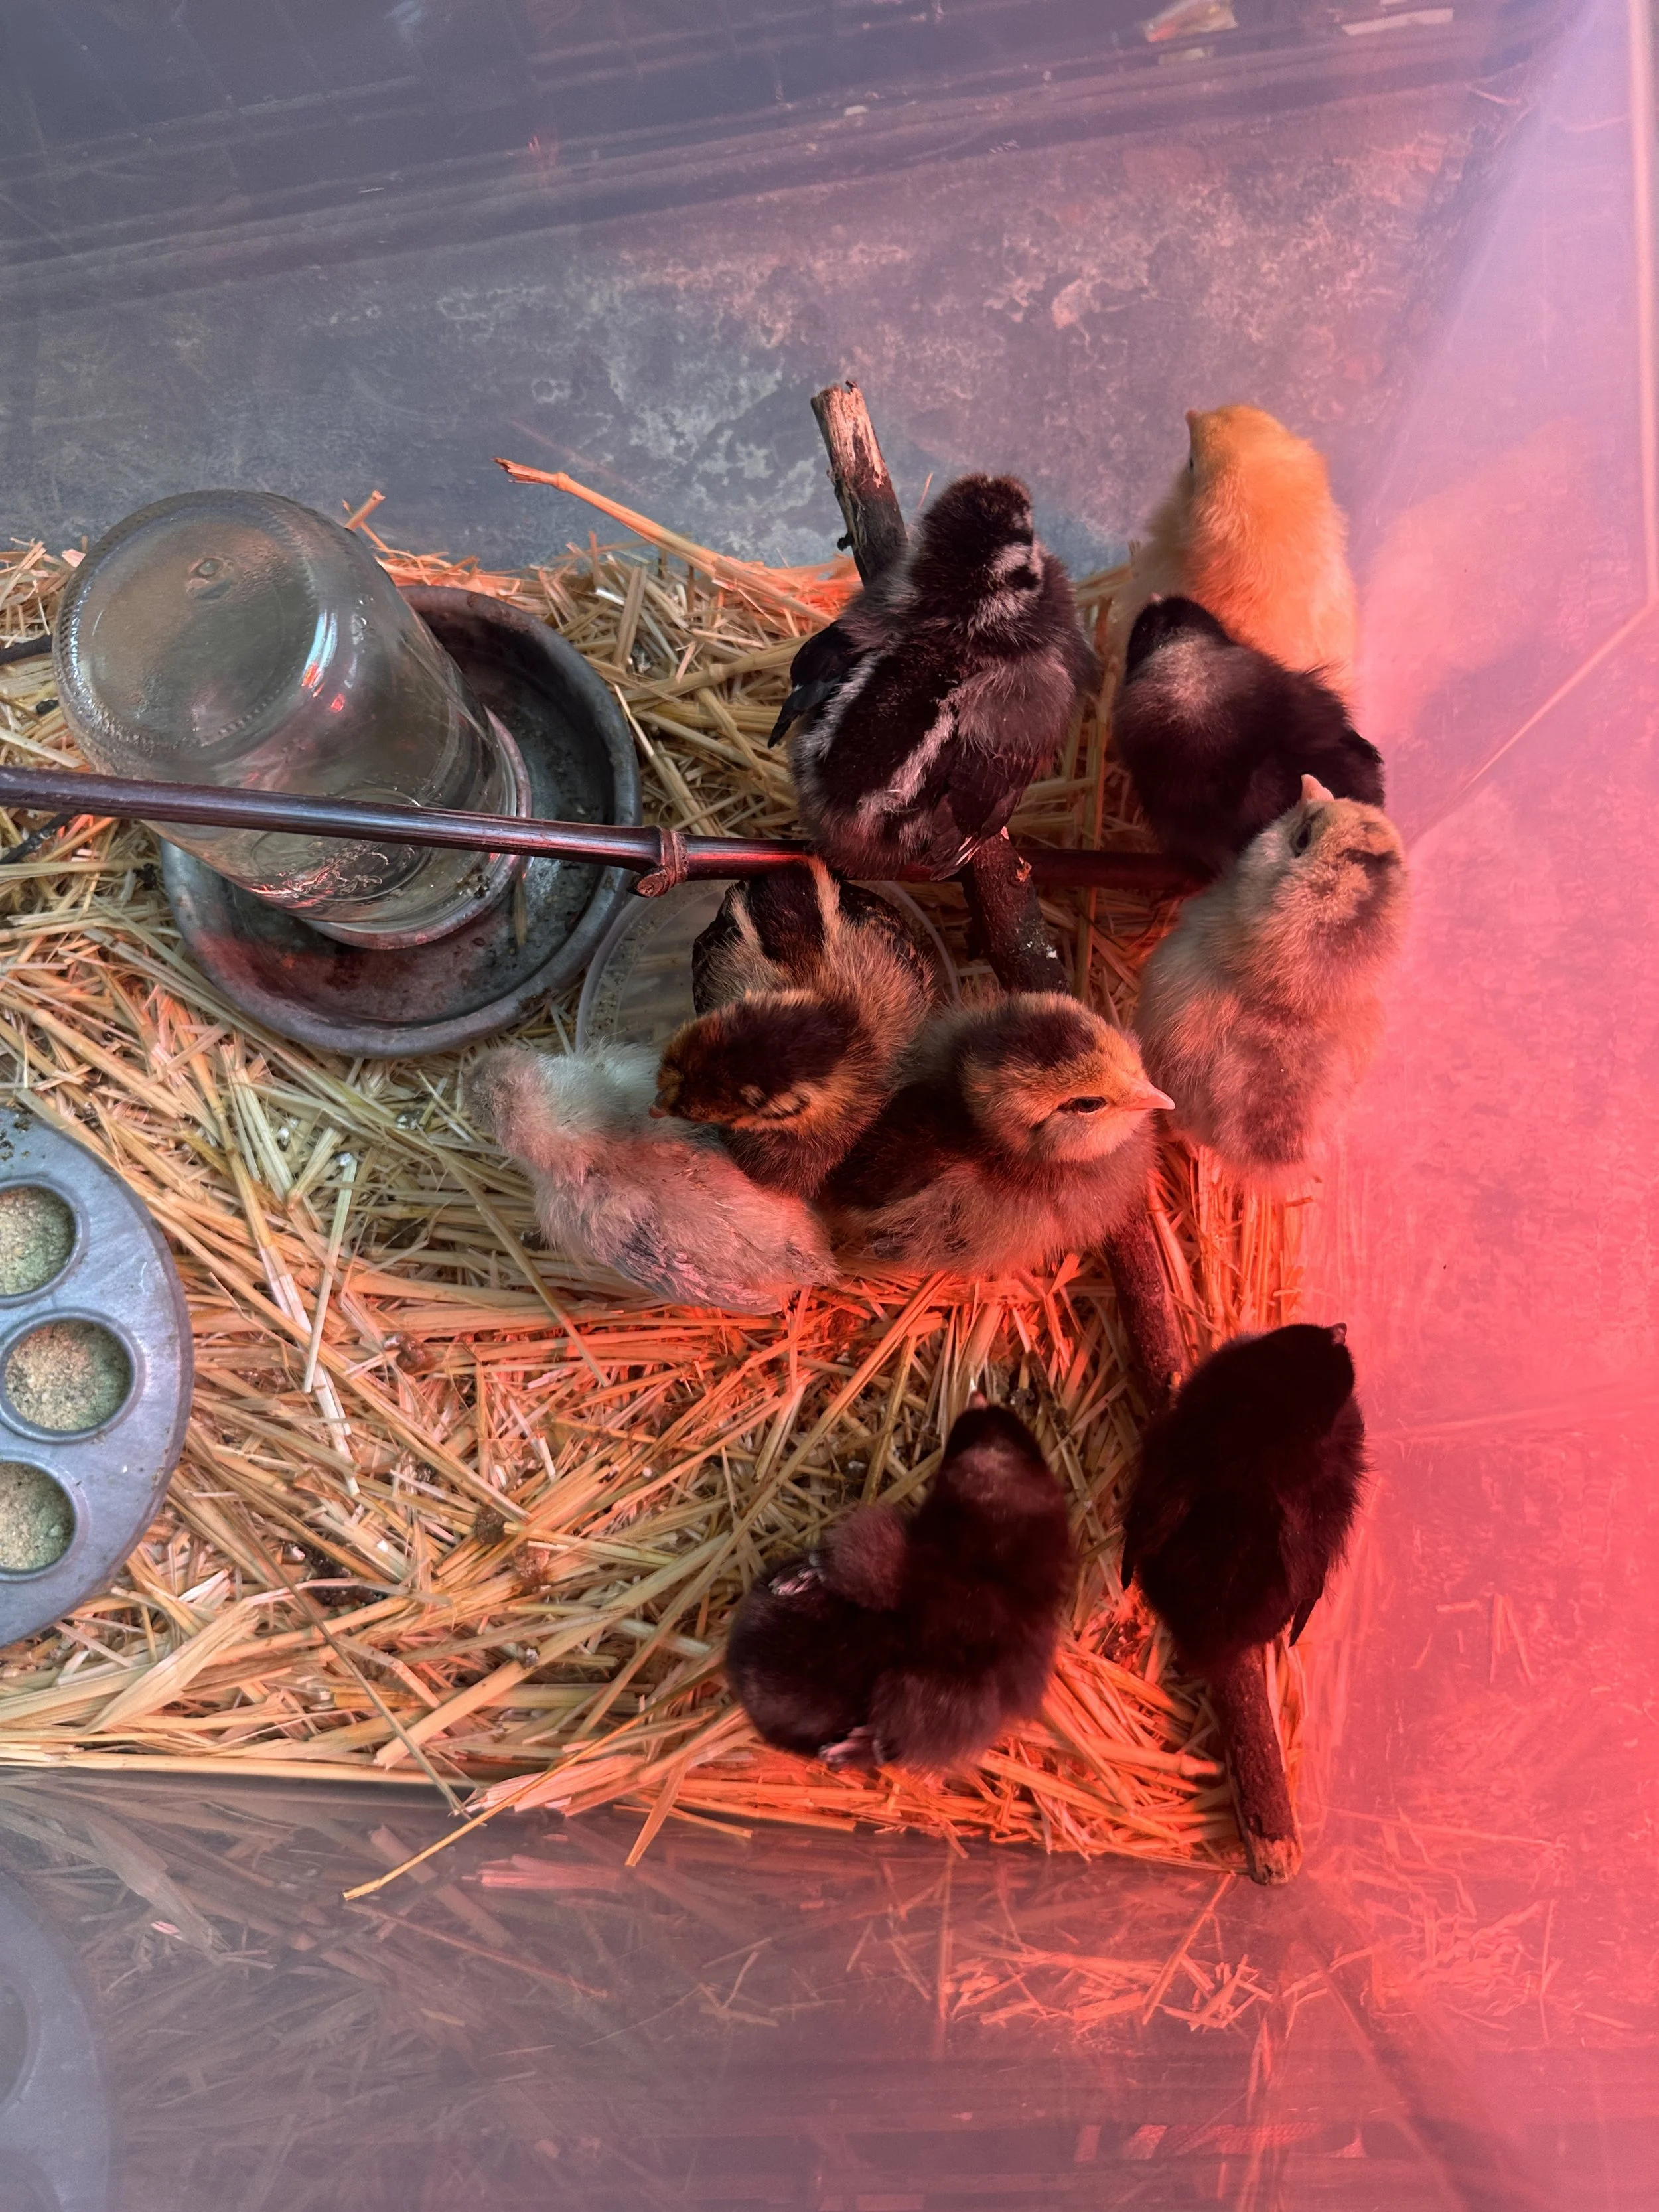

They lived in a box for a few days until I realized that I would need somewhere larger to stash these chicks. I went to Urban Ore and bought what I thought was a dog crate. However, when I got the thing home I realized it was a 2-story cat condo. No problem — it was bigger than I needed and a bit unwieldy, but it worked. Oh, except the chicks were so small they could just pop out between the bars. smdh
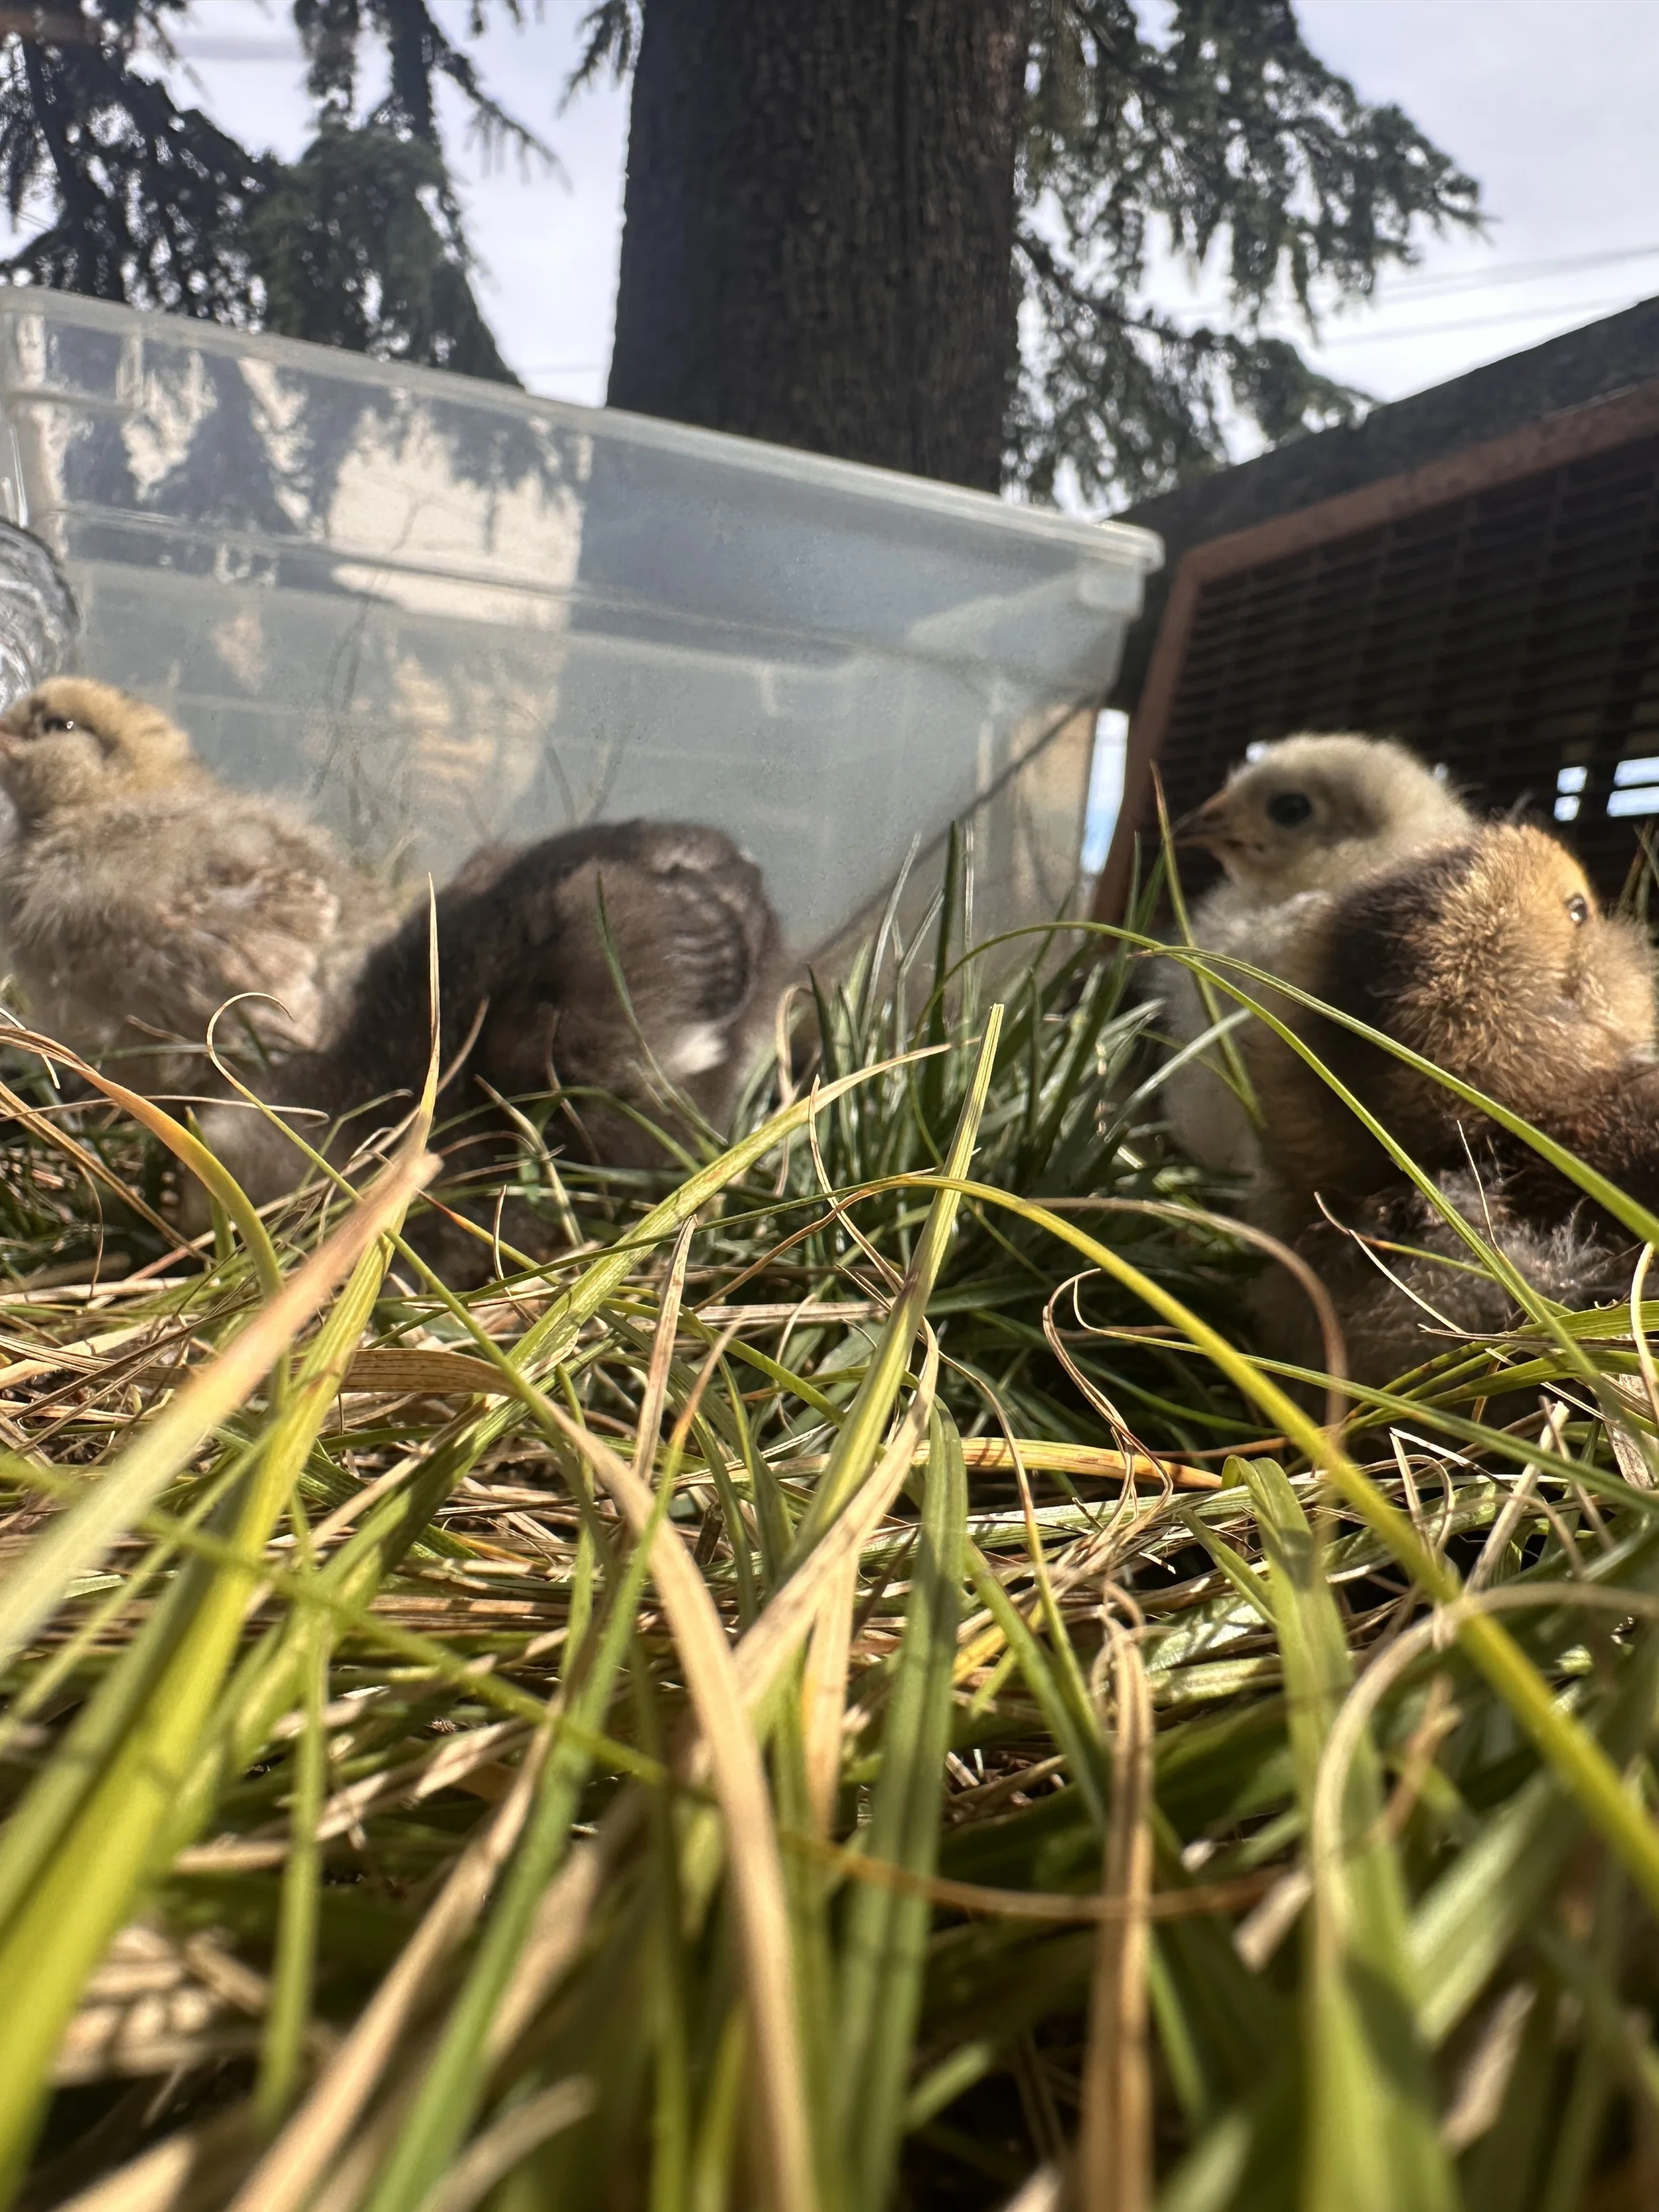
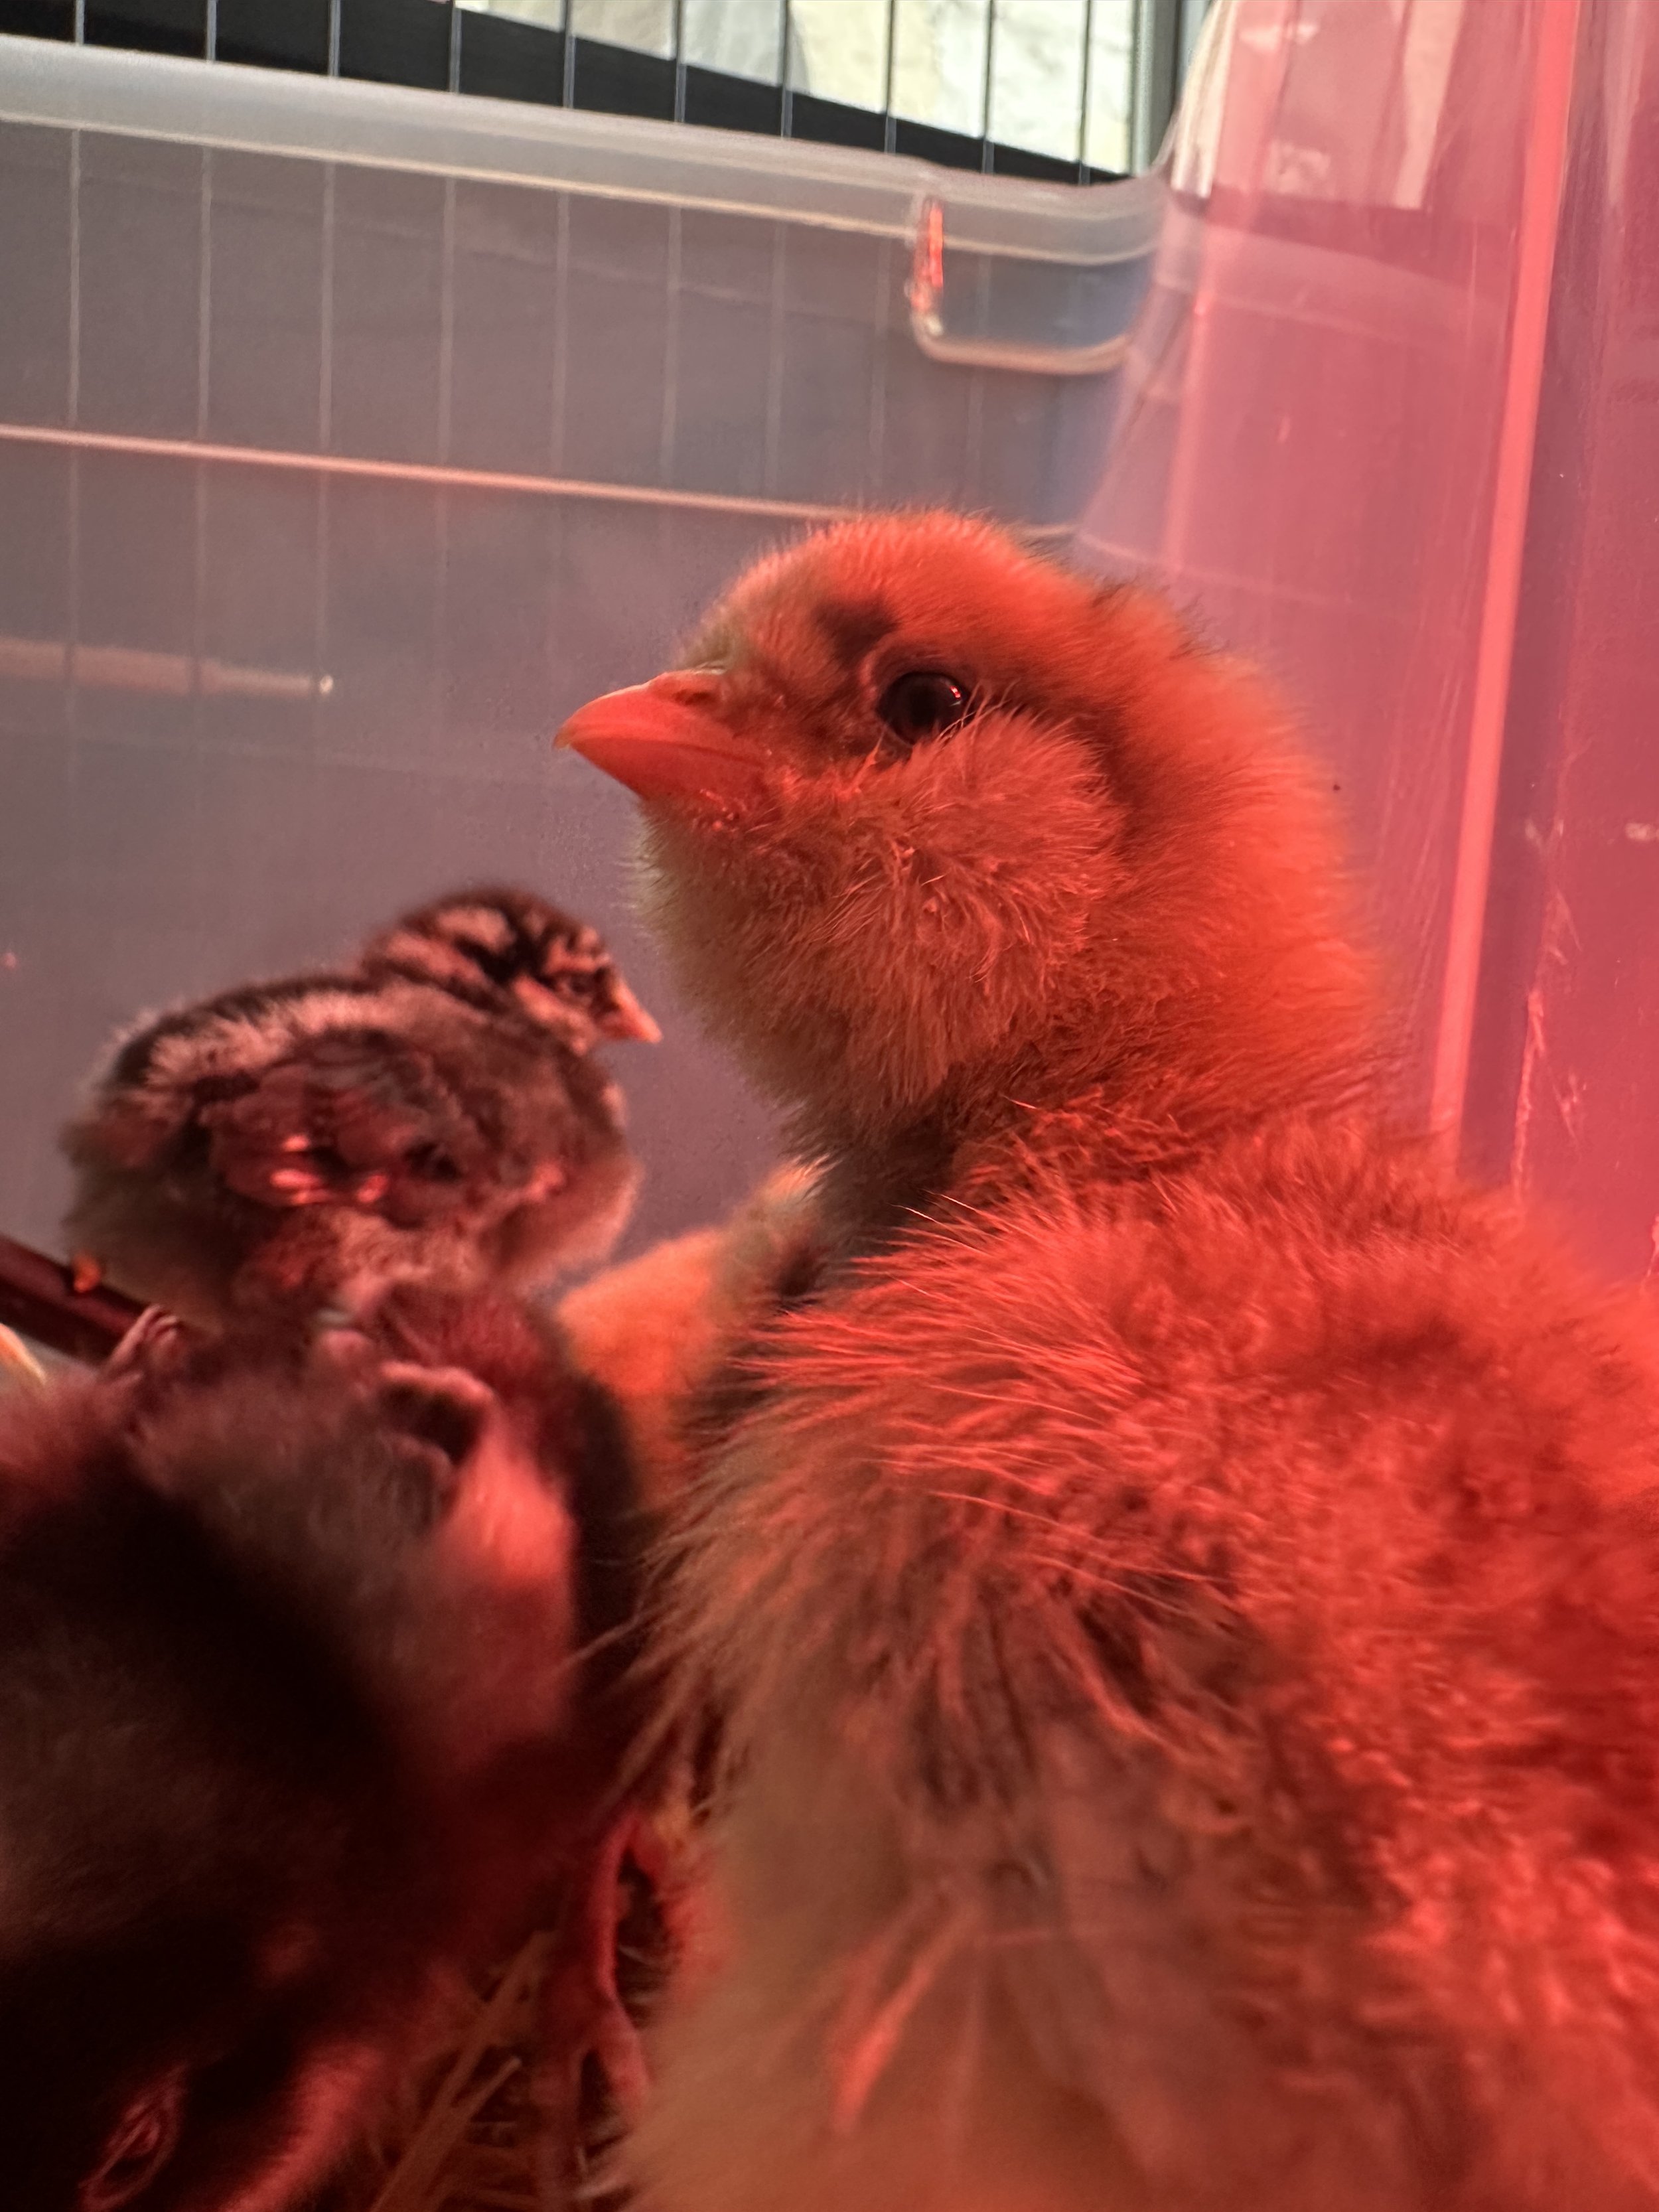
Look at these little nerds!!
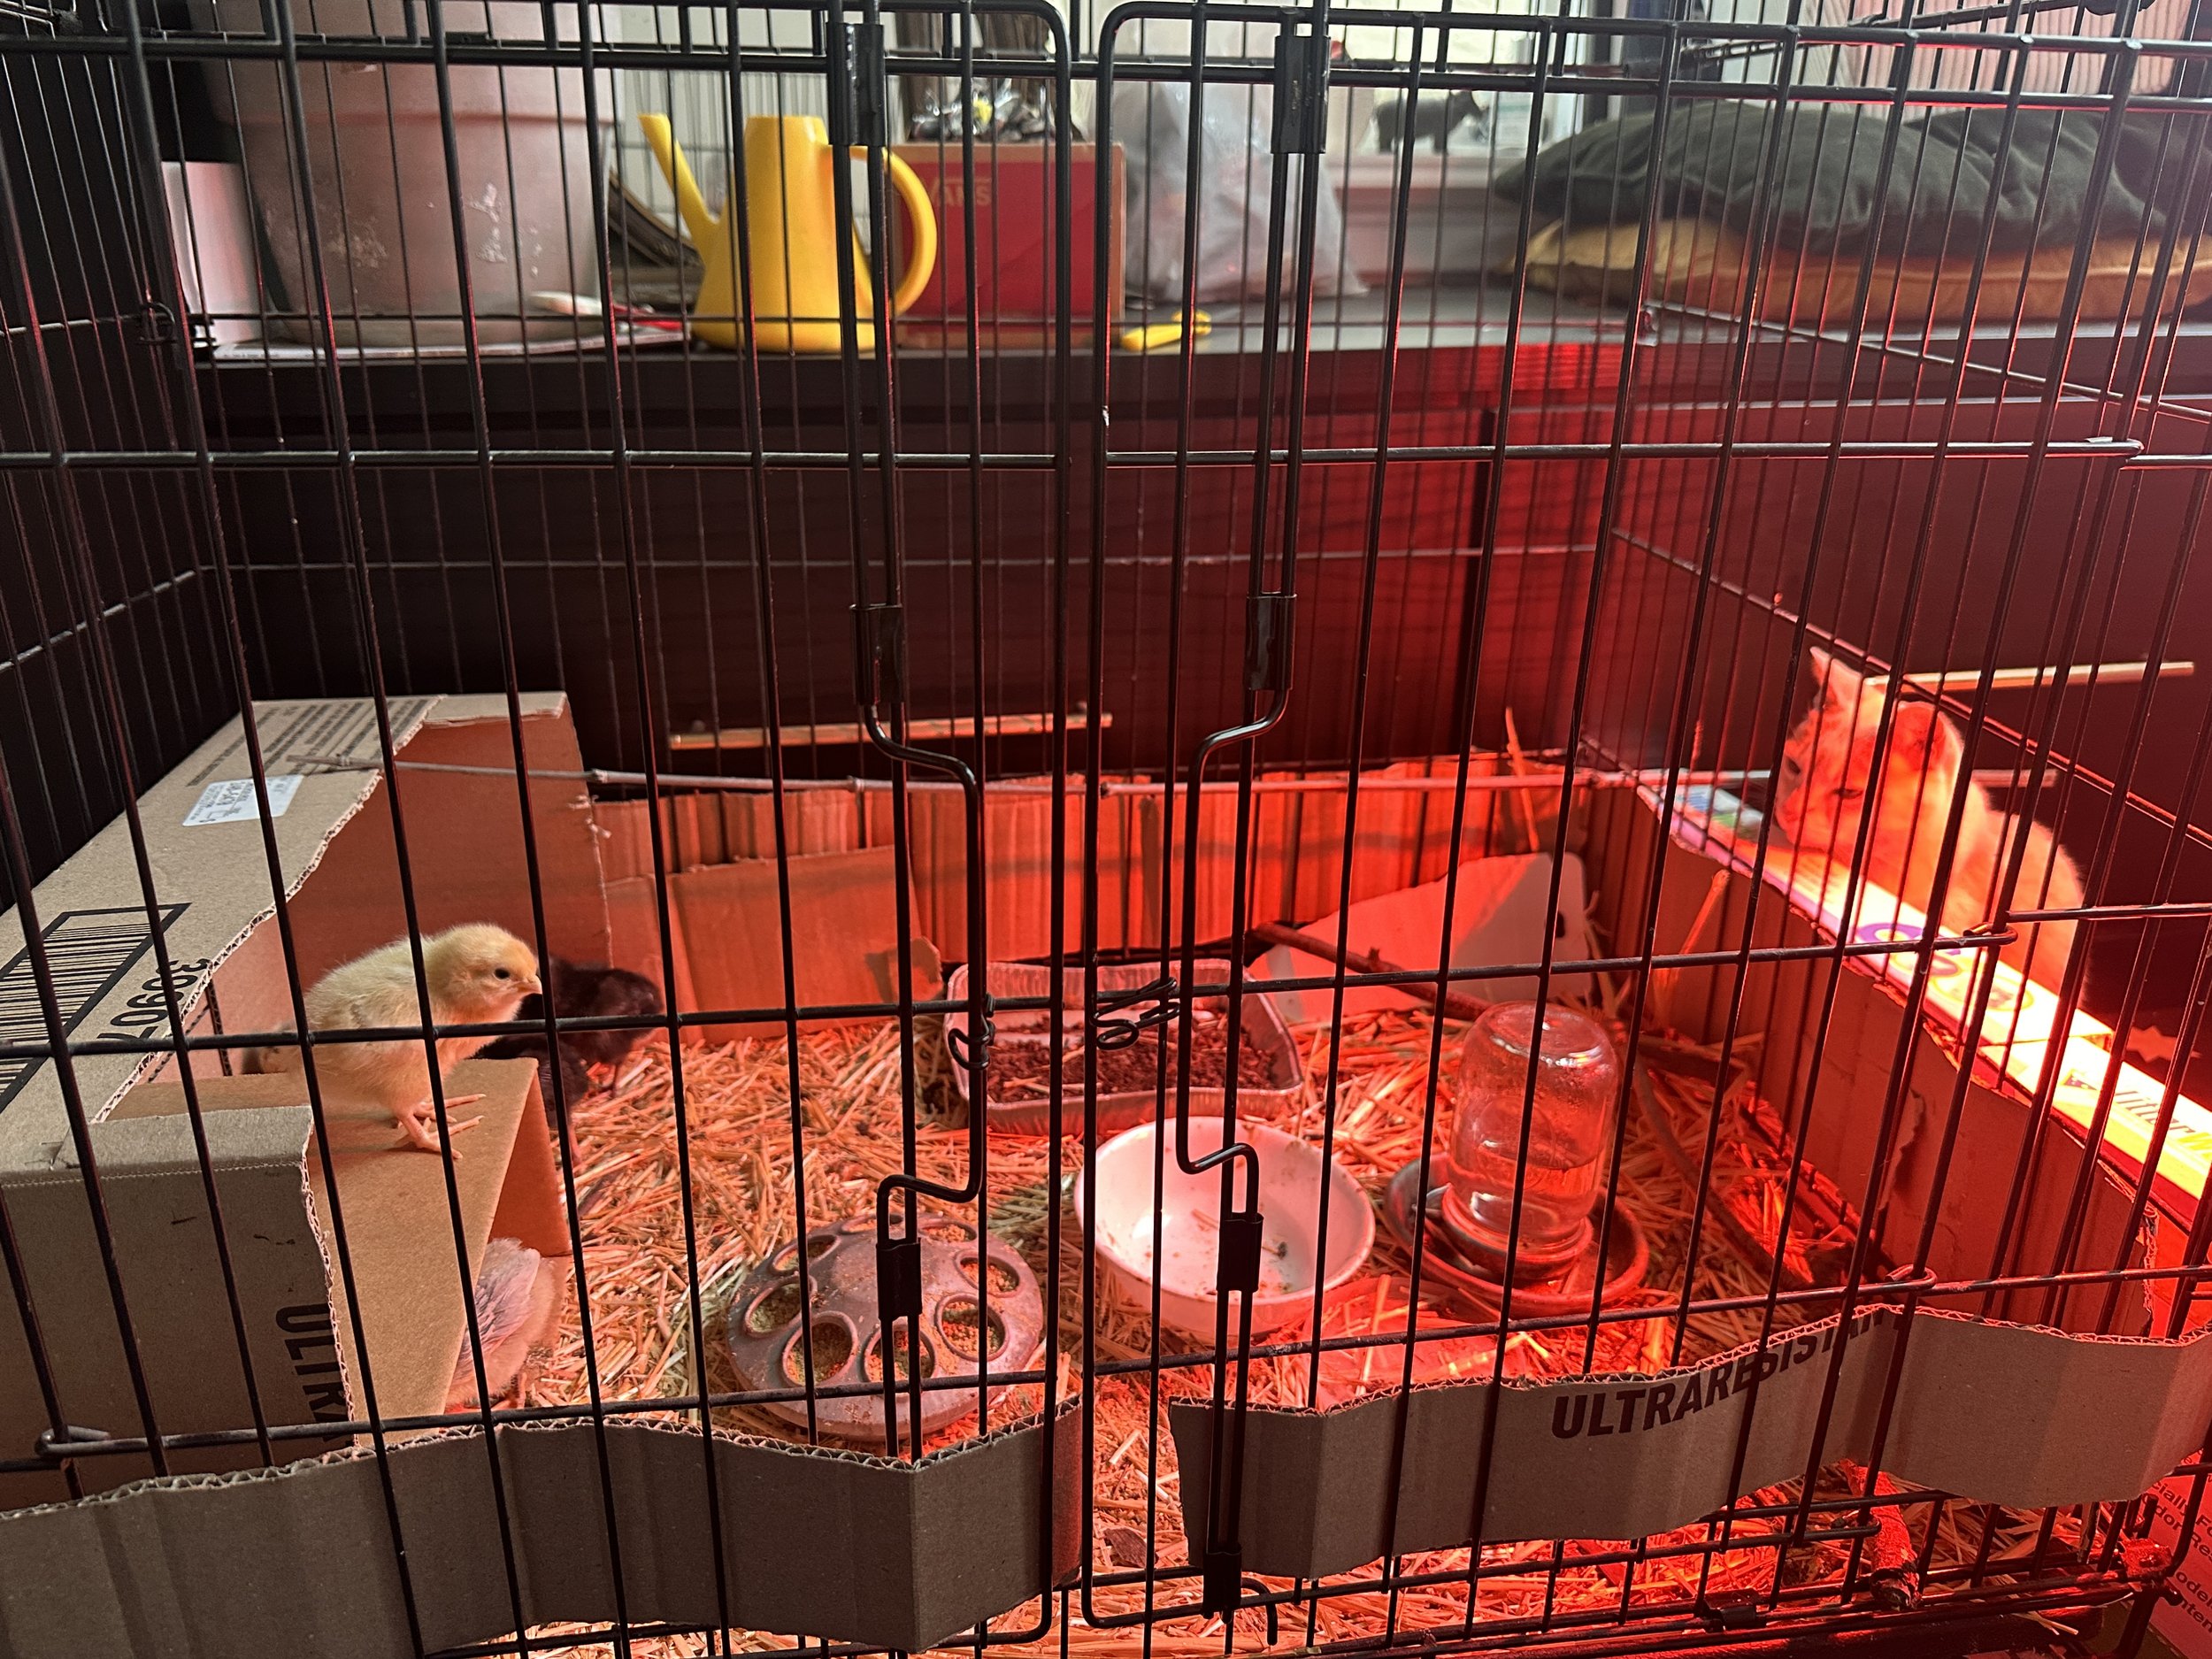
Orange cat looking at a cage full of baby chicks
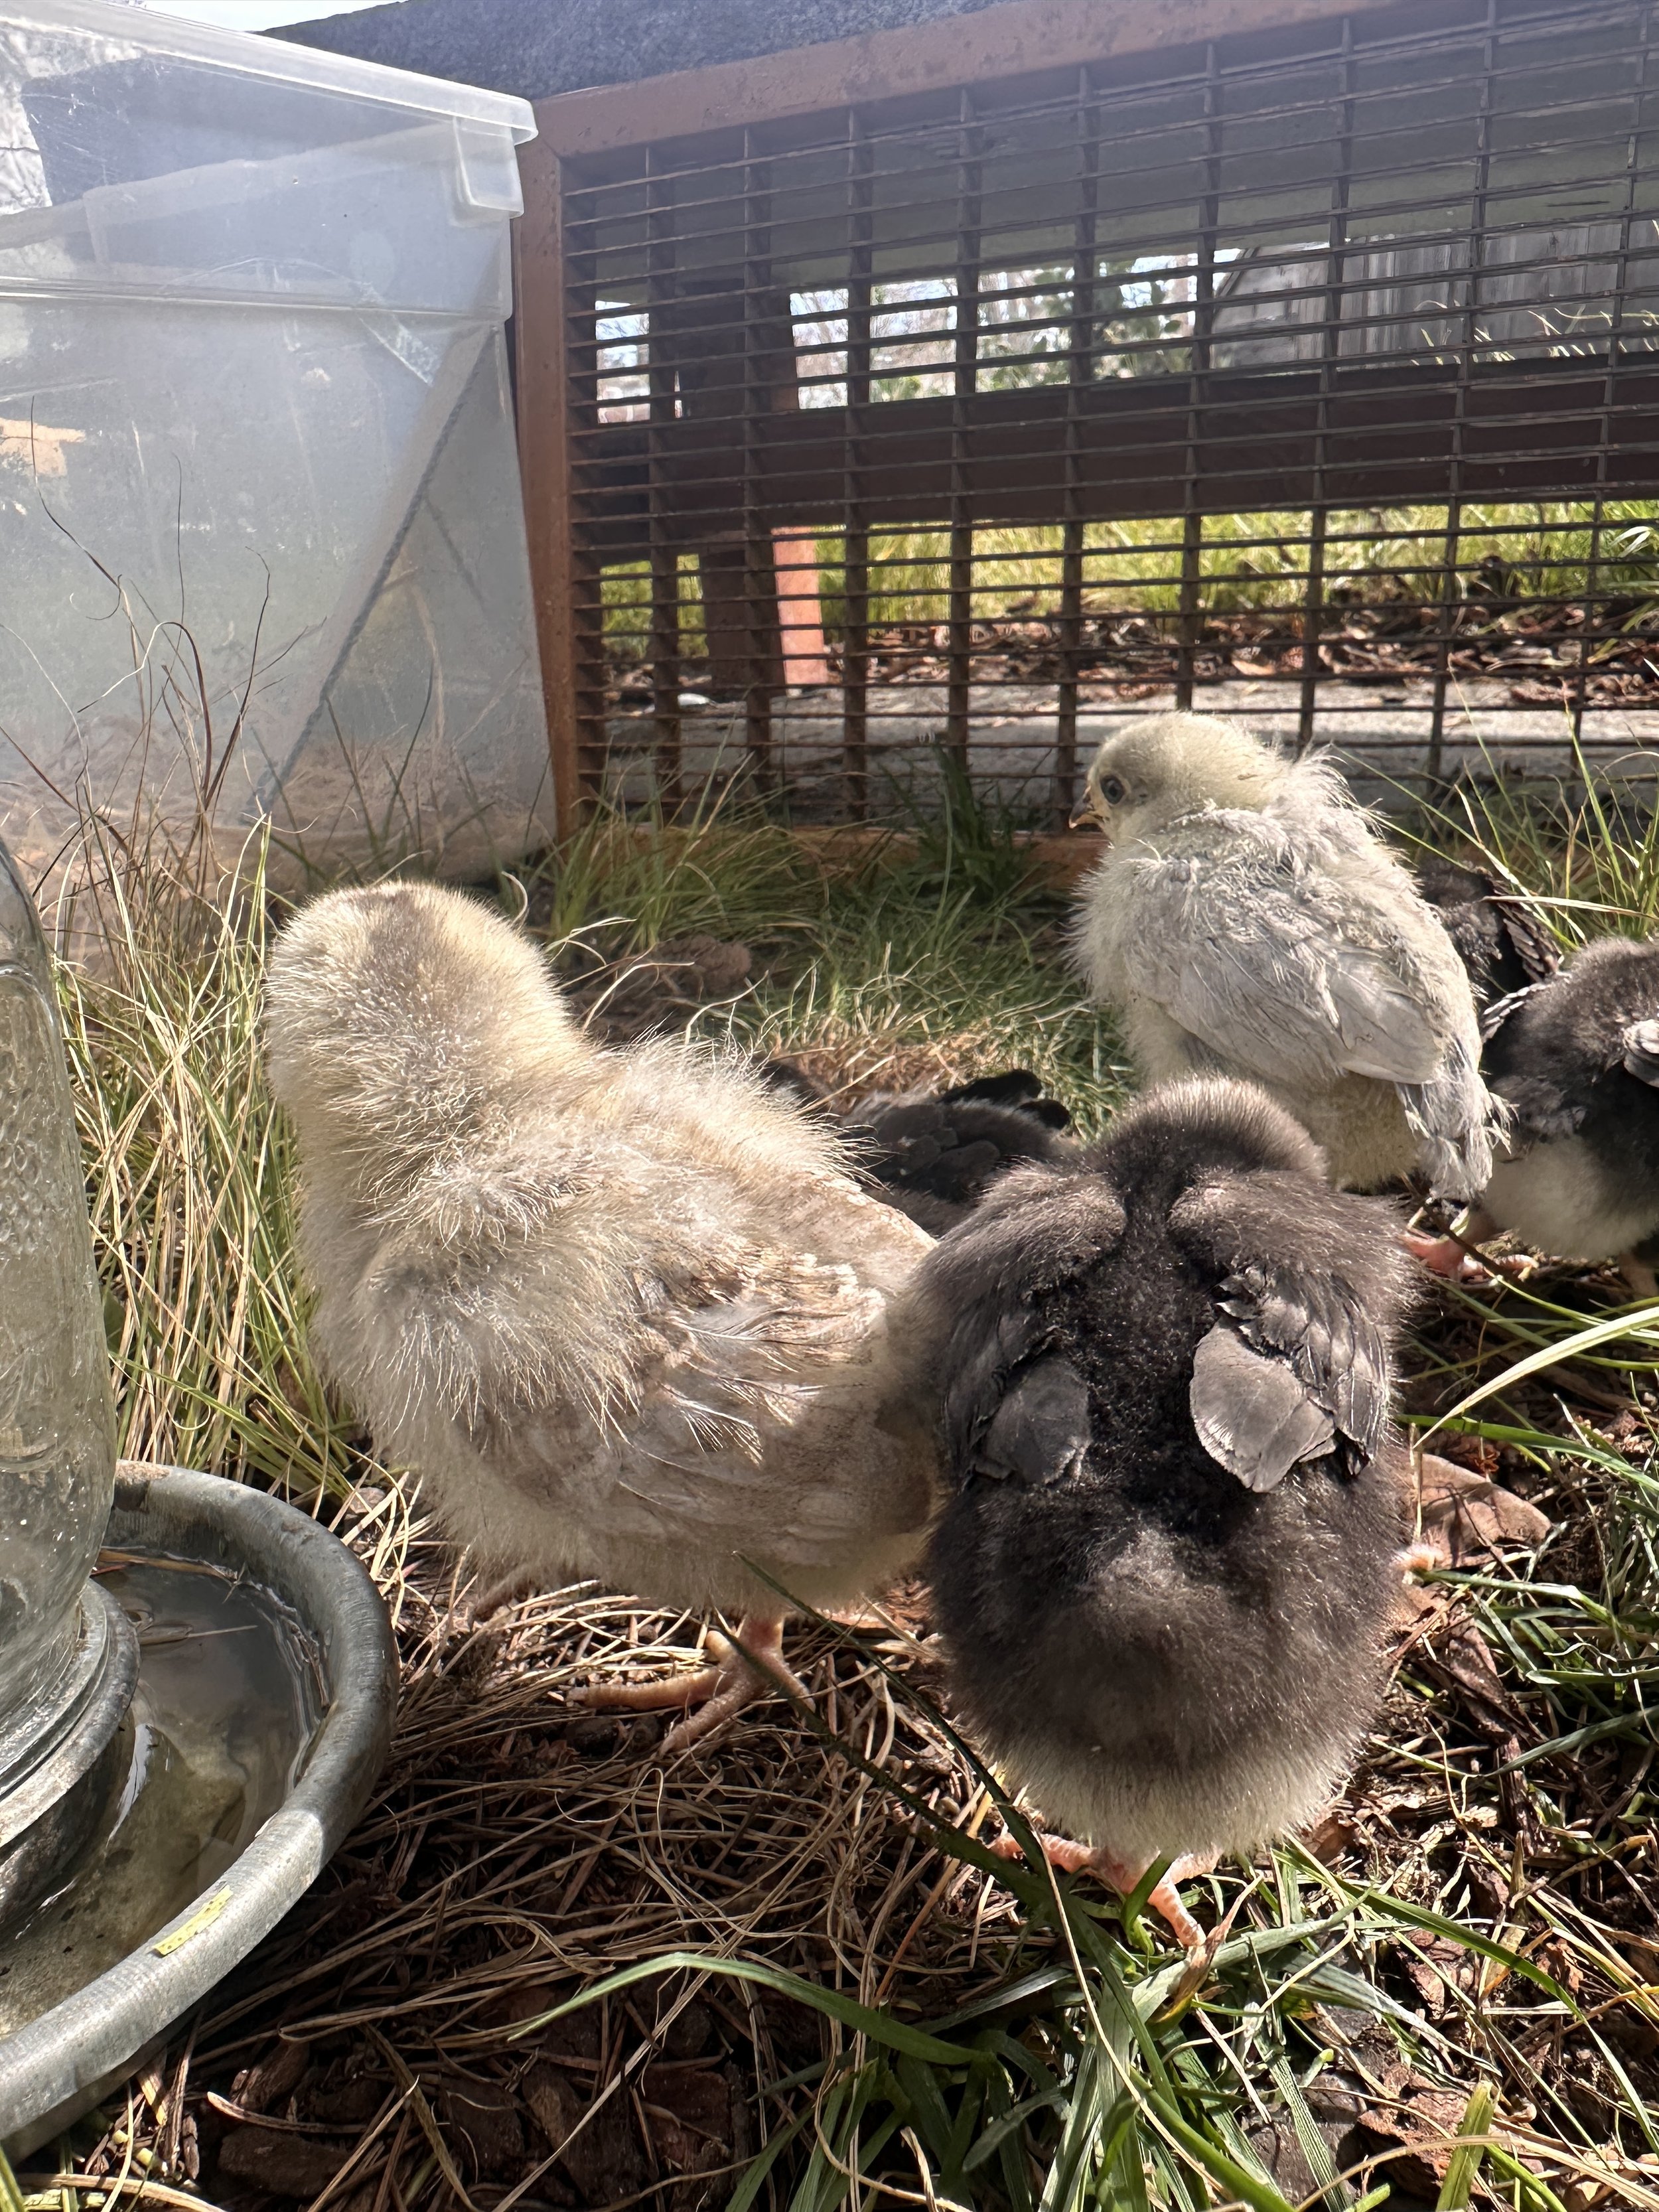
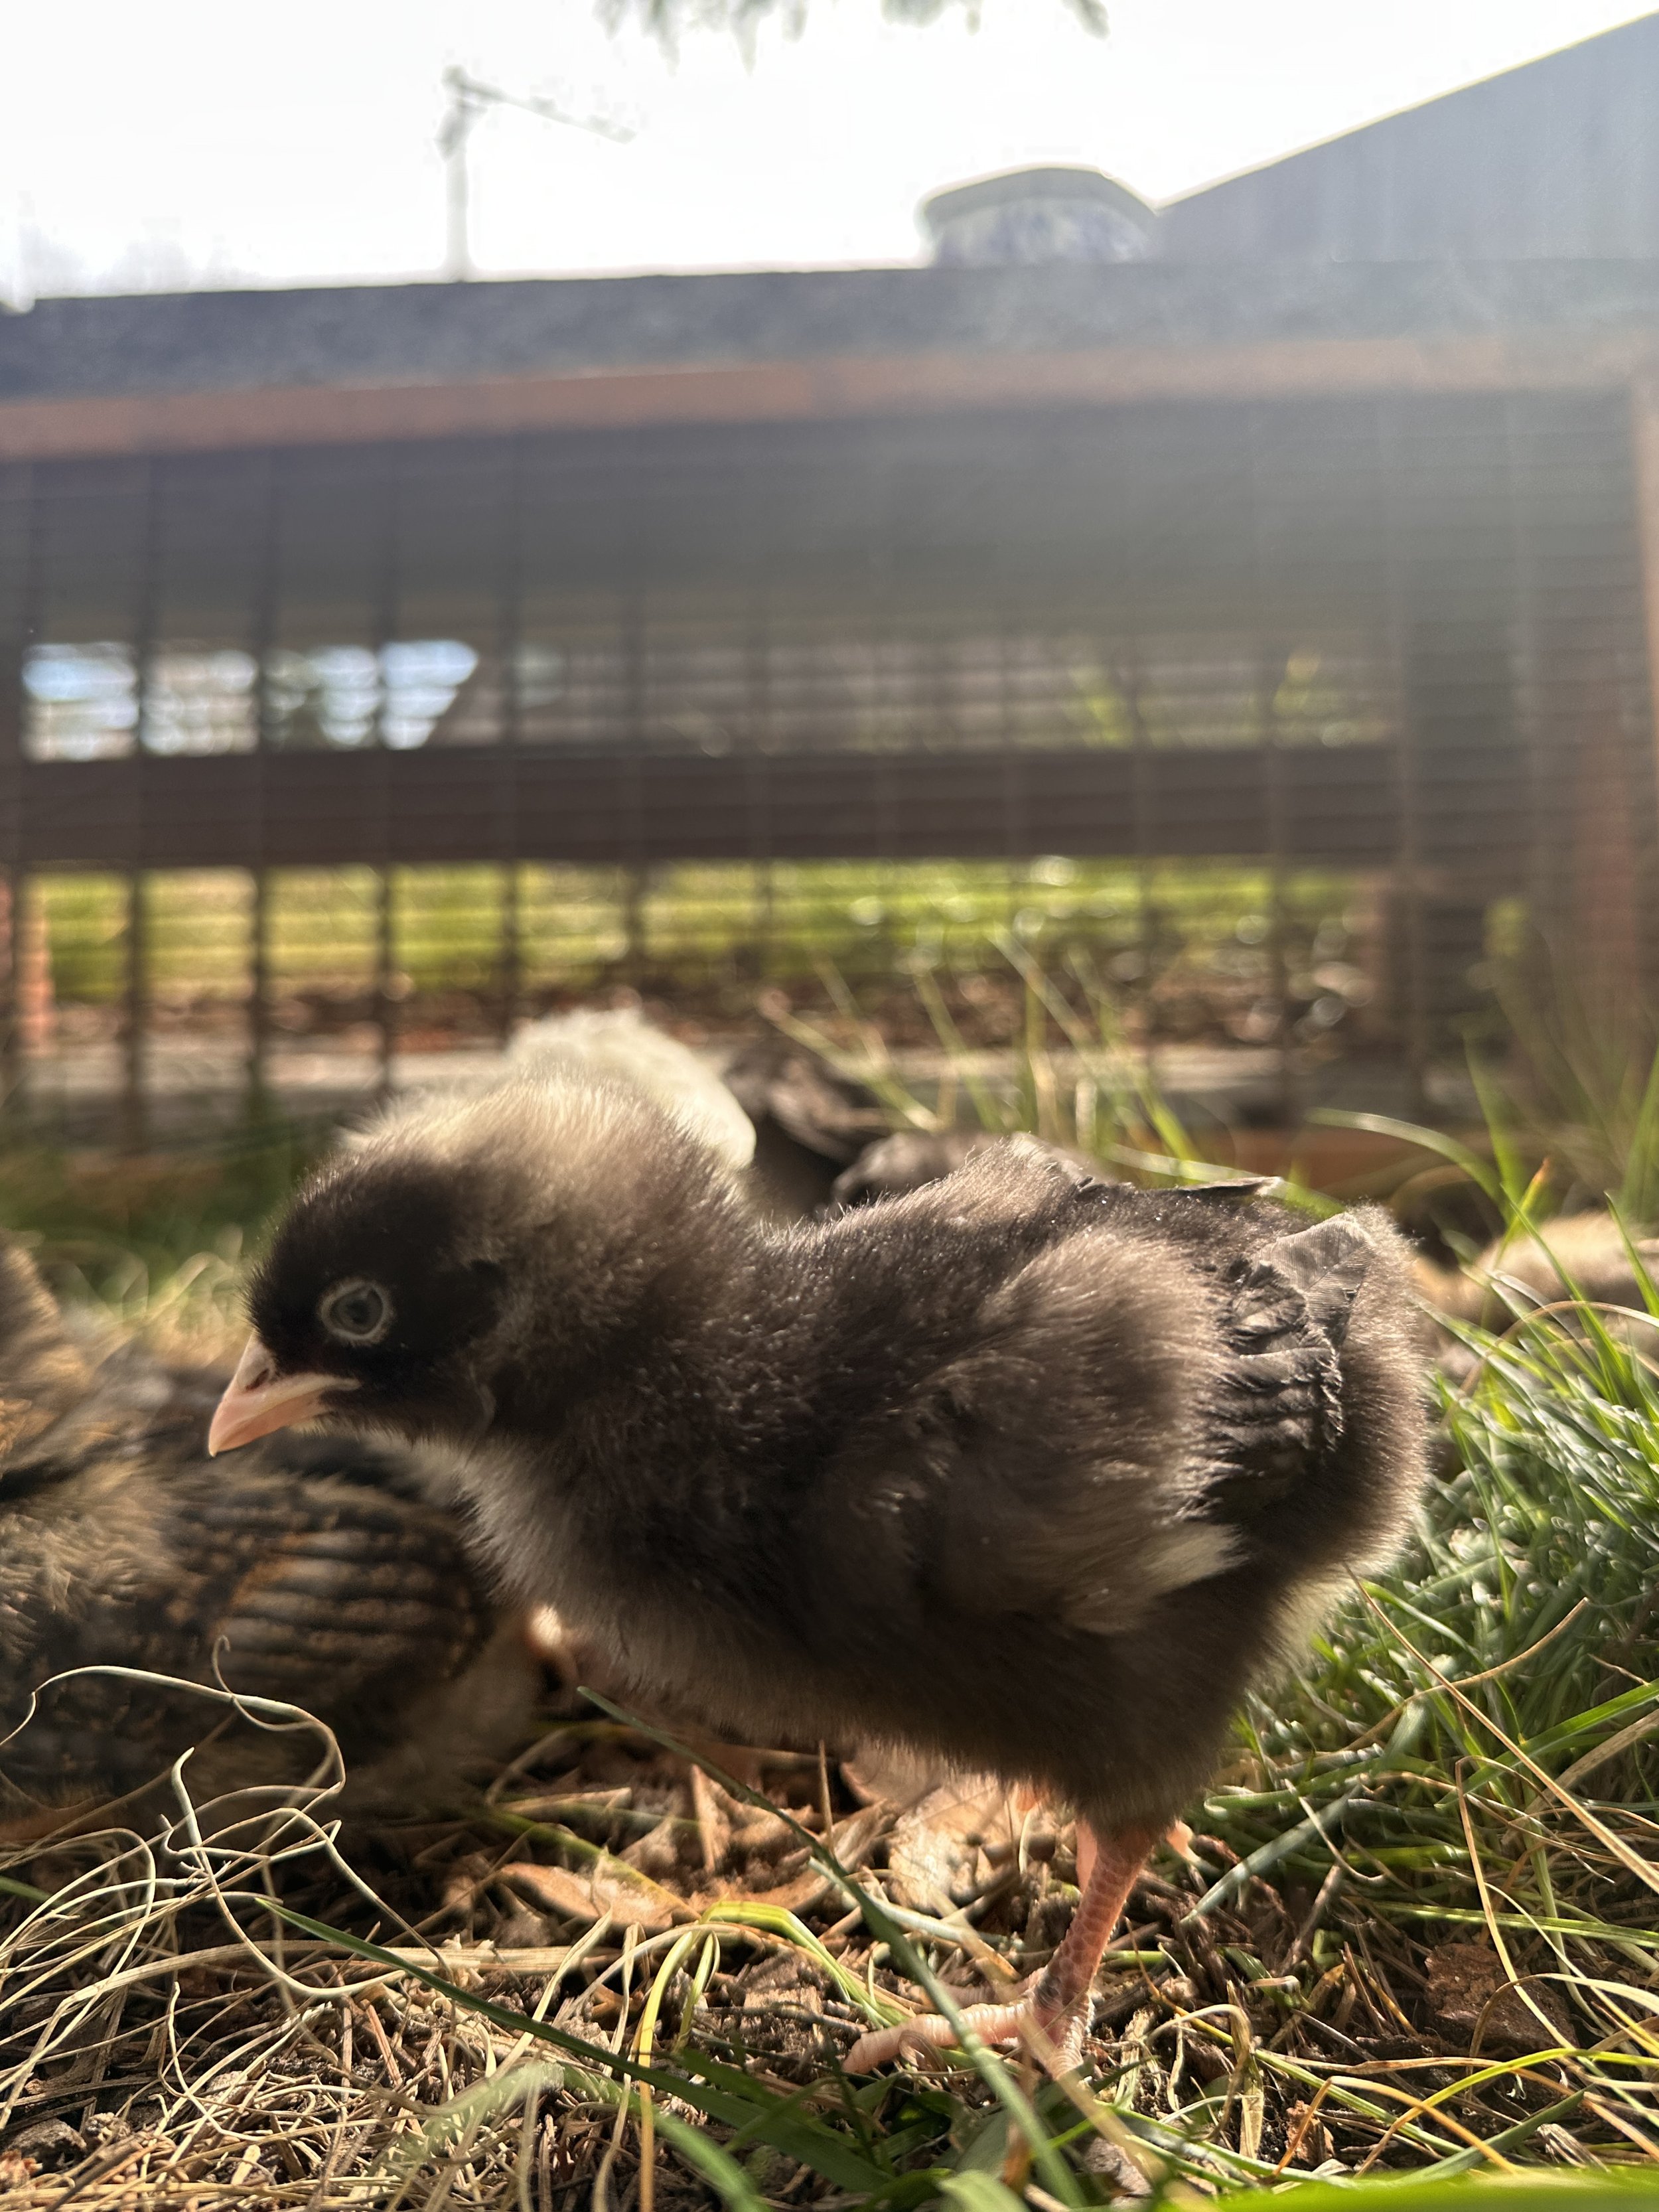
I was keeping them in the front entry room so I also wanted to make sure they got some good outside time to explore and peck around. They need to get grit from the local soil and learn about grass and bugs, etc.